Get ready to dive into a fun treat with my Watermelon Mochi Delightful Recipe! This sweet, chewy dessert combines the refreshing taste of watermelon with soft, sticky mochi. You can impress your friends and satisfy your cravings with just a few simple ingredients. Whether you’re a beginner or a pro in the kitchen, this guide will show you how to make this delicious snack. Let’s turn watermelon into a delightful dessert!
Ingredients
List of Ingredients
– Sweet rice flour
– Granulated sugar
– Water
– Salt
– Fresh watermelon juice
– Diced seedless watermelon
– Cornstarch or potato starch
– Optional filling: Red bean paste
To make watermelon mochi, gather all your ingredients first. Sweet rice flour is key. It gives mochi its chewy texture. You will also need granulated sugar for sweetness. A little salt adds flavor, too. Fresh watermelon juice gives the mochi its vibrant taste. You can make this juice by blending seedless watermelon. Diced seedless watermelon adds fun bites inside the mochi. Cornstarch or potato starch is needed for dusting. This prevents sticking. If you want a filling, red bean paste is a tasty choice. It adds a sweet surprise inside each piece.
With these ingredients ready, you will create a delightful treat. Each bite bursts with flavor and texture. Enjoy the process of making this fun dessert!
Step-by-Step Instructions
Preparation of the Mochi Mixture
– In a medium bowl, combine:
– 1 cup sweet rice flour
– 1/4 cup granulated sugar
– 1/4 teaspoon salt
Whisk these dry ingredients well. Make sure there are no lumps.
– Next, pour in:
– 1/2 cup water
– 1 cup fresh watermelon juice
Stir until the mixture is smooth and well combined.
Cooking the Mochi
– Transfer the mixture to a microwave-safe bowl. Cover it with plastic wrap, leaving a small gap for steam. Microwave on high for 2 minutes.
– Carefully stir the mixture after the first two minutes. It will be hot! Heat it again for 1-2 minutes. The mochi should look translucent and feel slightly sticky.
Shaping the Watermelon Mochi
– Dust a clean surface with cornstarch or potato starch. This helps prevent sticking.
– Let the mochi cool for about 5-10 minutes. It should be warm but safe to touch.
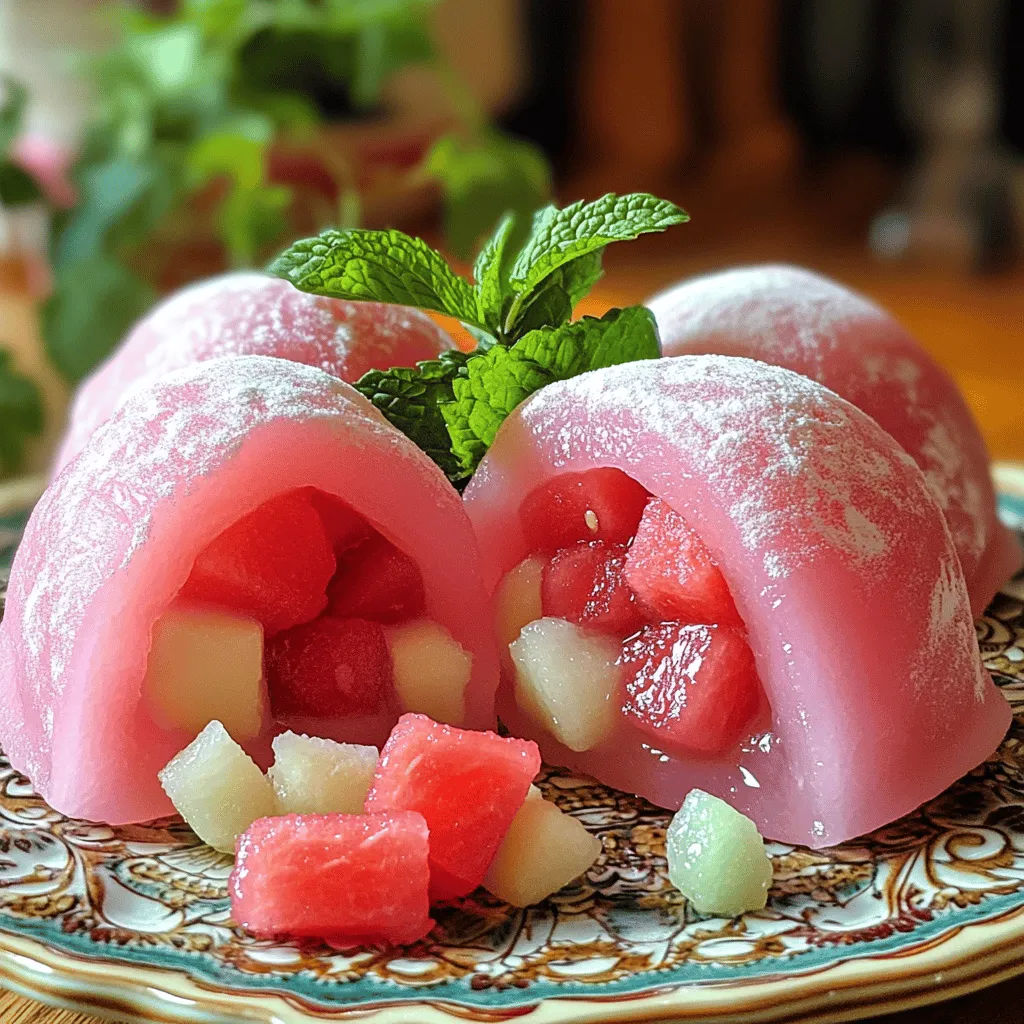
– Divide the mochi into small pieces, about the size of a golf ball. Flatten each piece slightly. If you want, add a small spoon of red bean paste and a watermelon chunk in the center.
– Fold the edges over the filling to seal it tight. Roll it gently into a round shape. Dust with more starch to avoid sticking.
– Repeat until all the mochi is shaped. Place the finished pieces on a serving plate. Enjoy this delightful treat!
Tips & Tricks
Perfecting the Texture
To make the best watermelon mochi, avoid lumps. Start by whisking the dry ingredients well. This helps break up any clumps before adding water. Mix in the water slowly, stirring continuously. When you add watermelon juice, keep stirring until it’s smooth. This ensures a silky texture.
Translucency is key for great mochi. After microwaving, the mixture should be slightly sticky and clear. If it’s not, microwave it for a bit longer. The right texture makes it fun to eat.
Serving Suggestions
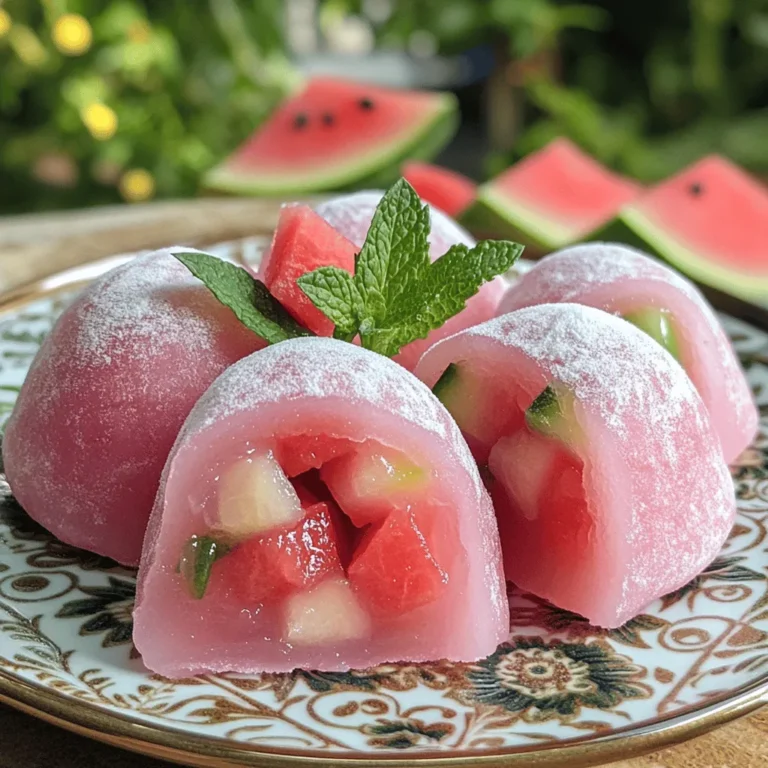
Presentation matters! Serve your watermelon mochi on a nice plate. Arrange it with diced watermelon pieces. A sprig of fresh mint adds a pop of color. You can also dust the plate with cornstarch for a neat look.
For a fun twist, try adding a scoop of ice cream on the side. This mix of warm and cold is delightful!
Common Mistakes to Avoid
One common mistake is overcooking the mochi. Keep an eye on the microwave time. If it feels too firm, you may have cooked it too long. This can lead to tough mochi.
Another mistake is improper dusting. Always dust your work surface well. If you skip this step, the mochi will stick, making it hard to shape. Remember, a little extra starch goes a long way in keeping everything neat!
Variations of Watermelon Mochi
Flavor Variations
You can make watermelon mochi even more fun. Try using different fruit juices. Instead of watermelon juice, use mango or strawberry juice. Each juice gives a unique taste. You can blend juices for a new flavor too.
Think about filling the mochi with other yummy treats. In addition to watermelon chunks, try fresh berries or coconut. For a sweet surprise, add red bean paste in the center. This mix of flavors makes every bite special.
Cultural Variations
Watermelon mochi has roots in Japan. Traditional mochi is made from sweet rice flour. It is often chewy and sticky. You can taste the history in each piece. Many Japanese people enjoy mochi during special celebrations.
Different regions give mochi their own twist. In Hawaii, for example, they may use tropical fruits. In the U.S., you might find mochi filled with ice cream. Each version shows how mochi can change while staying true to its roots.
Storage Info
Storing Leftover Mochi
To keep your watermelon mochi fresh, store it in an airtight container. This helps maintain its soft texture. Place a layer of parchment paper between the pieces to stop them from sticking together. You can keep your mochi at room temperature for up to 2 days. If you need to store it longer, refrigeration is best. In the fridge, it stays fresh for about 5 days.
Freezing Mochi
Freezing mochi is a great way to save it for later. First, wrap each piece in plastic wrap. Then, place them in a freezer bag. Make sure to press out as much air as possible to avoid freezer burn. You can freeze the mochi for up to 3 months. When you’re ready to enjoy it, take it out and let it thaw in the fridge overnight. If you want a quick option, you can leave it at room temperature for about 30 minutes. Reheat in the microwave for 10-15 seconds to restore its chewy texture. Enjoy your watermelon mochi anytime!
FAQs
What is Watermelon Mochi?
Watermelon mochi is a sweet treat from Japan. It uses glutinous rice flour, often called sweet rice flour. This dessert features a soft, chewy texture. The fresh watermelon juice gives it a lovely flavor and color. Mochi is a popular snack in Japanese culture, often served during festivals and special occasions. It brings joy and comfort to many.
Can I make Watermelon Mochi vegan?
Yes, you can easily make watermelon mochi vegan. To do this, replace the granulated sugar with a vegan alternative. You can use coconut sugar or maple syrup. These substitutes work well without changing the flavor. You can also skip the red bean paste filling for a fruit-only version.
How do I know when the mochi is cooked?
You can tell when mochi is cooked by its texture. Properly cooked mochi should be soft and slightly sticky. It will look translucent and shiny. If it still appears white and has a firm texture, it needs more cooking time. Always check after microwaving to ensure perfect results.
Where can I buy Watermelon Mochi?
You can find watermelon mochi at many Asian markets. Some specialty grocery stores also carry it. Look for stores that sell Japanese sweets. If you prefer shopping online, many websites offer pre-made mochi. You can enjoy it without the hassle of making it yourself.
What are the health benefits of mochi?
Mochi has some health benefits, especially when made with fruits like watermelon. Watermelon is low in calories and high in water content, keeping you hydrated. It also contains vitamins A and C. Sweet rice flour offers energy from carbohydrates. However, enjoy mochi in moderation, as it can be high in sugar.
This article explored how to make delightful Watermelon Mochi. We covered the key ingredients, preparation steps, and cooking methods. You learned tips for perfect texture and how to avoid common mistakes. Variations and storage methods added to your options.
In conclusion, making Watermelon Mochi is simple and fun. This treat combines flavors and textures for a refreshing dessert. Try different fruits and fillings to make it your own! Enjoy the process and share your tasty creations with friends.

