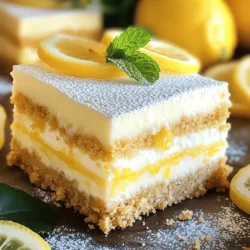
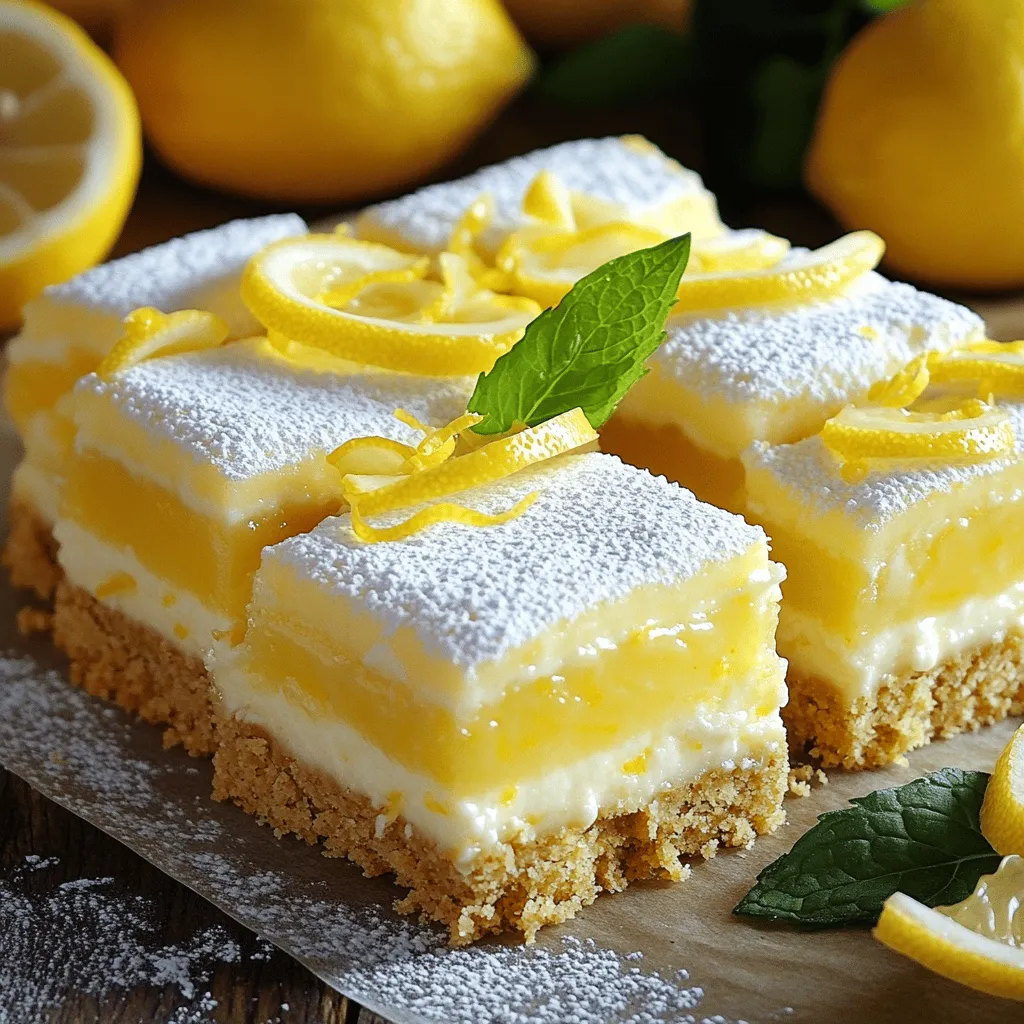
If you love a sweet and tangy treat, you’re in for a delight! Today, I’ll show you how to make easy Lemon Cheesecake Crumb Bars that burst with flavor. This recipe uses simple ingredients and gives you the perfect mix of creamy cheesecake and crumbly crust. Whether you want a quick dessert or a fun baking project, these bars are sure to impress. Let’s dive into the world of lemony goodness!
Ingredients
Main Ingredients for Lemon Cheesecake Crumb Bars
To make these yummy lemon cheesecake crumb bars, you need a few key items. Here is the list:
– 1 ½ cups graham cracker crumbs
– ½ cup unsalted butter, melted
– 1/3 cup granulated sugar
– 2 (8 oz) packages cream cheese, softened to room temperature
– 1 cup powdered sugar
– 3 large eggs, at room temperature
– 1/4 cup freshly squeezed lemon juice
– Zest of 1 lemon
– 1 teaspoon vanilla extract
– Pinch of salt
These ingredients make the base and the creamy filling. The combination of the zesty lemon and rich cream cheese creates a perfect balance of flavors.
Optional Ingredients for Enhanced Flavor
You can also add a few extra ingredients to make your bars even tastier. Consider these:
– Fresh berries (like blueberries or raspberries) for a fruity twist
– A dash of almond extract for a nutty flavor
– Extra lemon zest for a stronger citrus taste
These optional ingredients can add a fun twist to your dessert. Feel free to mix and match as you like!
Recommended Tools and Equipment
To make your cooking process smooth, having the right tools is key. Here’s what you should gather:
– An 8×8-inch baking pan
– Parchment paper
– Mixing bowls
– Electric mixer or whisk
– Spatula
– Measuring cups and spoons
Using these tools makes it easier to prepare and bake your delicious lemon cheesecake crumb bars. Happy baking!
Step-by-Step Instructions
Preparing the Crust
To make the crust, start by mixing the graham cracker crumbs with melted unsalted butter and granulated sugar. You want to combine these ingredients in a bowl until they look like wet sand. This helps bind the crust together. Next, transfer the mixture to an 8×8-inch baking pan lined with parchment paper. Press the crumbs down firmly and evenly to form a solid base. Bake it in a preheated oven at 350°F for 10 minutes. This step makes the crust crispy and delicious.
Making the Cheesecake Filling
For the cheesecake filling, use a large mixing bowl. Beat the softened cream cheese until it is smooth and creamy. Slowly add in the powdered sugar, mixing until fluffy. Then, add the eggs one at a time. Mix gently after each egg. This prevents overmixing, which can make the filling dense. After that, stir in the freshly squeezed lemon juice, lemon zest, vanilla extract, and a pinch of salt. Mix until everything is blended well. The filling should be creamy and smooth.
Baking and Cooling Instructions
Pour the creamy cheesecake filling over the cooled crust. Spread it evenly with a spatula. Place the pan back into the oven and bake for 30 to 35 minutes. The edges should look set, but the center can have a slight jiggle. This means it will be creamy when cooled. After baking, let it cool at room temperature for about an hour. Then, refrigerate the bars for at least two hours. This helps them set properly. Once chilled, lift the bars from the pan using the parchment overhang. Slice them into neat squares for serving.
Tips & Tricks
Common Mistakes to Avoid
When making lemon cheesecake crumb bars, it’s easy to overlook some details. Here are some common mistakes:
– Overmixing the Filling: Mix gently after each egg addition. Overmixing can make the bars dense.
– Skipping the Cooling Step: Allow the crust to cool before adding the filling. This helps keep the layers separate.
– Not Using Room Temperature Ingredients: Cold cream cheese can lead to lumps. Always soften your cream cheese before mixing.
How to Achieve the Perfect Bake
For the best results, follow these tips:
– Oven Temperature: Always preheat your oven to 350°F (175°C). An accurate temperature ensures even baking.
– Watch the Edges: The edges should be set while the center jiggles slightly. This indicates a creamy texture.
– Cooling Time: After baking, let the bars cool for at least 1 hour at room temperature. Then chill them for 2 hours. This helps them set properly.
Serving Suggestions and Presentation Tips
Presentation can elevate your dessert. Here are some ideas:
– Dust with Powdered Sugar: A light sprinkle adds sweetness and looks nice.
– Garnish with Lemon Slices: Thin slices of lemon add color and freshness.
– Mint Leaves: A few mint leaves provide a pop of green and a touch of flavor.
Variations
Flavor Enhancements
You can easily change the taste of your lemon cheesecake crumb bars. Adding fruit can create a fun twist. Try mixing in berry swirls using raspberry or blueberry puree. Just swirl it into the filling before baking. If you love chocolate, drizzle melted chocolate over the cooled bars for a rich touch. This contrast pairs nicely with the tart lemon flavor.
Gluten-Free Version Alternatives
If you need a gluten-free option, you can use gluten-free graham crackers. Just crush them like you would regular graham crackers. Then, follow the same steps in the recipe. You can also try almond flour for the crust. Mix it with melted butter and a bit of sugar for a tasty base.
Dairy-Free Options
For a dairy-free version, swap out cream cheese for a plant-based cream cheese. Look for brands that have a similar texture and taste. You can also use coconut cream for a rich, creamy filling. This not only makes it dairy-free but adds a lovely tropical note. Just remember to adjust the sugar if your alternative is sweeter.
Feel free to explore these variations to find your favorite twist on lemon cheesecake crumb bars!
Storage Info
Best Practices for Storing Leftovers
To keep your Lemon Cheesecake Crumb Bars fresh, store them in an airtight container. This way, they stay moist and keep their flavor. You can keep them in the fridge for up to five days. If you notice any crust on top, cover the bars lightly with plastic wrap to protect them.
Freezing Lemon Cheesecake Crumb Bars
You can freeze these delicious bars for later enjoyment. First, slice them into squares. Wrap each piece in plastic wrap, then place them into a freezer-safe bag. They will stay good for up to three months in the freezer. This makes for a quick dessert option when you need one!
How to Thaw and Reheat
When you’re ready to enjoy your frozen bars, take them out of the freezer. Let them thaw in the fridge overnight for the best texture. If you’re in a hurry, you can leave them at room temperature for about an hour. Avoid reheating them in the microwave; this can change their texture. Instead, enjoy them chilled right from the fridge for a refreshing treat.
FAQs
How do I know when my Lemon Cheesecake Crumb Bars are done?
You can tell when your bars are done by looking at the edges. The edges should look set, while the center has a slight jiggle. This jiggle means it will still be creamy when cooled. If the edges are brown, you might have overbaked them. It usually takes about 30-35 minutes in the oven.
Can I make these bars ahead of time?
Yes, you can make these bars ahead of time! They taste even better after chilling. I recommend making them a day before you plan to serve them. Just let them cool after baking, then refrigerate. This way, the flavors have time to meld together.
What can I use if I don’t have graham cracker crumbs?
If you don’t have graham cracker crumbs, you can use vanilla wafers or digestive biscuits. Just crush them up to make crumbs. Another option is to use oats blended into a fine powder. Each substitute will give a slightly different taste, but they all work well.
In this post, we covered how to make Lemon Cheesecake Crumb Bars from scratch. We discussed the main and optional ingredients, along with essential tools. I provided step-by-step instructions for the crust, filling, and baking to ensure perfect results. We explored tips to avoid common mistakes and discussed fun variations. Finally, we shared storage tips for enjoying leftovers.
Remember, practice makes perfect. With these steps, you can create a treat that shines!