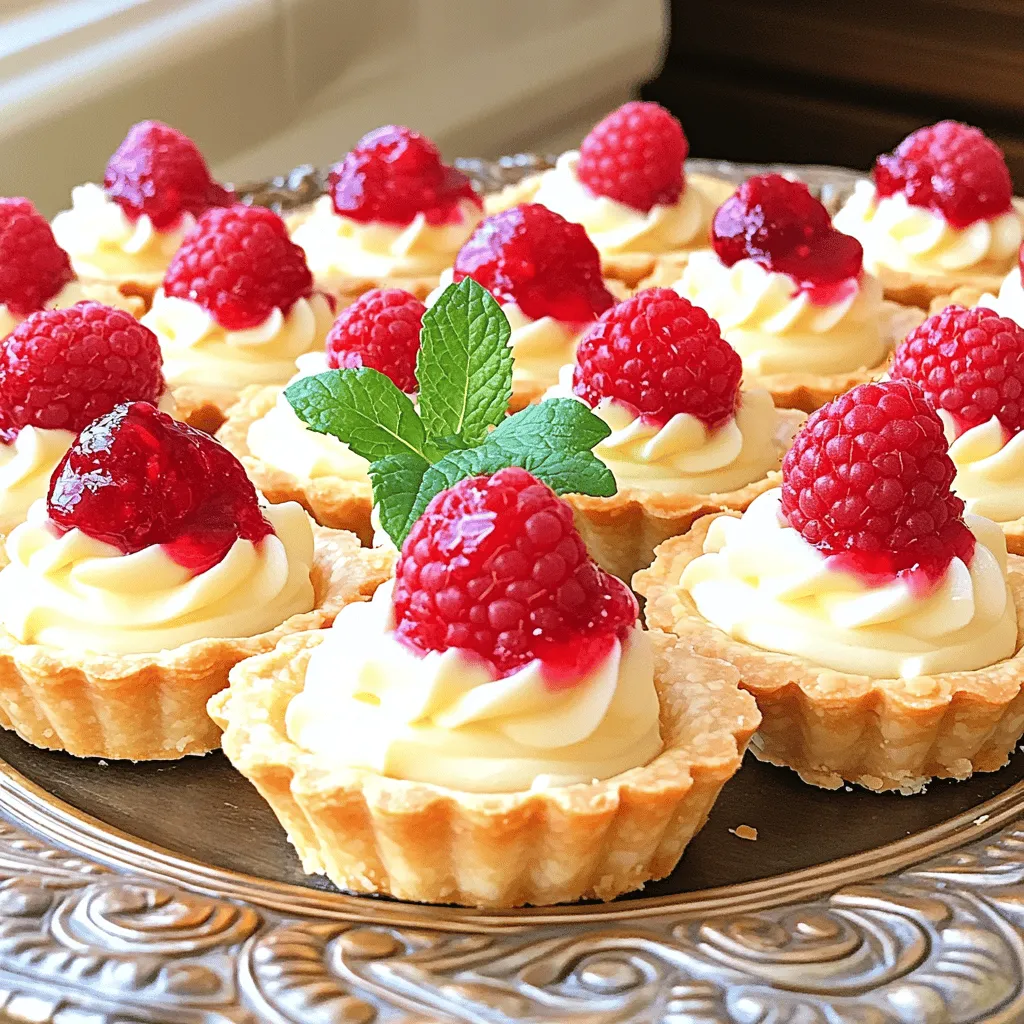
Are you ready to impress your guests with a sweet treat? These Mini Vanilla Cream Tarts with Raspberries will not only tickle your taste buds but also elevate your dessert game. With a buttery shell, smooth vanilla cream, and fresh raspberries, these delights are perfect for any occasion. Follow my step-by-step guide and enjoy the joy of baking a show-stopping dessert that’s easier than you think! Let’s dive in!
Ingredients
List of ingredients
– All-purpose flour
– Powdered sugar
– Unsalted butter
– Egg yolk
– Pure vanilla extract
– Heavy cream
– Whole milk
– Granulated sugar
– Cornstarch
– Fresh raspberries
– Fresh mint leaves
Ingredient notes
Using high-quality ingredients makes a big difference in taste. Here are some tips:
– Choose organic raspberries for the best flavor.
– Use pure vanilla extract instead of imitation for a richer taste.
– Select unsalted butter to control the salt in your recipe.
If you need substitutions, consider these options:
– For dairy-free, use coconut cream instead of heavy cream and milk.
– For gluten-free, swap all-purpose flour with a gluten-free blend.
– If you want a lower-sugar option, use a sugar substitute like stevia.
These choices let you enjoy this dessert without missing out on flavor!
Step-by-Step Instructions
Making the tart shells
To start, I mix the dry ingredients. In a bowl, I whisk together 1 ½ cups of all-purpose flour and ½ cup of powdered sugar. This gives the tart a sweet base.
Next, I incorporate the butter and egg yolk. I add ½ cup of softened unsalted butter and 1 large egg yolk to the bowl. I mix with a fork until the mixture looks crumbly. Then, I stir in 1 teaspoon of pure vanilla extract to add richness.
Now, I chill the dough. I shape it into a flat disk. I wrap it tightly in plastic wrap and place it in the fridge. This step is crucial, so the butter firms up. I leave it for at least 30 minutes. Meanwhile, I preheat the oven to 350°F (175°C).
Baking process
After chilling, I roll and shape the dough. On a floured countertop, I roll out the dough to about ¼ inch thick. I use a round cutter to cut circles that fit my mini tart pans. I carefully press the dough into each pan.
Then, I blind bake the tart shells. I prick the bottoms with a fork to avoid bubbles. I bake them for about 15-20 minutes until the edges turn lightly golden. Once baked, I remove them from the oven and cool them completely in the pans.
Preparing the vanilla cream
For the vanilla cream, I cook the custard mixture. In a medium saucepan, I combine 1 cup of heavy cream, 1 cup of whole milk, ½ cup of granulated sugar, and 2 tablespoons of cornstarch. I cook over medium heat, whisking all the time until it thickens. Once it bubbles gently, I take it off the heat.
Next, I add flavors and cool. I stir in 2 teaspoons of pure vanilla extract into the warm custard. I let it cool slightly, stirring to keep it smooth.
Assembling the tarts
Now, I fill the tarts with vanilla cream. Once the tart shells are cool, I carefully spoon or pipe the custard into each shell. I fill them generously to create a creamy layer.
Then, I top with raspberries. I arrange fresh raspberries on top of each filled tart. This adds a bright touch of color and flavor.
Finally, I chill before serving. I place the filled tarts in the fridge for at least 1 hour. This allows the flavors to meld and the cream to set.
Tips & Tricks
Achieving the perfect tart shell
To get a great tart shell, start with cold butter. This helps keep the dough flaky. When mixing, avoid overworking the dough. Overworking can make it tough. Chill the dough for at least 30 minutes. This step prevents cracks and uneven baking.
To avoid soggy bottoms, blind bake your tart shells. Prick the bottom with a fork before baking. This allows steam to escape and keeps the crust crisp. Bake until the edges are lightly golden for the best result.
Making the cream light and fluffy
For a light and fluffy cream, whip the heavy cream until soft peaks form. Use a clean bowl and beaters to prevent any greasy residue. Gradually fold in the cooled custard. This technique helps keep it airy and smooth.
To ensure a lump-free custard, whisk continuously while cooking. Remove it from heat as soon as it thickens. Stir in the vanilla extract to add flavor. Let it cool slightly before using to keep it smooth.
Presentation tips
For a beautiful finish, garnish each tart with a fresh mint leaf. Mint adds a pop of color and freshness. Arrange the tarts on a decorative platter for an elegant look. You can even layer them for a stunning display. Serve them chilled for the best taste.
Variations
Alternative toppings
You can change the flavor profile with different fruits. Strawberries and blueberries work well with the vanilla cream. Sliced peaches or kiwi add a fun twist too. For a richer treat, try chocolate or caramel drizzle. A light drizzle can enhance the sweetness and add a nice touch.
Flavor variations for the cream
You can switch up the vanilla flavor easily. Almond extract gives a unique taste. Lemon extract adds brightness and zing. For warmth, consider adding spices like cinnamon or nutmeg. Just a pinch can make your cream special.
Dietary adaptations
If you need gluten-free options, use almond flour. For a dairy-free version, try coconut milk or almond milk. You can also make this vegan by using plant-based butter and a vegan cream alternative. These swaps keep the flavors while meeting dietary needs.
Storage Info
How to store mini tarts
To keep your mini tarts fresh, store them in the fridge. Use an airtight container to protect them from drying out. This way, the cream stays smooth, and the crust remains crisp. Do not stack the tarts on top of each other. This will help prevent the cream from getting messy. If you need to keep them longer than a day, place parchment paper between the layers.
Freezing instructions
You can freeze mini tarts, but it’s best to freeze them unfilled. To do this, bake the tart shells, let them cool, and then freeze them. Wrap each shell in plastic wrap and place them in a freezer bag. They can last up to three months this way. When you want to enjoy them, thaw the shells in the fridge overnight.
For filled tarts, freeze them only if necessary. The cream may not hold up well. If you choose to freeze filled tarts, freeze them for one hour. Then, wrap them tightly and store in a freezer bag. To serve, thaw in the fridge for a few hours. After thawing, you can add fresh raspberries for a vibrant touch. Enjoy your mini vanilla cream tarts with raspberries!
FAQs
Can I make mini vanilla cream tarts ahead of time?
Yes, you can prepare mini vanilla cream tarts ahead of time. Here are some best practices:
– Make the tart shells a day in advance. Store them in an airtight container.
– Prepare the vanilla cream the day before. Chill it in the fridge until ready to use.
– Fill the tarts with cream a few hours before serving. This keeps the shells crisp.
– Top with raspberries just before serving to maintain their freshness.
How do I prevent the tart shells from shrinking?
To prevent your tart shells from shrinking during baking, try these tips:
– Chill the dough thoroughly before rolling it out. This helps the butter firm up.
– Avoid overworking the dough, which can make it tough.
– Use pie weights or dried beans when blind baking to hold the shape.
– Prick the bottom of the shells with a fork to prevent air bubbles.
What to do if my vanilla cream doesn’t thicken?
If your vanilla cream doesn’t thicken, here’s how to troubleshoot:
– Ensure you cooked the mixture over medium heat, whisking constantly.
– If it’s too thin, return it to the heat. Whisk in a bit more cornstarch mixed with water.
– Make sure to remove it from heat once it starts to bubble. Overcooking can cause it to thin out.
– Allow the cream to cool slightly before filling the tarts. It will thicken more as it cools.
Can I use frozen raspberries instead of fresh?
Yes, you can use frozen raspberries, but be aware of a few things:
– Frozen raspberries might be softer than fresh ones. They can release more juice.
– Thaw them before use to avoid excess moisture in the tarts.
– The flavor may be slightly less vibrant than fresh raspberries. However, they still add a nice touch.
In this post, we explored how to make mini vanilla cream tarts from scratch. You learned about the essential ingredients and their quality, along with step-by-step instructions for baking. I shared tips for perfect tart shells and ways to personalize your tarts with variations. Proper storage methods and FAQs addressed common concerns.
These tarts are fun to make and delightful to eat. Use the tips here to impress friends or enjoy a sweet treat at home. Happy baking!