WANT TO SAVE THIS RECIPE?
Are you ready to impress your guests with an easy yet gourmet dessert? Baked pears with goat cheese blend sweet and savory flavors in a simple dish. This recipe is all about fresh ingredients and quick steps. You’ll learn how to create a delicious filling and bake the pears to perfection. Let’s dive into this recipe that transforms humble ingredients into a tasty delight for any occasion!
Why I Love This Recipe
- Delicious Contrast: The combination of sweet pears, tangy goat cheese, and honey creates a delightful flavor balance that excites the palate.
- Easy to Prepare: This recipe requires minimal prep time and simple ingredients, making it perfect for both novice cooks and experienced chefs.
- Impressive Presentation: These baked pears look stunning on a platter, making them an ideal dish for entertaining guests or special occasions.
- Healthful Indulgence: With fresh fruits, nuts, and cheese, this recipe provides a nutritious dessert option without sacrificing flavor.
Ingredients
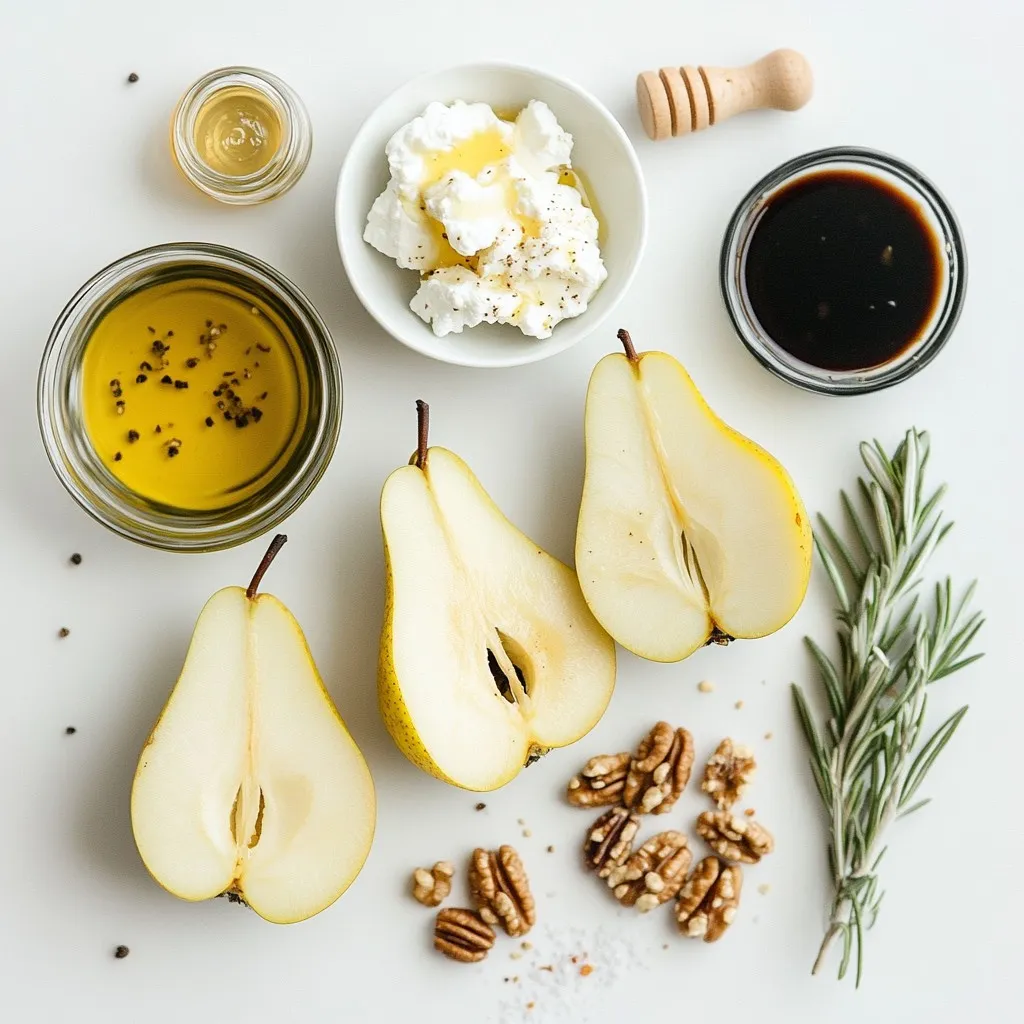
List of Ingredients
– 4 ripe pears, halved and cored
– 6 oz goat cheese, softened to room temperature
– 1/4 cup walnuts, finely chopped for texture
– 2 tablespoons honey, plus extra for drizzling
– 1 teaspoon fresh rosemary, finely chopped
– 1 teaspoon balsamic vinegar, for depth of flavor
– 1 tablespoon olive oil, for drizzling
– Salt and pepper to taste, for seasoning
Ingredient Substitutions
If you can’t find goat cheese, try cream cheese or ricotta. Both give a creamy texture, but the taste will change. For a nut-free option, skip the walnuts or use sunflower seeds instead. If you want a sweeter touch, agave syrup can replace honey. Fresh herbs, like thyme or mint, also work instead of rosemary.
Health Benefits of Key Ingredients
Pears are high in fiber, which helps your digestion. They also provide vitamins C and K. Goat cheese is lower in fat than many other cheeses and has good protein. Walnuts are full of healthy fats and can boost heart health. Honey has antioxidants that can help your immune system. Balsamic vinegar may aid digestion and add a unique flavor. This dish combines health and taste in every bite!

Step-by-Step Instructions
Preparing the Pears
First, preheat your oven to 375°F (190°C). This helps the pears bake evenly. While the oven warms up, take your 4 ripe pears. Cut them in half and remove the seeds. Make sure to keep the pear halves intact. This will hold the filling well later. Place the pear halves cut side up in a greased baking dish. Drizzle a bit of olive oil over them. This will add flavor and help them not stick.
Making the Goat Cheese Filling
Now, grab a mixing bowl. Place 6 oz of softened goat cheese inside. Add 1/4 cup of finely chopped walnuts for a nice crunch. Next, sprinkle in 1 teaspoon of finely chopped fresh rosemary. This adds a lovely herbal note. Pour in 1 teaspoon of balsamic vinegar for depth. Don’t forget a pinch of salt and pepper for taste. Mix these ingredients together until they form a creamy filling. Make sure it is well combined and smooth.
Baking the Pears
Spoon the goat cheese filling generously into each pear half. Fill them up to the top for a rich bite. Then, drizzle 2 tablespoons of honey over each filled pear. This adds sweetness that pairs well with the cheese. Cover the baking dish tightly with aluminum foil. This keeps moisture inside while baking. Place the dish in the oven and bake for 20 minutes. After that, carefully remove the foil. Bake for another 10-15 minutes. The pears should be tender when pierced with a fork and the cheese should be golden. Finally, let the pears cool for about 5 minutes before serving. Enjoy the warm, sweet, and savory flavors!
Tips & Tricks
Perfecting the Cooking Time
Baking pears takes time, but it is worth it. Start by preheating your oven to 375°F (190°C). Bake the pears covered for 20 minutes. Then, remove the foil and bake for 10 to 15 more minutes. This method keeps the pears moist while allowing the cheese to become golden. Check if they are tender by piercing them with a fork. If they are soft, they are ready!
Enhancing Flavor Profiles
To boost the taste, use fresh rosemary. It adds a lovely aroma. The balsamic vinegar deepens the flavor too. If you want more sweetness, drizzle extra honey over the pears before serving. You can also try adding a pinch of cinnamon for warmth. Each bite will be a delightful mix of sweet and savory.
Presentation Tips
A beautiful dish makes food more enjoyable. Serve the warm baked pears on a colorful platter. Add a sprinkle of chopped walnuts on top for crunch. Drizzle honey over the pears for extra sweetness. Finally, place a sprig of fresh rosemary on each pear for a pop of color. This small touch makes your dish look and taste gourmet!
Pro Tips
- Choose the Right Pears: Opt for ripe but firm pears to ensure they hold their shape during baking and provide a nice texture contrast with the creamy goat cheese.
- Experiment with Flavors: Feel free to swap out the rosemary for other herbs like thyme or add spices like cinnamon for a warm twist.
- Make Ahead Option: Prepare the stuffed pears in advance and store them in the refrigerator until you’re ready to bake them for a quick and easy dessert.
- Serve with Accompaniments: Pair baked pears with a side of arugula salad or serve alongside crackers and wine for an elegant appetizer presentation.
Variations
Alternative Cheeses
You can change the cheese in this recipe. Feta cheese works great. It adds a salty kick. Cream cheese also gives a creamy texture but is milder. Try blue cheese for a bold flavor. Each cheese brings a new taste to the baked pears.
Adding Fruits or Nuts
Mix in other fruits for added flavor. Chopped apples or figs pair well with pears. You can also add nuts, like almonds or pecans. They give a nice crunch. This way, your dish stays exciting and fresh.
Flavoring with Spices
Spices can change the whole dish. Try adding cinnamon for warmth and sweetness. Nutmeg gives a cozy touch that works well with pears. You can also use a pinch of cayenne for some heat. These small changes can make your baked pears unique.
Storage Info
How to Store Leftovers
To keep baked pears fresh, let them cool first. Place them in an airtight container. You can store them in the fridge for up to three days. If you want to keep them longer, you can freeze them. Just wrap each pear half in plastic wrap and then in foil.
Reheating Instructions
To reheat baked pears, preheat your oven to 350°F (175°C). Place the pears in a baking dish. Cover them with foil to keep them moist. Bake for about 10-15 minutes. You can also microwave them for a quicker option. Heat them in short bursts until warm, but be careful not to overheat.
Shelf Life of Baked Pears
Baked pears last about three days in the fridge. If frozen, they can stay good for up to three months. Always check for any signs of spoilage before eating. If they smell off or look strange, it’s best to discard them. Enjoy your leftovers safely!
FAQs
Can I use other fruits instead of pears?
Yes, you can use other fruits! Apples work well for this recipe. They have a nice sweetness and bake beautifully. Try using ripe peaches or figs too. Each fruit brings a unique flavor. Just adjust the baking time if needed. Softer fruits may need less time.
What cheese can I use as a substitute for goat cheese?
If you do not have goat cheese, you can use cream cheese. It has a similar creamy texture. Feta cheese is another option, giving a tangy taste. Ricotta cheese also works, but it’s less flavorful. Choose a cheese that you enjoy to suit your taste.
How do I know when the pears are done baking?
To check if the pears are done, pierce them with a fork. If the fork goes in easily, they are ready. The cheese should look golden and bubbly. Keep an eye on them during the last baking time. You want them soft but not mushy.
We covered the main ingredients and their health benefits. You learned how to prepare, bake, and enhance your dish. Tip and tricks will help your pears shine. You can even try exciting variations with different cheeses and spices. Remember to store leftovers properly to enjoy later.
Cooking is fun and full of creativity. I hope this guide inspires you to make delicious baked pears. Enjoy the process, and don’t hesitate to experimen
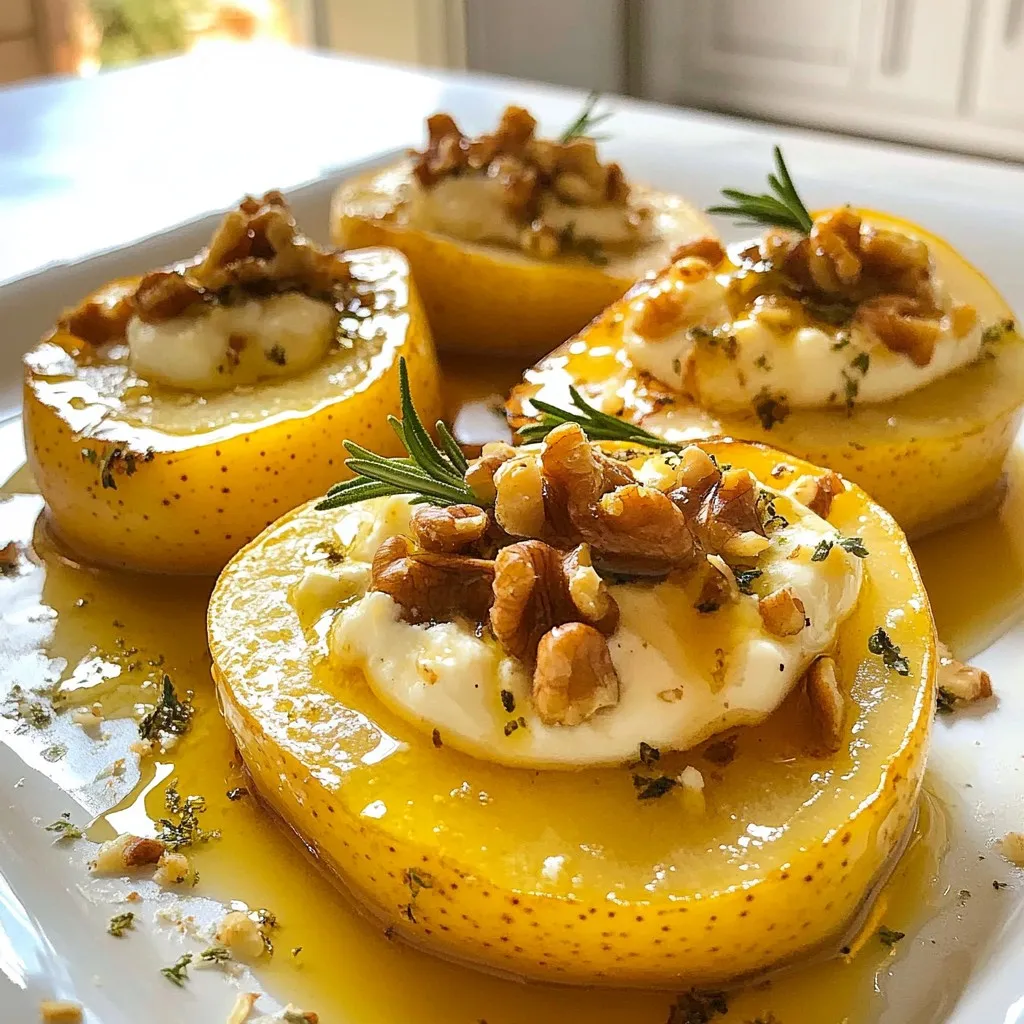
Baked Pears with Goat Cheese and Honey Drizzle
A delightful dessert featuring baked pears filled with creamy goat cheese, walnuts, and a sweet honey drizzle.
Prep Time 15 minutes mins
Cook Time 30 minutes mins
Total Time 45 minutes mins
Course Dessert
Cuisine American
Servings 4
Calories 250 kcal
- 4 pieces ripe pears, halved and cored
- 6 oz goat cheese, softened to room temperature
- 1/4 cup walnuts, finely chopped for texture
- 2 tablespoons honey, plus extra for drizzling
- 1 teaspoon fresh rosemary, finely chopped
- 1 teaspoon balsamic vinegar, for depth of flavor
- 1 tablespoon olive oil, for drizzling
- to taste salt and pepper for seasoning
Start by preheating your oven to 375°F (190°C) to ensure it reaches the right temperature for baking the pears.
In a mixing bowl, combine the softened goat cheese with the finely chopped walnuts, freshly chopped rosemary, balsamic vinegar, and a pinch of salt and pepper. Mix thoroughly until the ingredients are well incorporated into a creamy mixture.
Arrange the pear halves, cut side up, in a greased baking dish. Drizzle a small amount of olive oil over the pears to enhance their flavor and prevent sticking.
Generously spoon the goat cheese mixture into each pear half, filling them up to the top for a rich and creamy bite.
Drizzle honey evenly over the filled pears, ensuring each half is nicely coated to add a sweet contrast to the savory cheese.
Cover the baking dish tightly with aluminum foil to keep moisture in and bake in the preheated oven for 20 minutes.
After 20 minutes, carefully remove the foil and continue baking for an additional 10-15 minutes, or until the pears are tender when pierced with a fork and the cheese is beautifully golden and bubbly.
Once done, allow the pears to cool slightly for about 5 minutes before serving to let the flavors settle.
For a stunning presentation, serve the warm baked pears on a beautiful platter with extra chopped walnuts and a sprig of fresh rosemary.
Keyword baked, dessert, goat cheese, honey, pears
WANT TO SAVE THIS RECIPE?