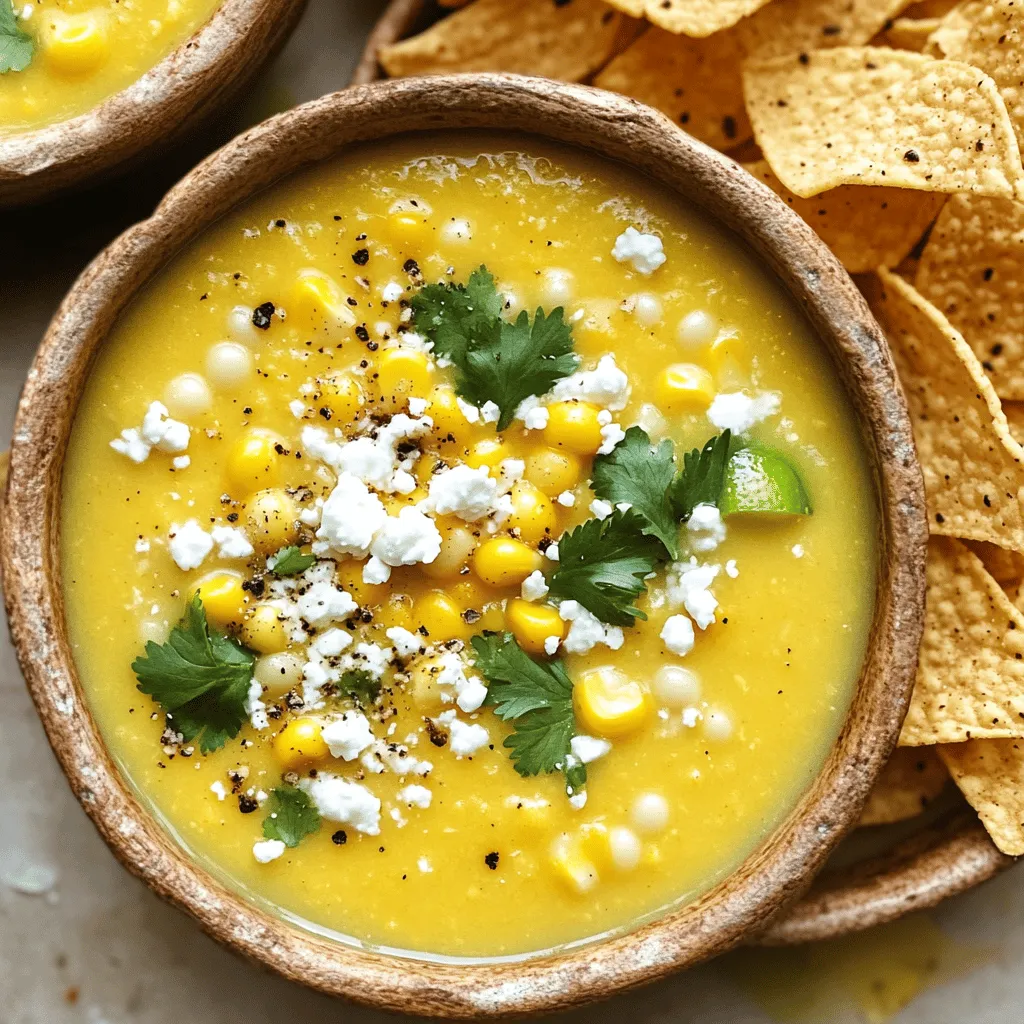
Mexican Street Corn Soup Flavorful and Easy Recipe
Are you ready to savor a bowl of Mexican Street Corn Soup? I’m excited to share this flavorful and easy
Are you ready to savor a bowl of Mexican Street Corn Soup? I’m excited to share this flavorful and easy
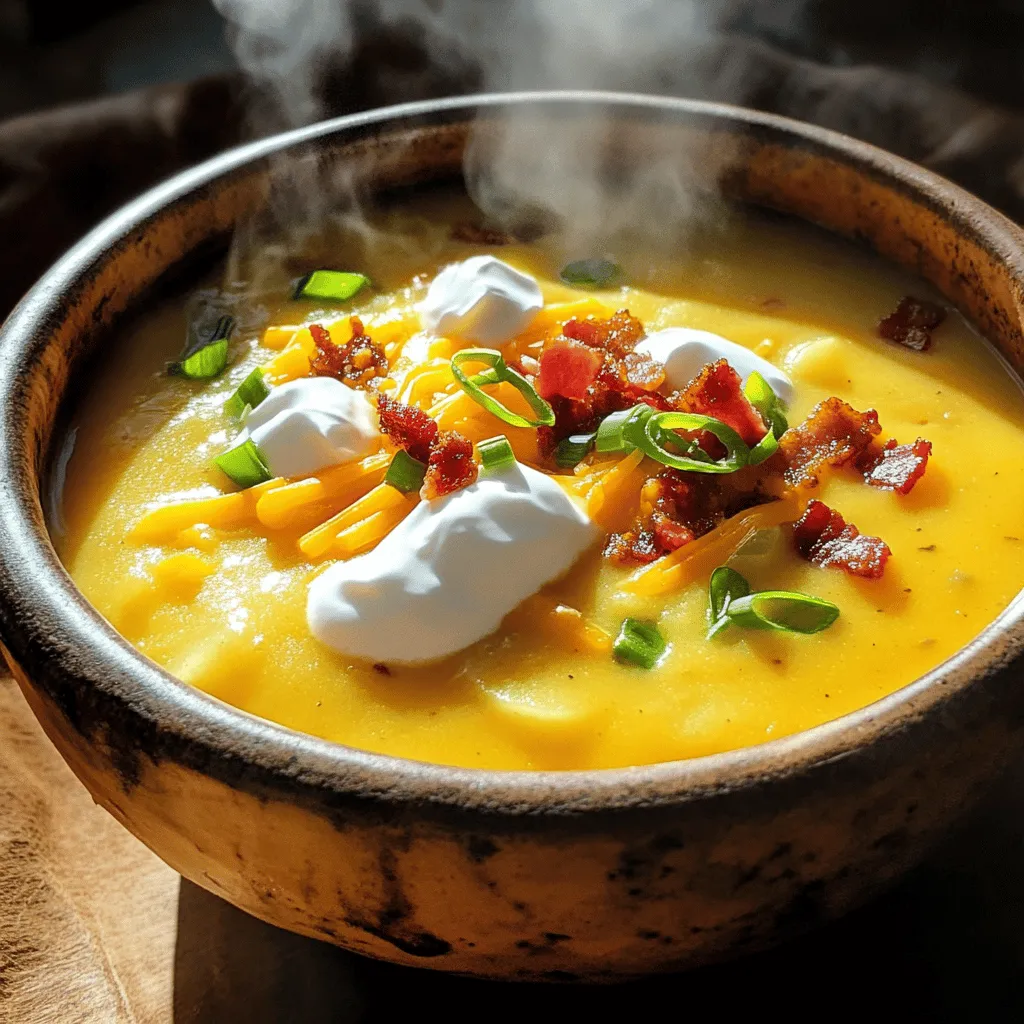
Looking for a warm hug in a bowl? My Crock Pot Crack Potato Soup is the answer! This easy comfort

Are you ready to wow your taste buds? My Herb Grilled Chicken with Pesto Pasta Delight combines juicy chicken marinated
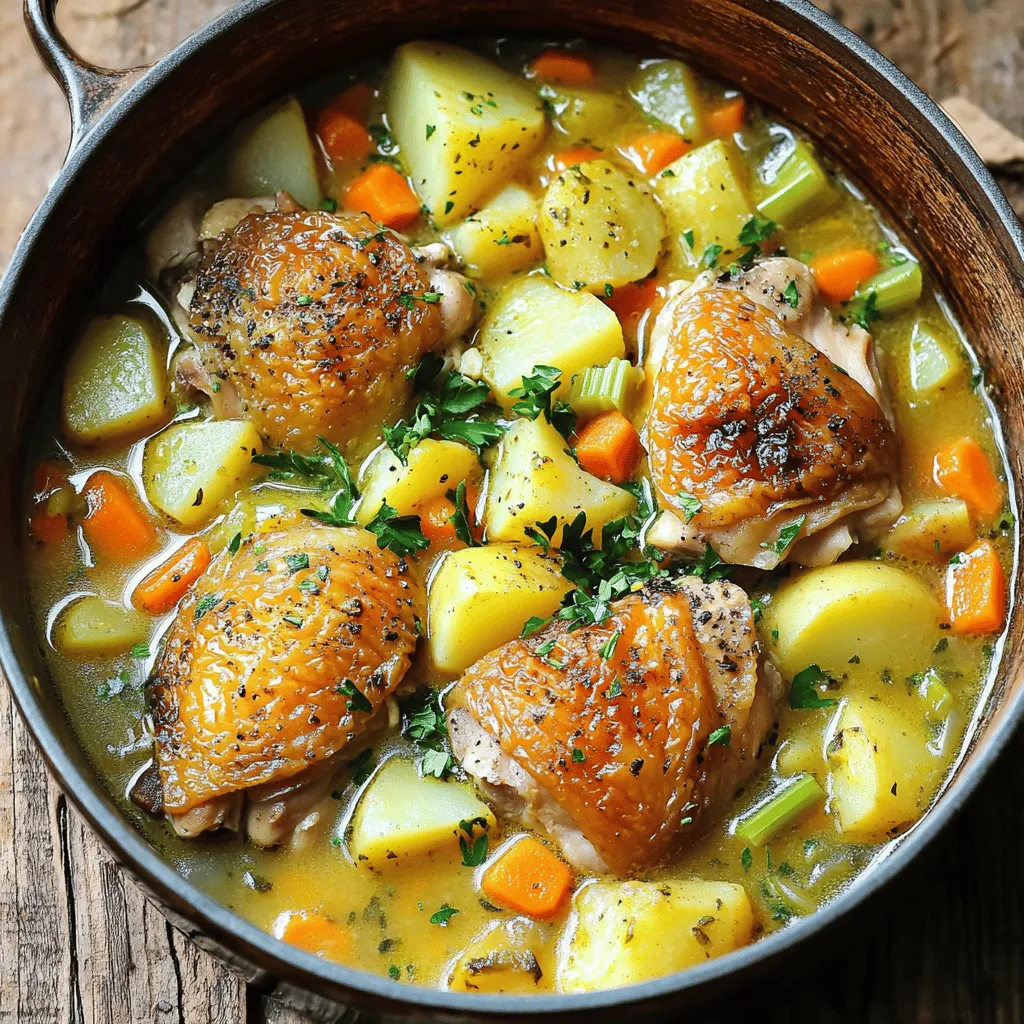
Looking for a warm and tasty meal? My Chicken Soup with Potatoes is the perfect answer! This dish is hearty,

Are you ready to enjoy some crispy, flavorful golden brown egg rolls? In this simple and delicious recipe, I’ll guide
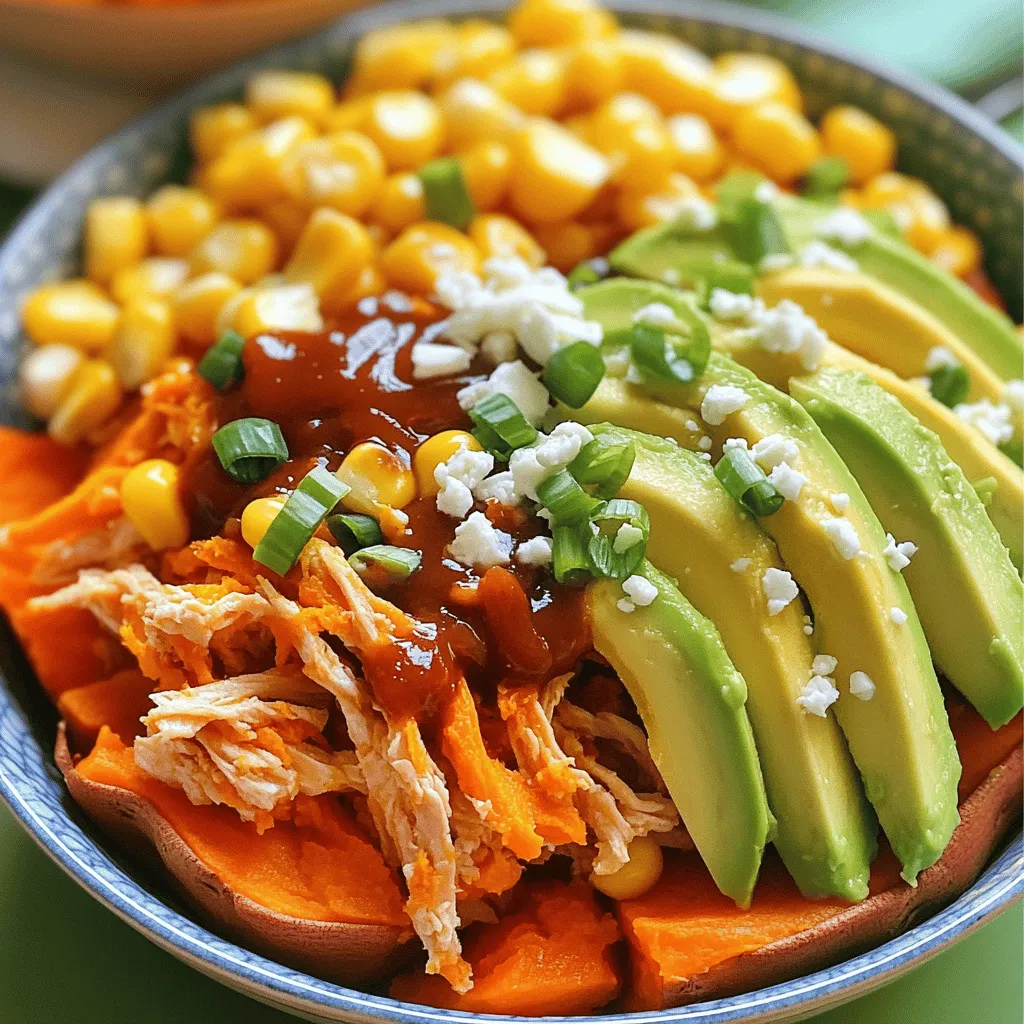
If you’re looking for a meal that’s both tasty and easy to make, try BBQ Chicken Sweet Potato Bowls. This

Are you ready for a delicious dinner that combines comfort with a twist? In this post, I’ll guide you through

Are you ready to enjoy pizza without the guilt? My Low-Carb Crustless Pizza Bowl is a delicious, easy meal that

Looking for a simple way to kickstart your mornings? Let me introduce you to my Make-Ahead Breakfast Burrito Casserole Delight!
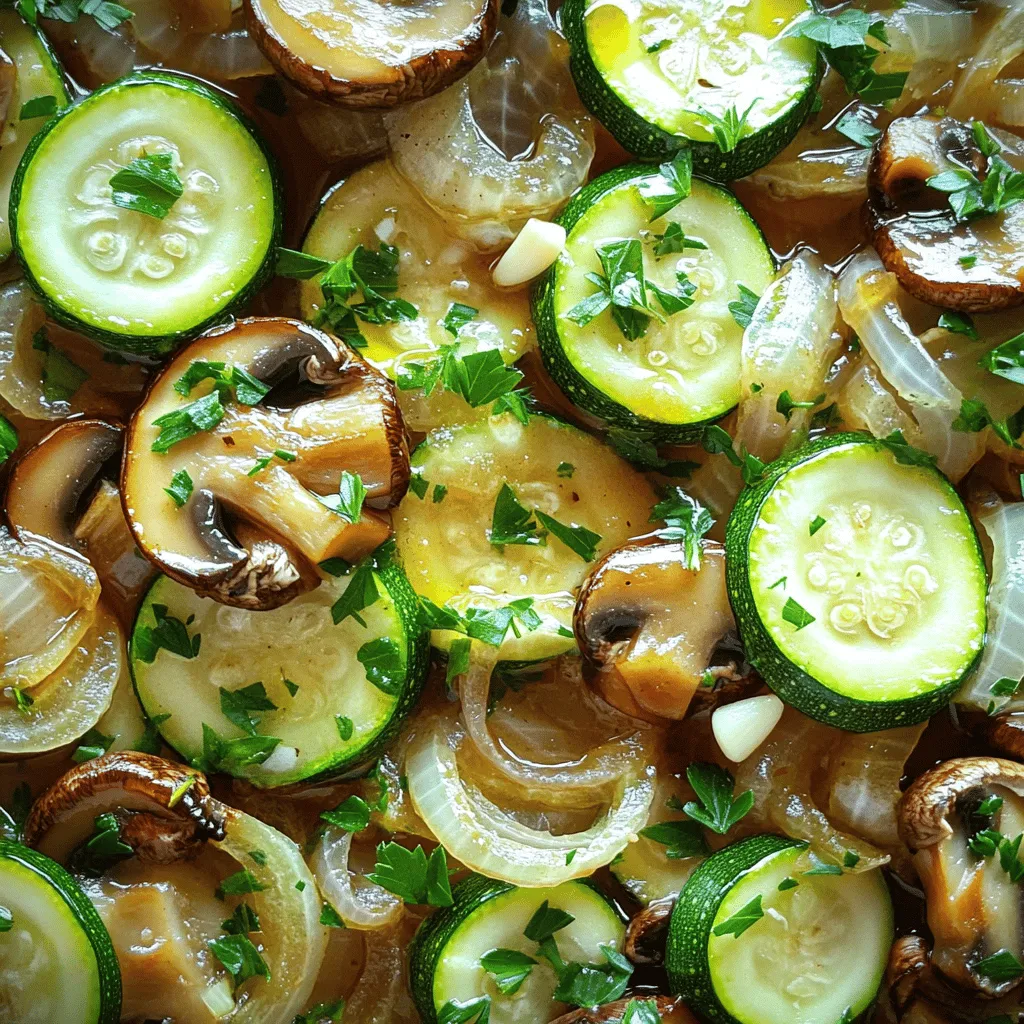
Do you crave a tasty and healthy side dish? Garlic Sautéed Zucchini Mushrooms & Onions Delight is packed with flavor
