
Sausage Breakfast Casserole Hearty and Easy Recipe
Start your morning right with my easy and hearty Sausage Breakfast Casserole! This dish packs flavor and warmth and is
Start your morning right with my easy and hearty Sausage Breakfast Casserole! This dish packs flavor and warmth and is
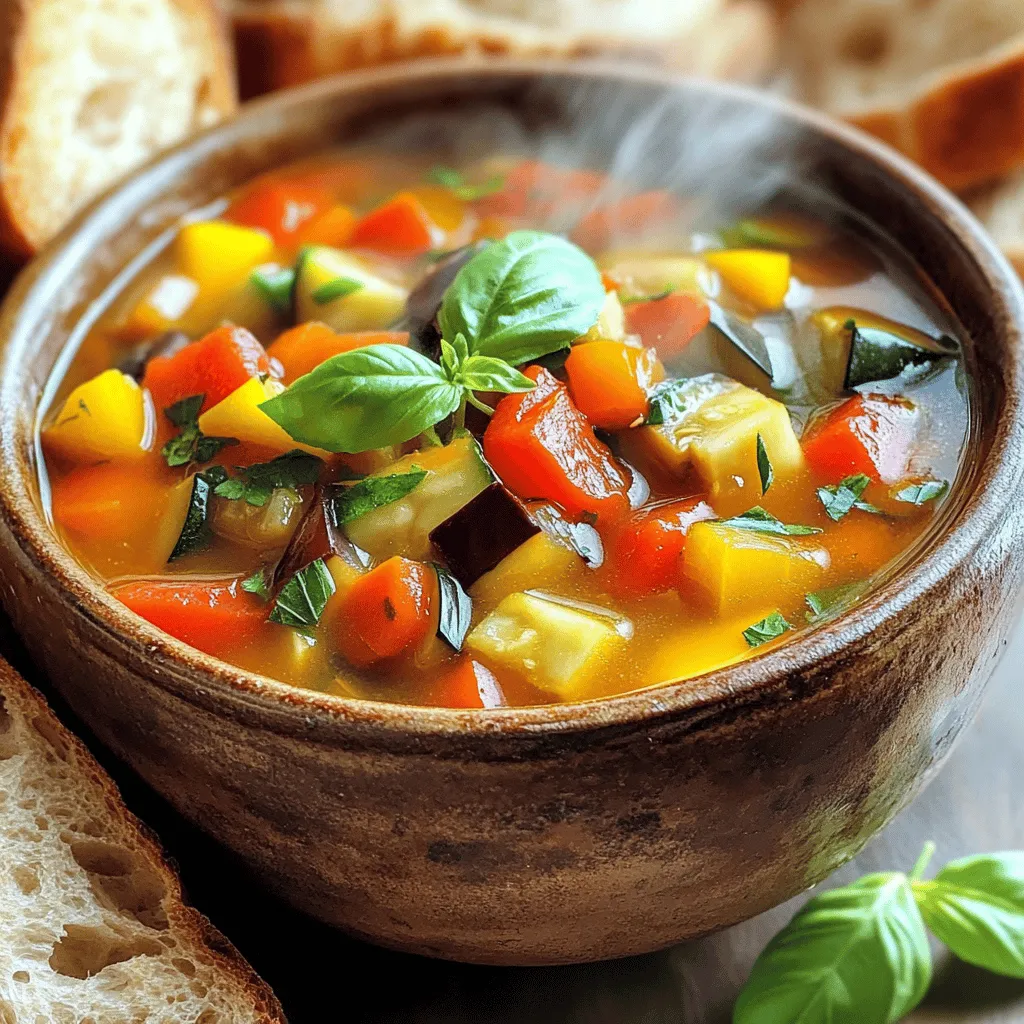
Are you ready to dive into a bowl of warm, hearty Ratatouille Vegetable Soup? This dish bursts with fresh flavors,
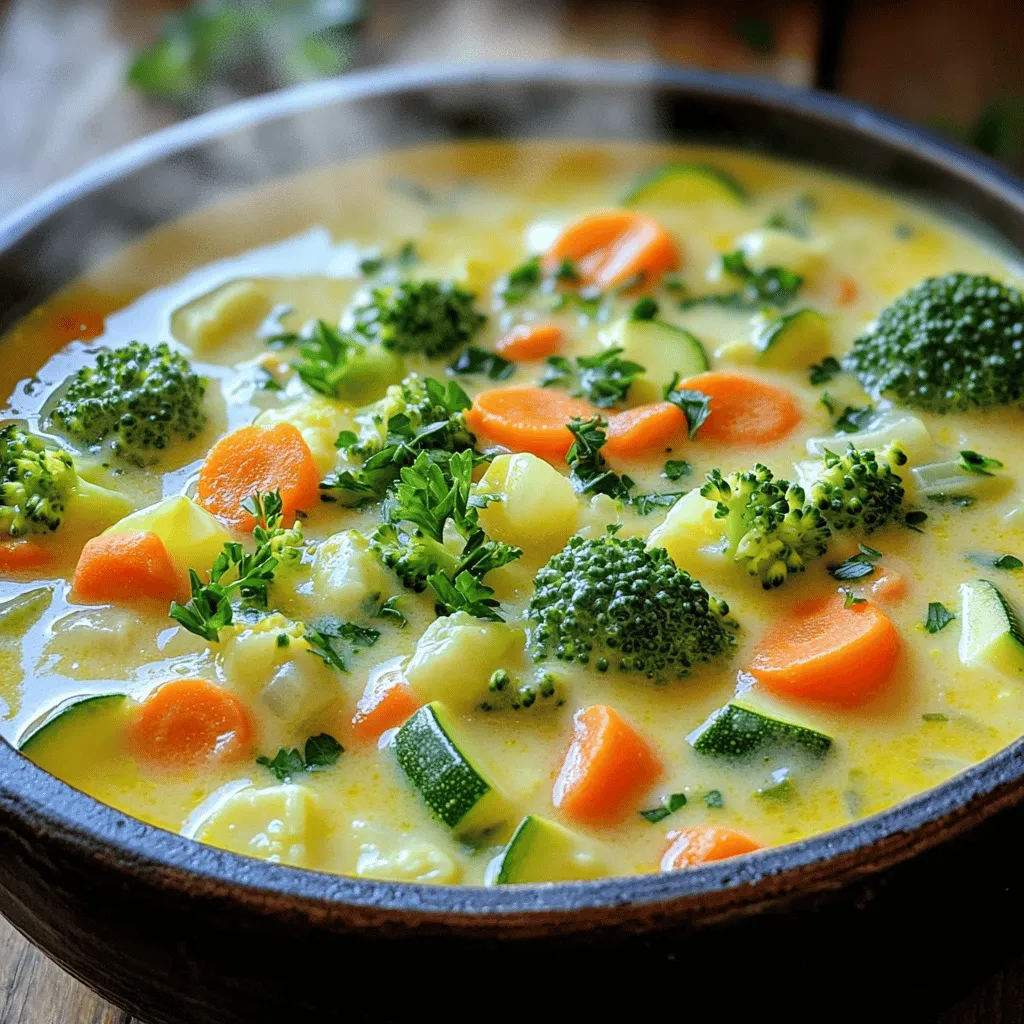
Looking for a simple, tasty meal that warms you up? This One-Pot Creamy Vegetable Soup is just what you need!
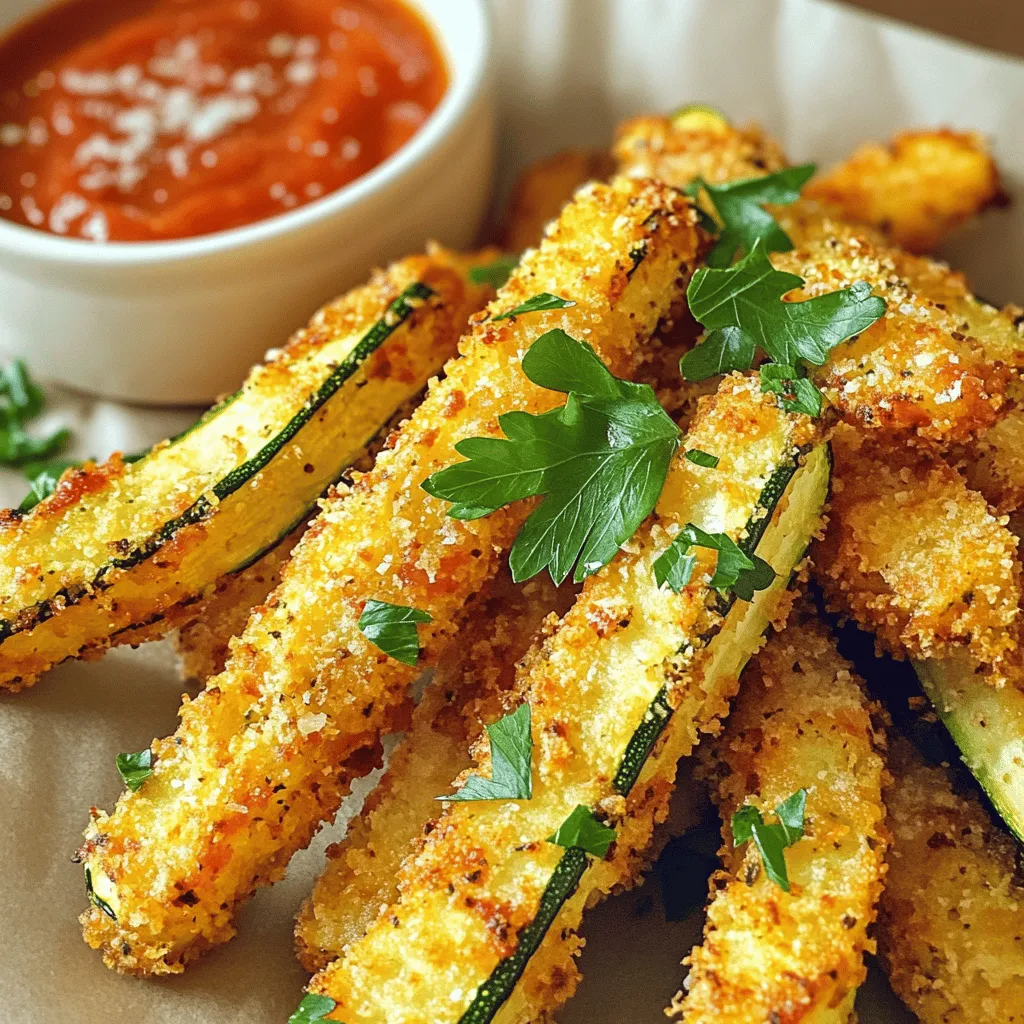
Are you ready for a tasty twist on a classic snack? Air fryer zucchini fries are not just crispy; they
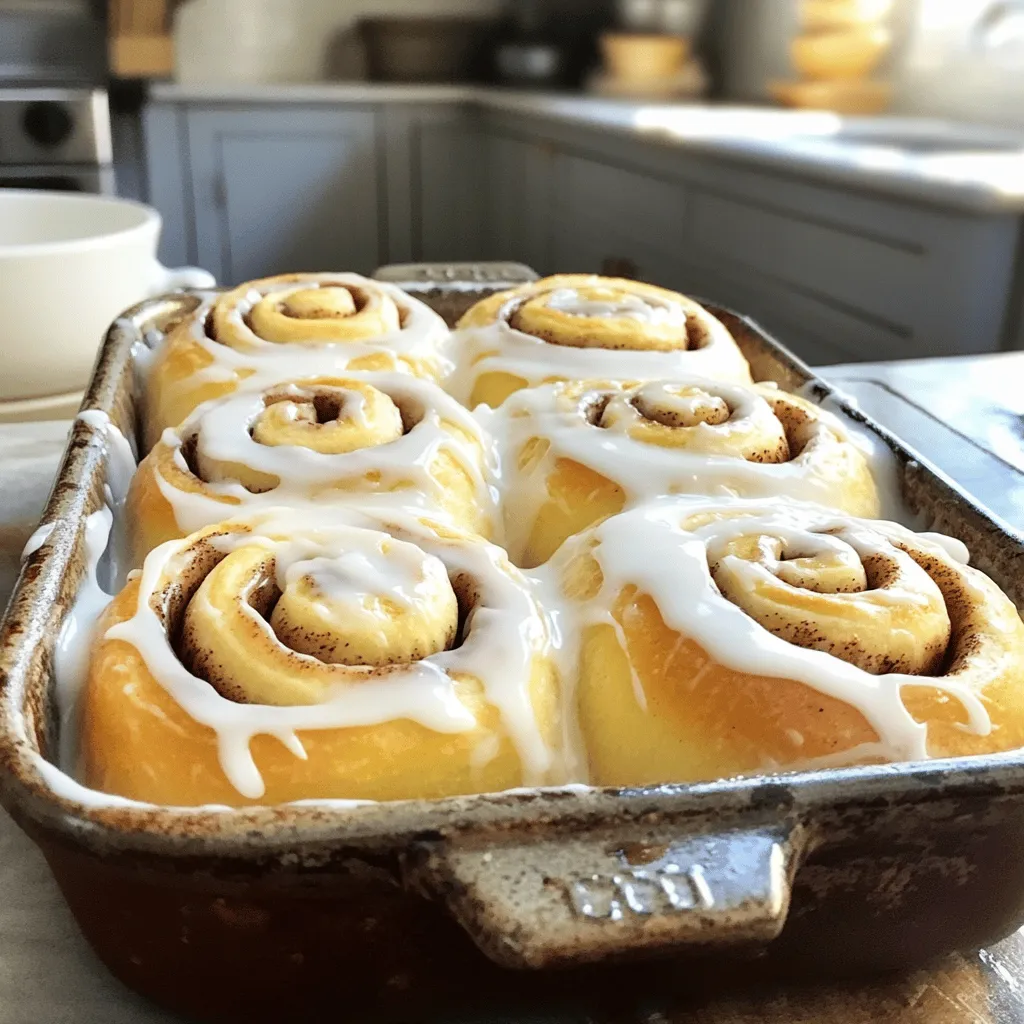
If you crave a warm, delicious treat that melts in your mouth, you’re in for a treat with these Fluffy
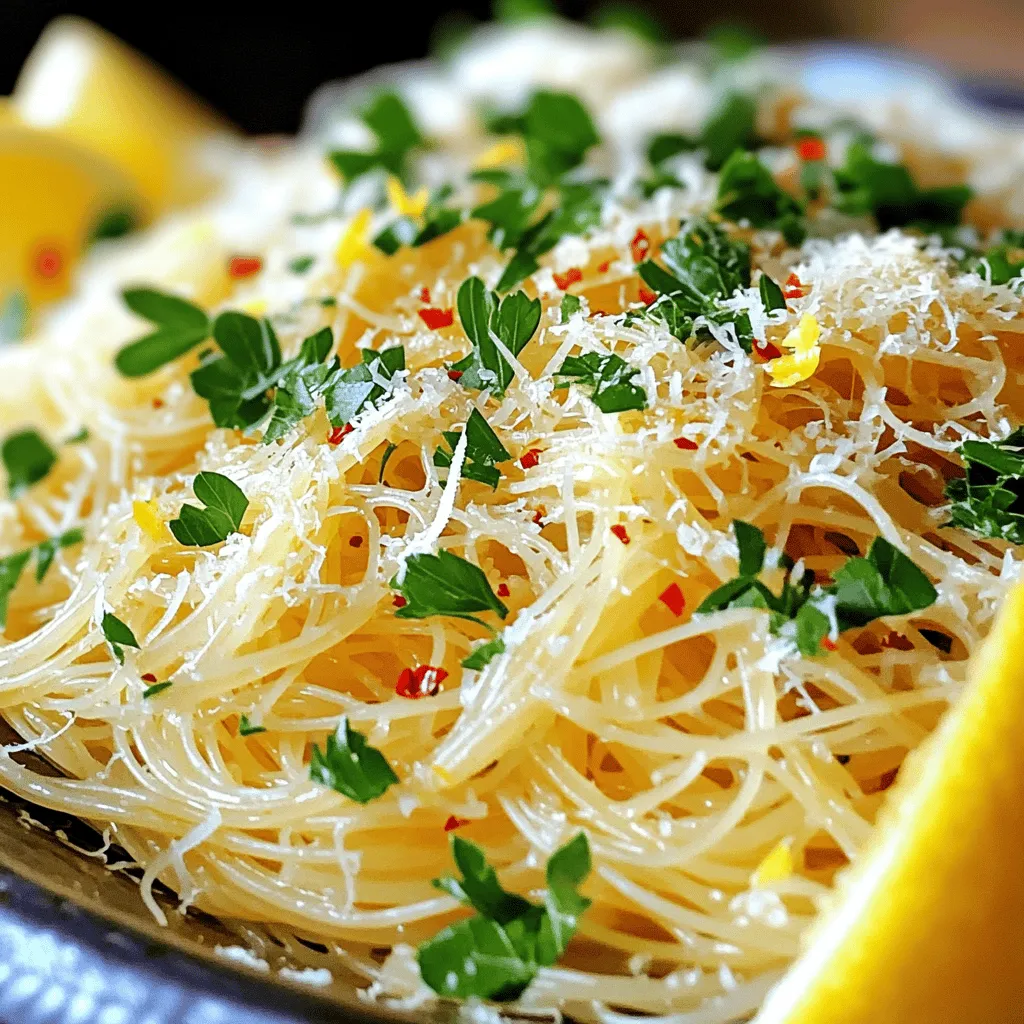
If you’re craving a quick and delicious pasta dish, Garlic Butter Angel Hair is your answer. In just a few
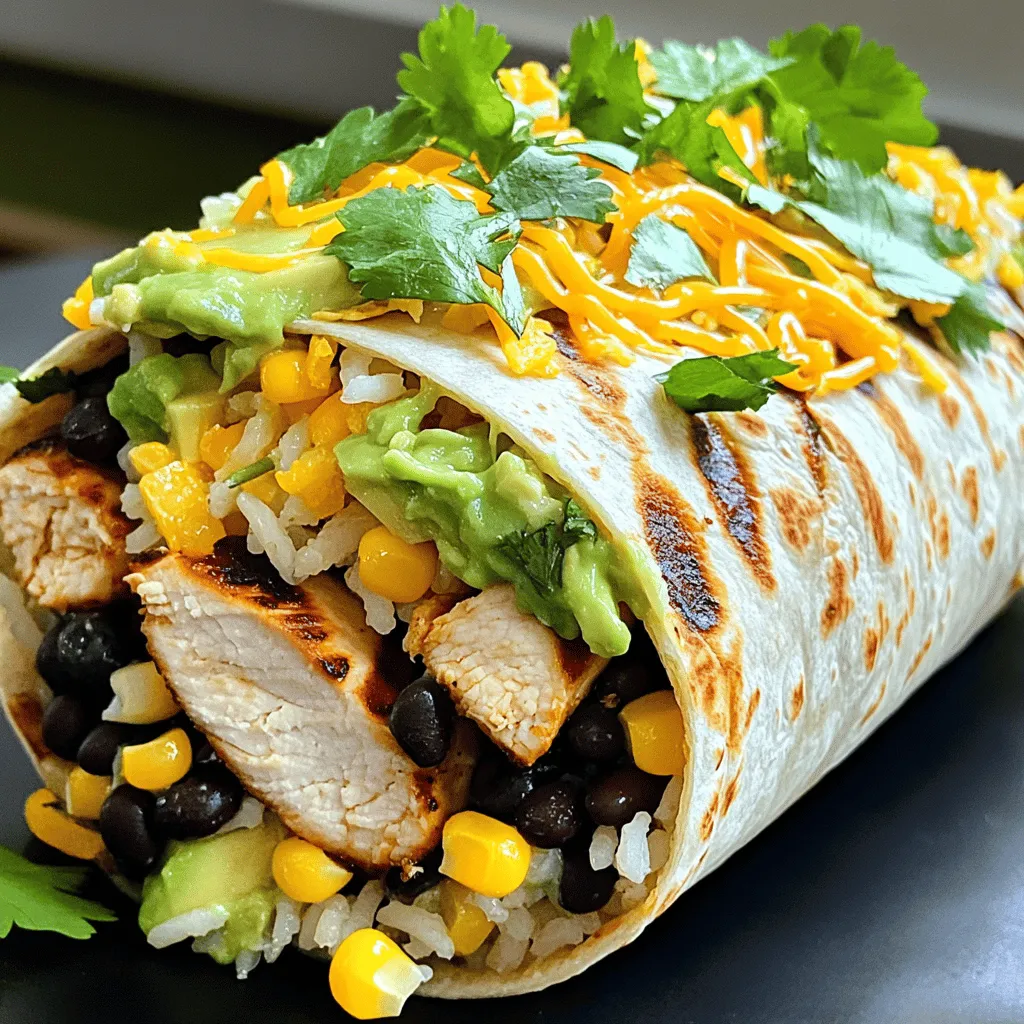
Are you ready to spice up your meal routine with a tasty twist? My Chipotle Ranch Grilled Chicken Burrito recipe
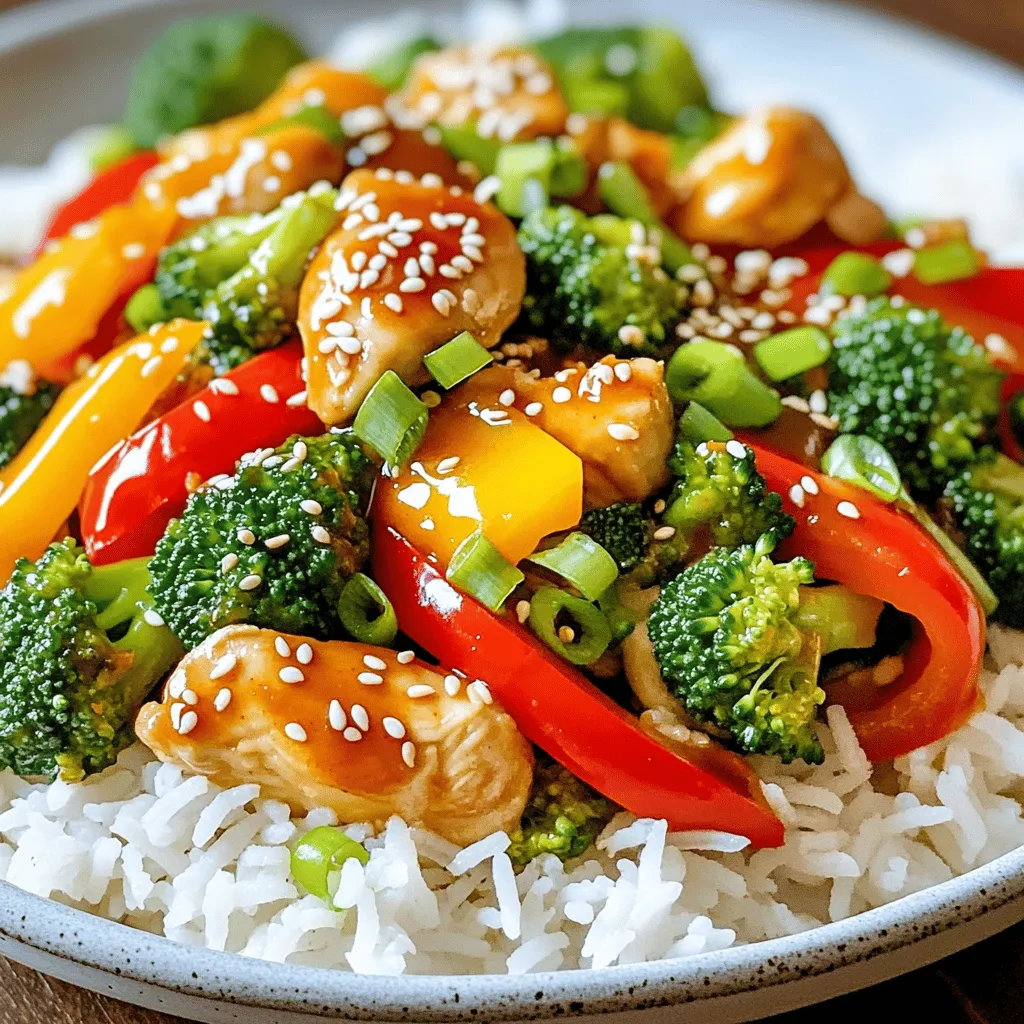
Looking for a dinner that’s easy, tasty, and full of flavor? Sweet Chili Chicken Stir Fry is just what you
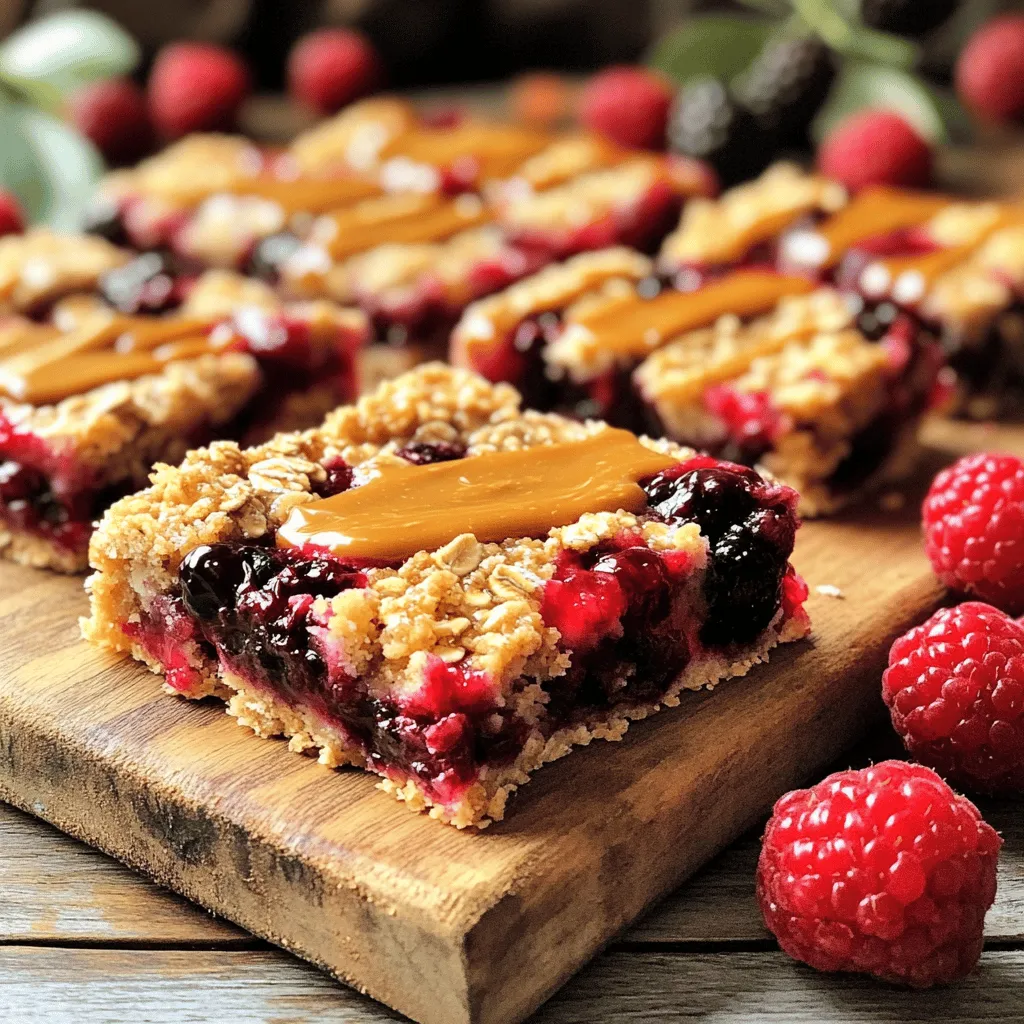
Looking for a healthy snack that tastes great? Berry oat bars are your answer! Packed with delicious flavors and good

Looking for a tasty snack that is both satisfying and healthy? Look no further! Dark Chocolate Sea Salt Nut Bars
