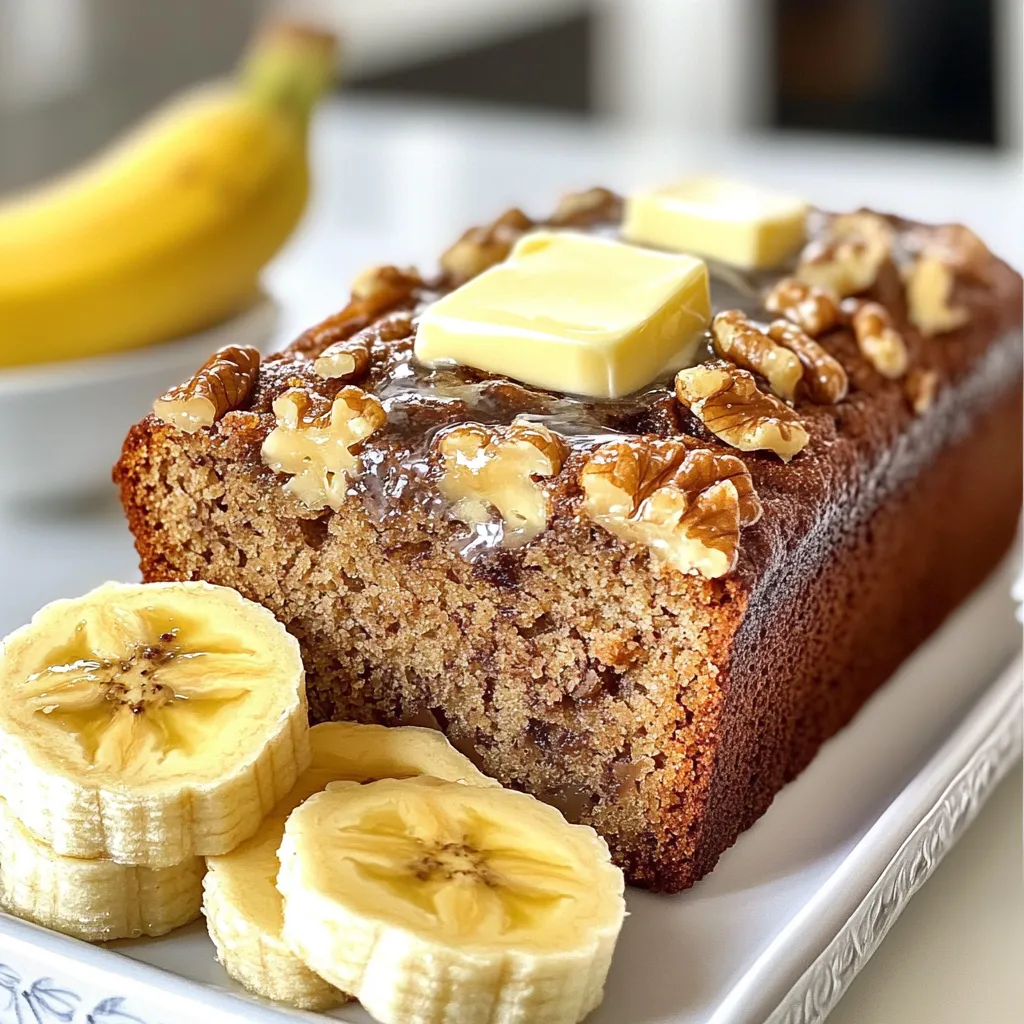
Moist Banana Bread Simple and Tasty Recipe Guide
Do you crave a dessert that’s moist and sweet? Look no further! In this guide, I will share my simple
Do you crave a dessert that’s moist and sweet? Look no further! In this guide, I will share my simple

If you’re craving comfort food with a kick, this Creamy Cajun Chicken Pasta Soup is for you! Bursting with flavors
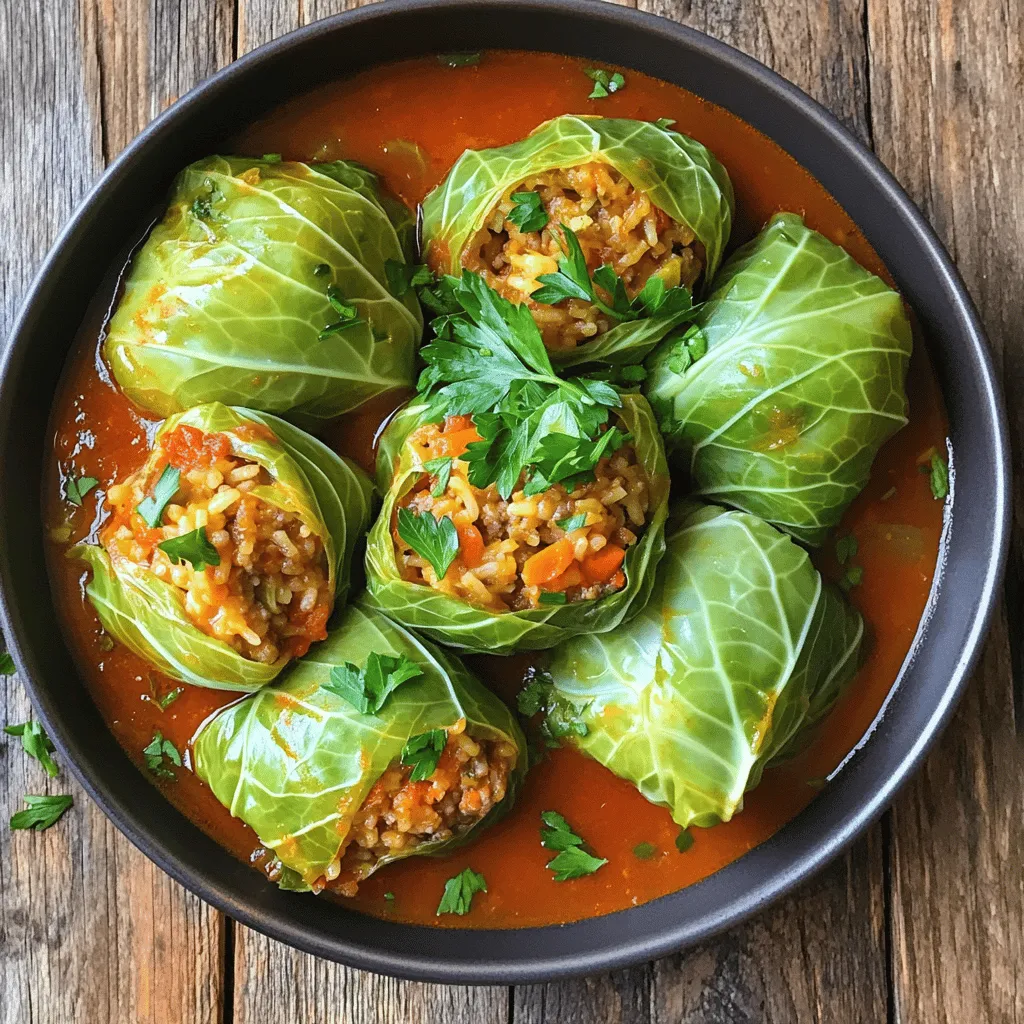
If you’re looking for a meal that’s both hearty and full of flavor, stuffed cabbage rolls are a perfect choice.

Are you ready to create a dish that’s both sweet and savory? Honey Butter Chicken is a favorite for many,
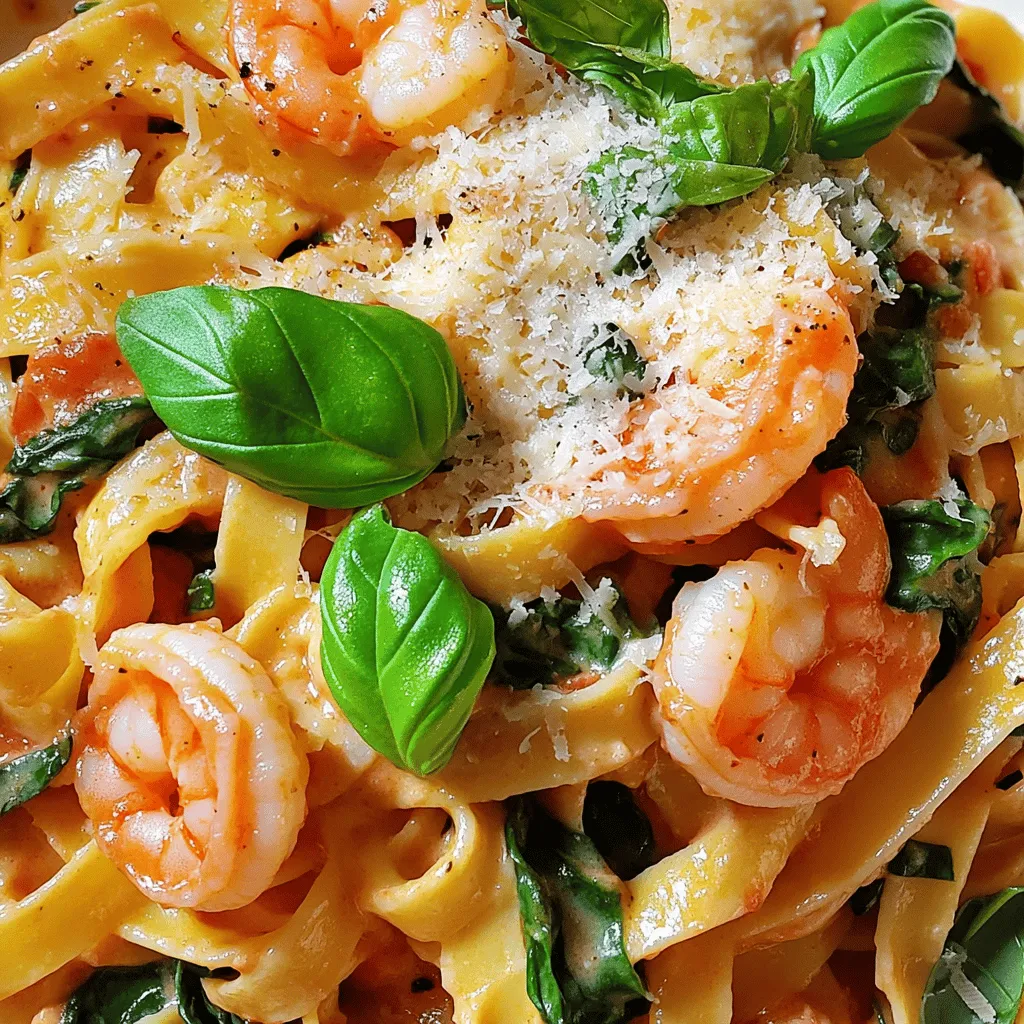
Looking for a quick dinner that bursts with flavor? My Creamy Tomato Spinach Shrimp Pasta is just what you need!
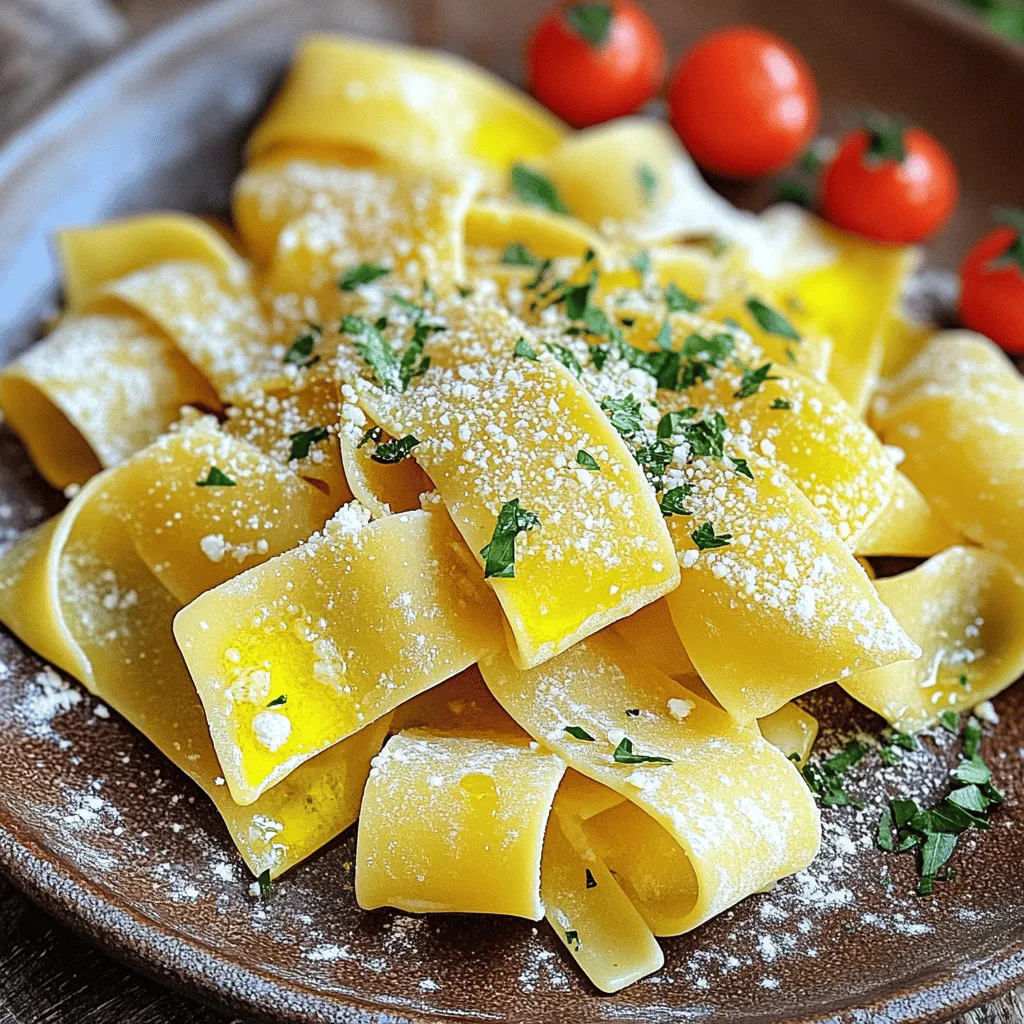
Are you ready to elevate your pasta game? Homemade sourdough pasta is not just a dish—it’s an experience. With just

Are you ready to impress your guests with a simple yet delicious snack? RITZ Cracker Party Sandwiches are the perfect
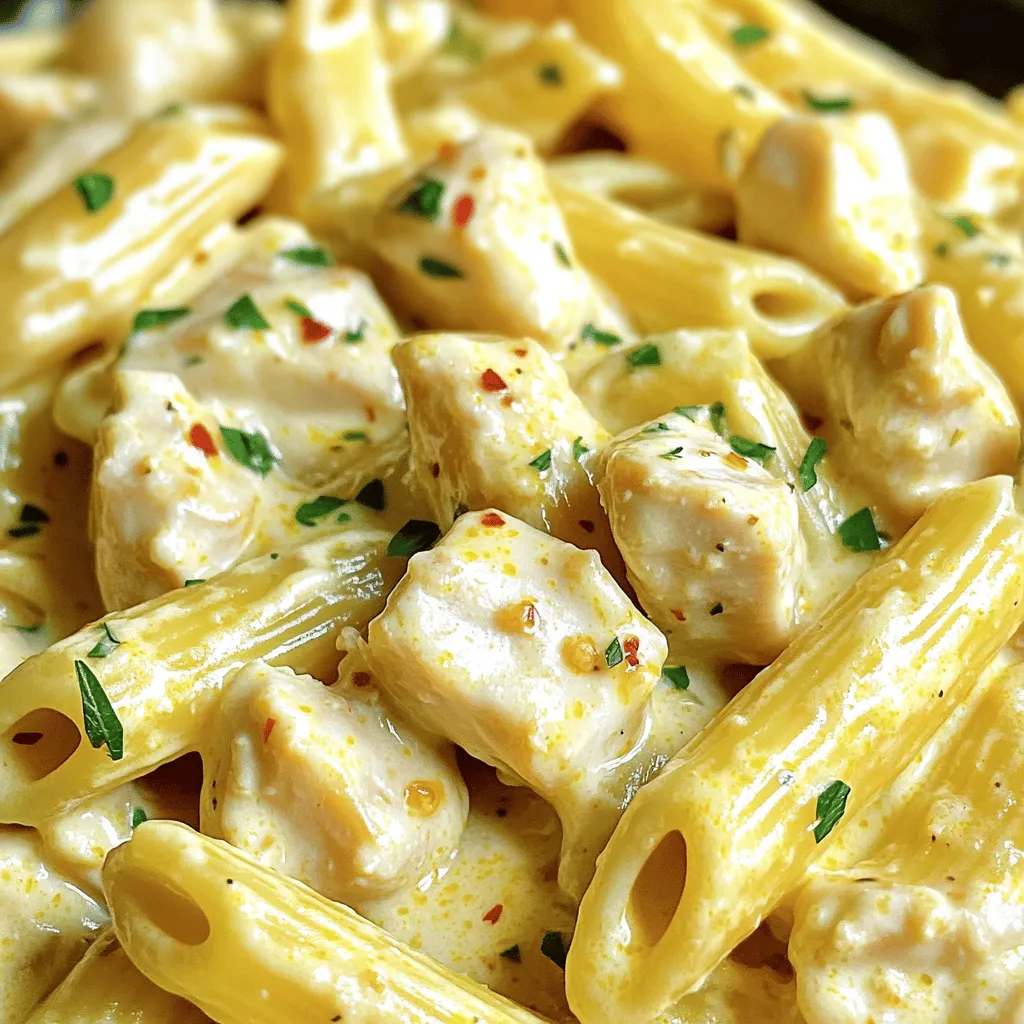
Looking for a quick meal that’s bursting with flavor? Garlic Parmesan Chicken Pasta is the answer! This creamy dish combines
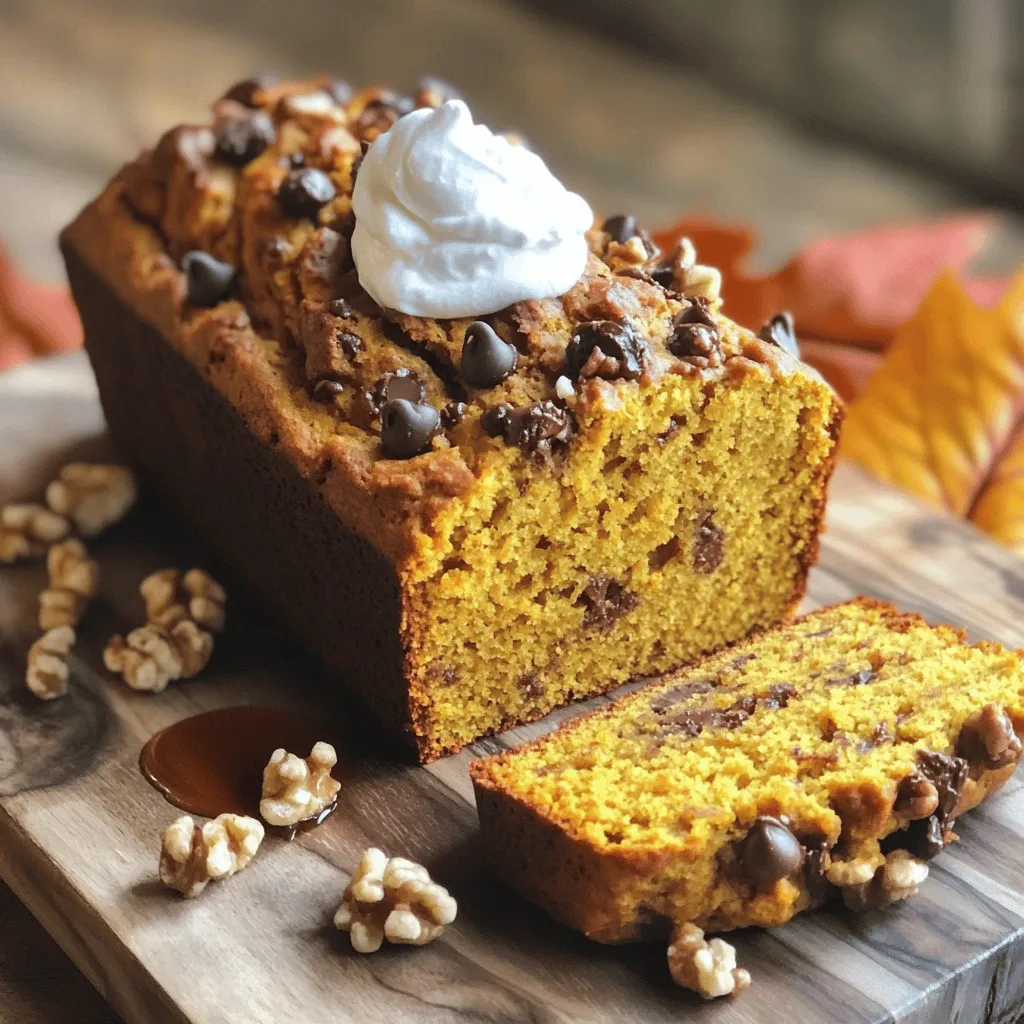
Fall is the perfect time to bake something warm and cozy, like Pumpkin Pie Bread. Imagine the sweet scent of
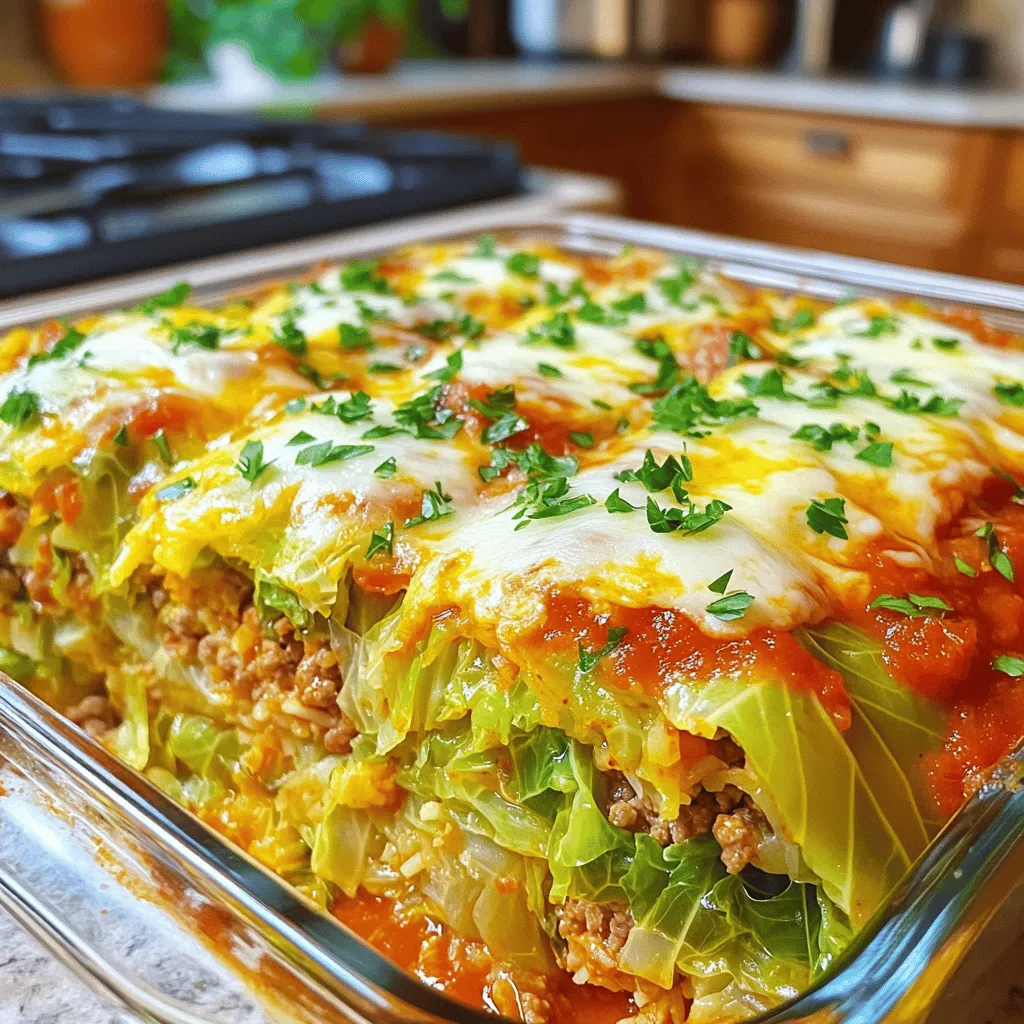
Looking for a hearty and easy meal? My Savory Cabbage Roll Casserole hits the spot! This dish combines all the
