
Mozzarella Stuffed Rosemary Pull Apart Bread Delight
Are you ready to elevate your snack game? This Mozzarella Stuffed Rosemary Pull Apart Bread will wow your taste buds!
Are you ready to elevate your snack game? This Mozzarella Stuffed Rosemary Pull Apart Bread will wow your taste buds!

Looking for a delicious dessert that’s easy to make? You’ve come to the right place! My Apple Fritter Cake combines
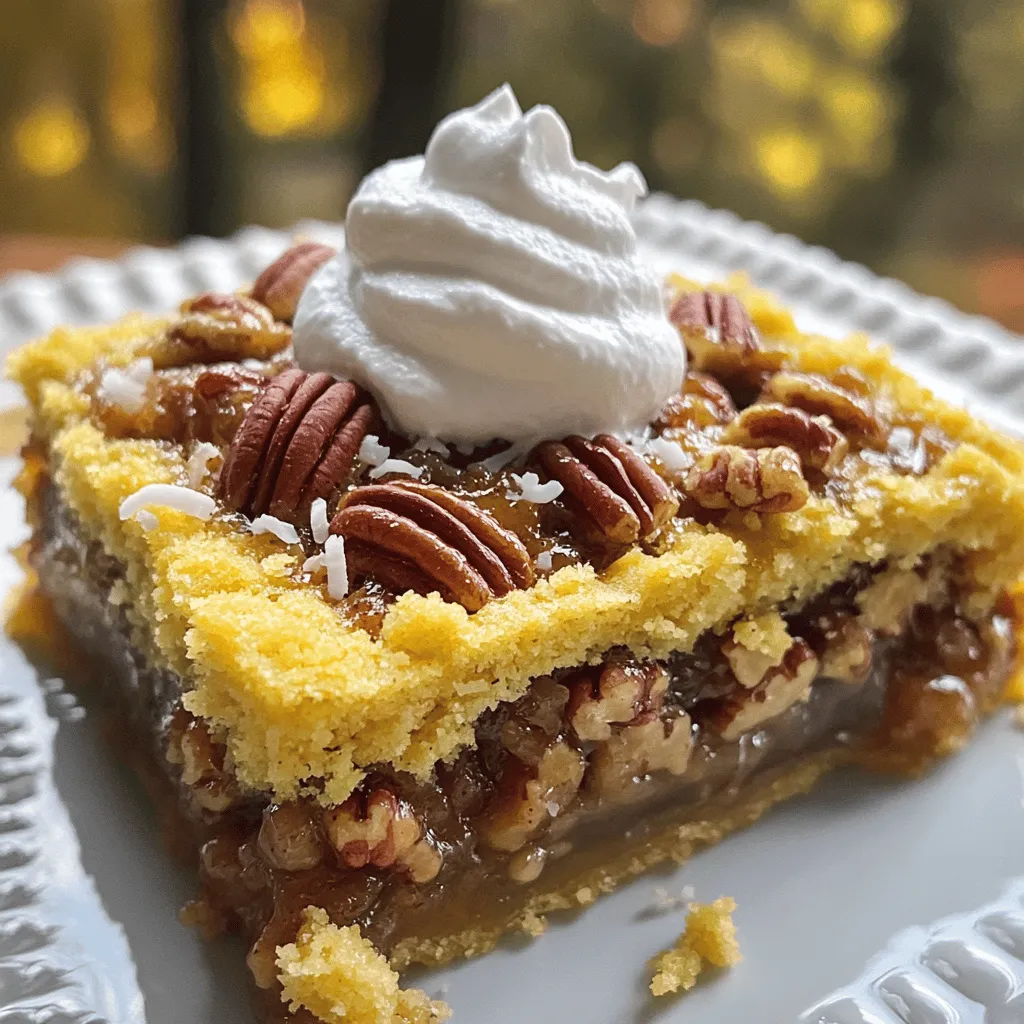
If you’re craving a sweet, nutty treat that’s both delightful and simple, you’ve come to the right place! This Southern

If you crave a sweet treat that’s simple to make, you’ll love Apple Cheesecake Crumble Buns! These soft, fluffy buns

Craving a fun twist on a classic dessert? These Savory Apple Pie Egg Rolls will delight your taste buds! Imagine

Are you ready to indulge in a sweet treat that combines the best of two worlds? My savory Apple Cheesecake
 Each apple pie egg roll has about 200 calories. They have sugars from the apples and brown sugar. If you want a healthier version, try using less sugar or a sugar substitute. You can also use whole-wheat wrappers for more fiber. Use Granny Smith or Honeycrisp apples for the best taste. They give a nice mix of sweet and tart. Granny Smith apples stay firm when cooked, while Honeycrisp adds extra sweetness. Both varieties hold up well in the filling and create a great texture. Yes, you can prep the filling a day ahead. Store it in the fridge to keep it fresh. You can also roll the egg rolls and keep them covered in the fridge. Just fry them right before you serve to keep them crispy. Look for a golden brown color on the egg rolls. This usually takes about 3-4 minutes per side. The egg rolls should feel crispy and firm. If they are soft, they need more time in the oil. In this blog post, we explored how to make delicious apple pie egg rolls. We covered the right ingredients, step-by-step instructions, and helpful tips to get the best results. I shared variations, storage tips, and serving ideas to make your dish even better. With these guidelines, you can enjoy a tasty treat that everyone will love. Get ready to impress your friends and family with your cooking skills!](https://recipesstation.com/wp-content/uploads/2025/08/938a0bdb-eb22-4d0d-bc6f-c899c63e45c1.webp)
Are you ready to combine two classic treats into one crispy delight? Apple Pie Egg Rolls are the perfect blend

If you love citrus, then these Lemon Brownies will hit the spot! This simple treat combines rich flavors with a

Are you ready to bite into a warm, sugary treat that bursts with appley goodness? My easy recipe for glazed
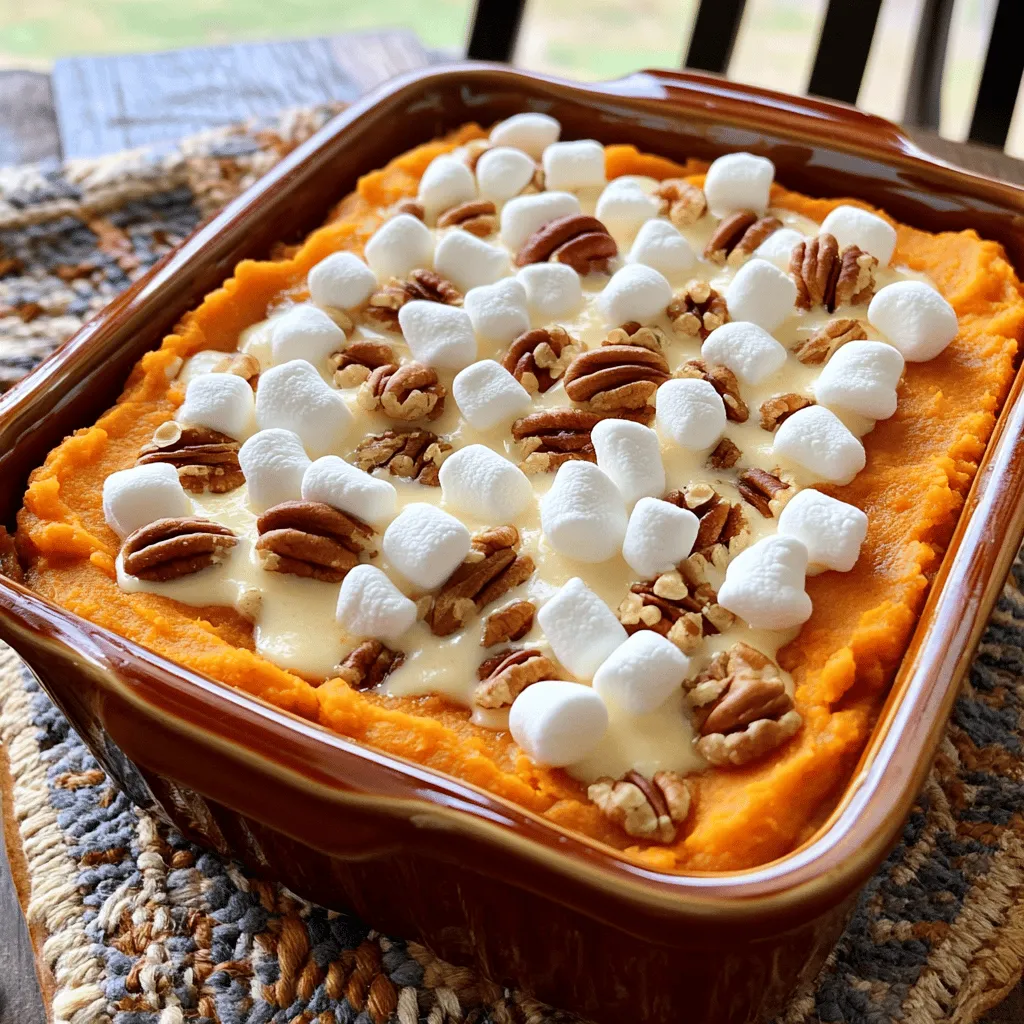
Looking for a dish that’s both simple and mouthwatering? My Easy Sweet Potato Casserole brings together creamy sweet potatoes, warm
