![To make delicious Pumpkin Cream Cheese Swirl Brownies, gather these ingredients: - 1/2 cup unsalted butter, melted - 1 cup granulated sugar - 2 large eggs, at room temperature - 1 teaspoon pure vanilla extract - 1/3 cup unsweetened cocoa powder - 1/2 cup all-purpose flour - 1/4 teaspoon salt - 1/4 teaspoon baking powder - 1 cup pumpkin puree (canned or fresh) - 4 oz cream cheese, softened at room temperature - 1/4 cup powdered sugar - 1/2 teaspoon ground cinnamon - 1/4 teaspoon ground nutmeg - 1/4 teaspoon ground ginger - Optional: Chopped pecans or walnuts for topping If you have dietary needs, here are some great swaps: - Gluten-Free: Use gluten-free flour instead of all-purpose flour. - Dairy-Free: Substitute cream cheese with a dairy-free cream cheese. - Sugar-Free: Choose a sugar substitute for the granulated and powdered sugar. - Egg-Free: Use flax eggs (1 tablespoon flaxseed meal + 2.5 tablespoons water per egg) as a replacement. You can use fresh pumpkin or canned pumpkin puree. Here’s the scoop: - Fresh Pumpkin: Fresh pumpkin offers a rich flavor. It takes time to prepare, but it’s worth it for the taste. - Canned Pumpkin: This is quick and easy. Just make sure to use pure pumpkin, not pumpkin pie filling. - Room Temperature Ingredients: Using room temperature eggs and cream cheese helps blend everything smoothly. This step ensures even cooking and a nice texture in your brownies. For the full recipe, check out the [Full Recipe]. First, preheat your oven to 350°F (175°C). This step is key for even baking. Next, prepare your 8x8-inch baking pan. You can grease it with butter or line it with parchment paper. This makes it easy to lift out the brownies later. Now, let’s melt the butter. Place it in a medium saucepan over low heat. Stir the butter gently until it fully melts. Once melted, remove it from heat. Add granulated sugar to the butter. Mix until the mixture is smooth and glossy. In a separate bowl, sift together unsweetened cocoa powder, flour, salt, and baking powder. This step helps to break up lumps and mix the dry ingredients well. Then, gradually fold this dry mix into your butter-sugar mixture. Be careful here! You want to mix until just combined, but do not overmix. Overmixing can make the brownies tough. Next, add the eggs one at a time. Beat well after each egg. Stir in pure vanilla extract until it's fully mixed in. Your brownie batter should be thick and smooth at this point. Now, let’s make the pumpkin cream cheese mixture. In a small bowl, combine pumpkin puree, softened cream cheese, powdered sugar, ground cinnamon, ground nutmeg, and ground ginger. Mix well until the mixture is smooth. This will create that rich, creamy swirl. To achieve the perfect swirl, pour half of the brownie batter into the prepared pan. Spread it evenly using a spatula. Then, spoon dollops of the pumpkin cream cheese mixture over the brownie batter. Use a knife or skewer to gently swirl it in. You want a marbled effect, so don’t mix it too much! Finally, pour the rest of the brownie batter on top and smooth it out. For the full recipe, you can check the comprehensive details above. When making Pumpkin Cream Cheese Swirl Brownies, some common mistakes can ruin your batch. Here are key errors to avoid: - Overmixing the Batter: Mix just until combined. Overmixing leads to tough brownies. - Incorrect Oven Temperature: Always preheat your oven. An unheated oven can cause uneven baking. - Not Greasing the Pan: Failing to grease or line your pan may cause sticking. Use parchment paper for easy removal. - Skipping the Cooling Time: Letting brownies cool in the pan is crucial. This helps them set and makes cutting easier. If you run into issues, check your oven temperature and ensure you measured ingredients correctly. To get a moist brownie texture, pay attention to these tips: - Use Room Temperature Ingredients: Bring eggs and cream cheese to room temperature. This helps mix them smoothly. - Don’t Overbake: Check brownies at 25 minutes. A toothpick should come out with a few moist crumbs, not clean. - Add Moisture: Consider adding a bit more pumpkin puree. This can enhance moistness. To check for doneness, insert a toothpick into the center. If it comes out with a few moist crumbs, they’re ready. Serving your brownies well can make them even more tempting. Here are some ideas: - Garnishing: Top with whipped cream and a sprinkle of cinnamon. This adds flavor and looks nice. - Pairing: Serve with a scoop of vanilla ice cream. The warm brownies and cold ice cream are a great match. - Visual Appeal: Cut brownies into neat squares. Arrange them on a colorful plate for a pop of fun. With these tips, your Pumpkin Cream Cheese Swirl Brownies will impress everyone! For the full recipe, check out the details above. {{image_4}} You can add more depth to your Pumpkin Cream Cheese Swirl Brownies. Consider adding spices like cardamom or cloves for a warm twist. A splash of maple or almond extract enhances the flavor too. You might like to mix in chocolate chips for extra richness. Try using dark or white chocolate chips for a fun contrast. Nuts, like chopped pecans or walnuts, can add a nice crunch. To make a vegan version, swap the eggs for flax eggs. Mix one tablespoon of flaxseed meal with three tablespoons of water. Let it sit for five minutes to thicken. Use a plant-based butter and a dairy-free cream cheese alternative. For a low-sugar option, try using a sugar substitute like erythritol or stevia. You can also reduce the sugar in the batter by a third for fewer calories. These brownies shine for any season. For Halloween, add candy corn on top right before baking. In winter, mix in peppermint extract for a festive flavor. You can also combine the pumpkin with cranberries for a Thanksgiving treat. Using fresh apples or pears brings a cozy fall vibe. Each twist makes this recipe perfect for your holiday table. For the full recipe, check out the detailed instructions above! You can keep your Pumpkin Cream Cheese Swirl Brownies at room temperature for up to two days. Store them in an airtight container. This keeps the brownies fresh and moist. If your kitchen is warm, you should refrigerate them. Wrap the brownies tightly in plastic wrap before placing them in the fridge. If you want to save some brownies for later, freezing is a great option. Cut the brownies into squares. Wrap each square in plastic wrap, then place them in a freezer bag. This helps prevent freezer burn. You can freeze them for up to three months. When ready to enjoy, take the brownies out of the freezer. Let them thaw in the fridge overnight. To reheat, pop them in the microwave for about 10-15 seconds. These brownies last for about 3-4 days in the fridge. If frozen, they can last for three months. Look for signs that they may have gone bad, such as a dry texture or a sour smell. If you notice any mold, throw them away. Enjoy the rich flavors while they are fresh for the best taste! To check if your brownies are done, use the toothpick test. Insert a toothpick in the center. If it comes out with a few moist crumbs, they are ready. You want to avoid a wet batter or completely dry crumbs. Also, look for a slight pull away from the pan edges. This shows they are baked well. Yes, you can prepare these brownies a day in advance. Bake them, then let them cool completely. Store them in an airtight container at room temperature. This keeps them fresh and tasty. You can also refrigerate them if you want them to last longer. Just bring them back to room temperature before serving. These brownies pair well with ice cream or whipped cream. Try vanilla ice cream for a classic taste. A warm mug of spiced chai or coffee also complements these brownies. You can even sprinkle some toasted nuts on top for added crunch. Yes, you can make these brownies gluten-free. Substitute all-purpose flour with a gluten-free blend. Almond flour or coconut flour can work too, but you may need to adjust the amount. Always check for gluten-free labels on your ingredients to ensure safety. If you lack cream cheese, use Greek yogurt or mascarpone cheese. These options will give a similar creamy taste. You can also use silken tofu for a dairy-free option. Just blend it until smooth before mixing it in. Use an 8x8-inch baking pan for this recipe. This size ensures even baking and the right thickness. If you use a larger pan, your brownies may bake too quickly and end up dry. Always line the pan with parchment paper for easy removal and cleanup. For the full recipe, check above. This blog post has covered everything you need for making delicious Pumpkin Cream Cheese Swirl Brownies. You learned about essential ingredients, preparations, and baking tips. You also explored variations for everyone, regardless of dietary needs. Remember, small changes can make big flavors! Store your brownies well, so they last longer. With these steps, you’ll have fantastic treats ready to share or enjoy on your own. Dive in, get creative, and enjoy your baking adventure!](https://recipesstation.com/wp-content/uploads/2025/07/43e3adc8-aa48-4f04-af1f-eb71a3367d5c.webp)
Pumpkin Cream Cheese Swirl Brownies Irresistible Delight
Indulging in Pumpkin Cream Cheese Swirl Brownies is an experience you won’t forget. These rich, fudgy treats combine warm fall
Indulging in Pumpkin Cream Cheese Swirl Brownies is an experience you won’t forget. These rich, fudgy treats combine warm fall
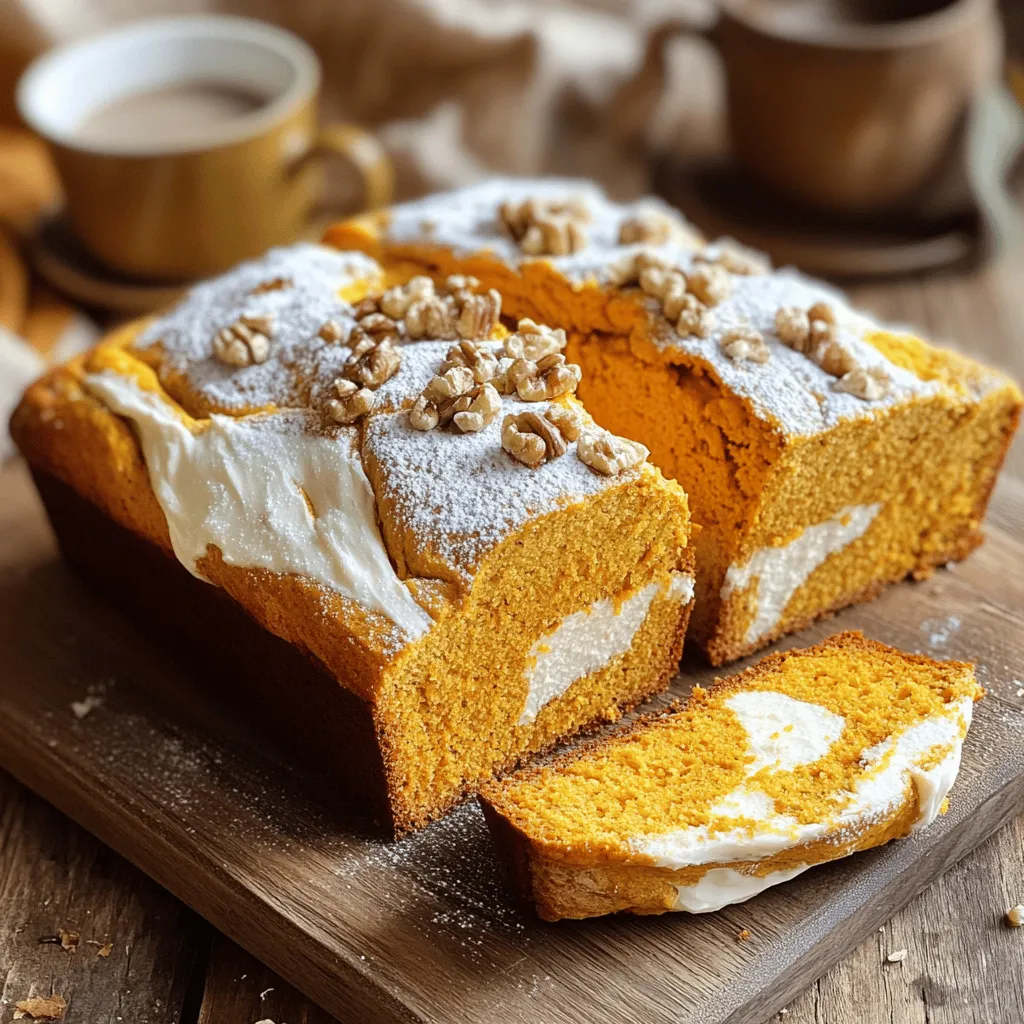
Are you ready to bake a treat that screams fall? This Savory Pumpkin Cream Cheese Bread recipe is simple, tasty,
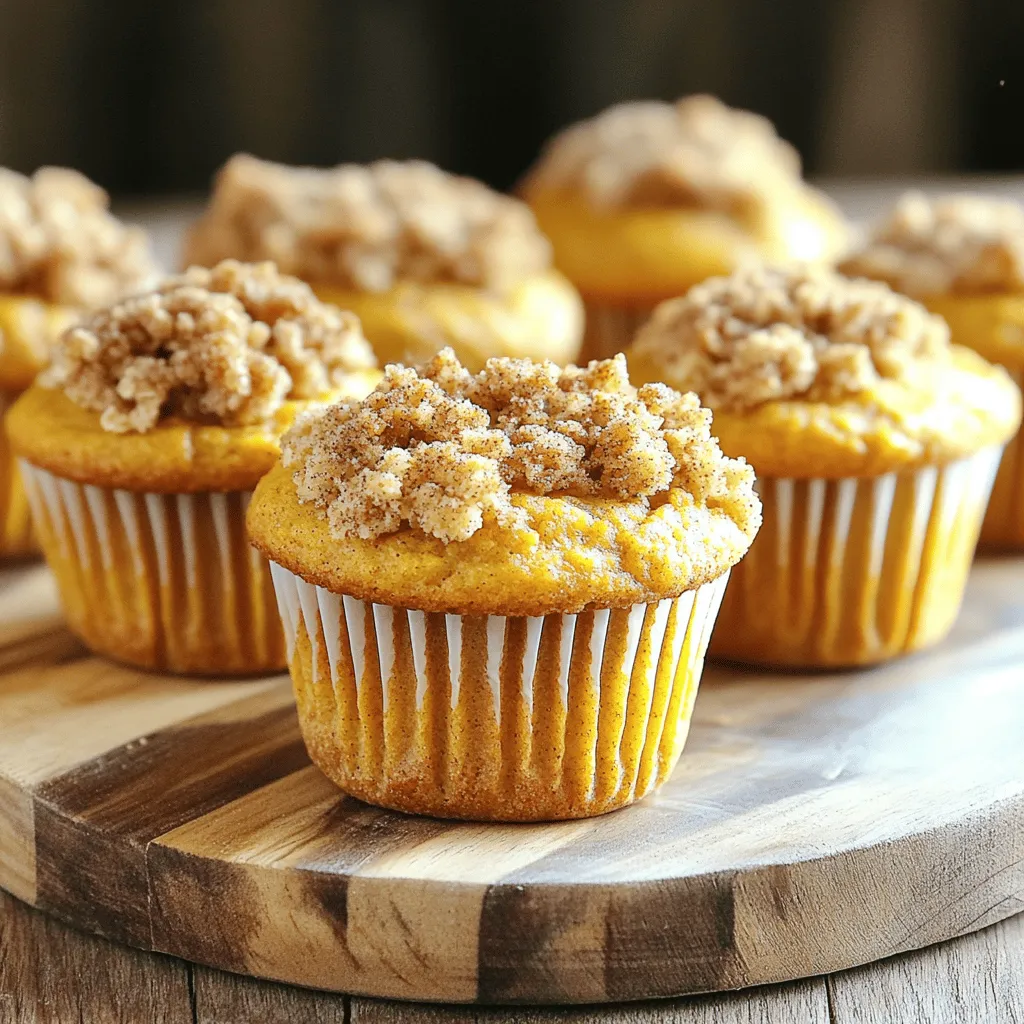
Looking for a cozy treat that warms your heart? These Pumpkin Streusel Coffee Cake Muffins are just what you need!
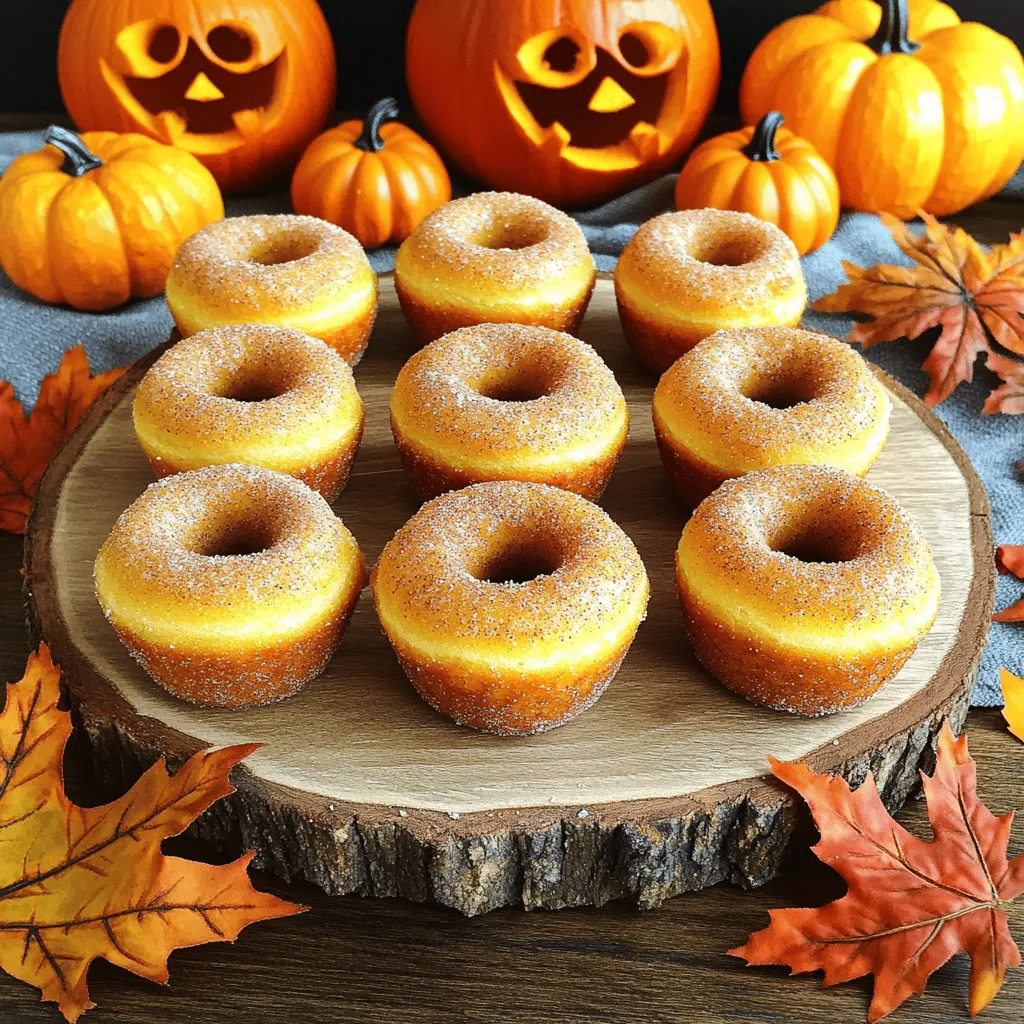
Fall is here, and what better way to celebrate than with Pumpkin Spice Doughnut Muffins? These fluffy treats pack all
. To make your pumpkin cheesecake muffins tasty and soft, use room-temperature ingredients. This includes cream cheese, eggs, and butter. They mix better and create a smooth batter. Always sift your flour before measuring. This adds air and helps the muffins rise. I love using freshly grated nutmeg along with cinnamon for a richer flavor. It gives a warm, cozy taste that pairs well with pumpkin. One big mistake is overmixing the batter. Overmixing can lead to tough muffins. Mix until the dry and wet ingredients just come together. Another mistake is not checking the oven’s temperature. Always preheat your oven. An oven that is too cool can result in underbaked muffins. Lastly, remember to use pumpkin puree, not pumpkin pie filling. The latter has added spices and sugar that can alter the taste. To ensure even baking, fill your muffin liners about two-thirds full. This allows room for the muffins to rise without spilling over. Rotate the muffin tray halfway through baking. Ovens can have hot spots, and this helps muffins bake evenly. Use a toothpick to check doneness. If it comes out clean, your muffins are ready. Enjoy the sweet aroma filling your kitchen as they bake! For the complete recipe, check the Full Recipe. {{image_4}} You can easily make gluten-free pumpkin cheesecake muffins. Just swap the all-purpose flour for a gluten-free blend. Many blends work well in baking. Look for one that includes xanthan gum for better texture. This small change keeps the muffins moist and fluffy. Want to change things up? You can add spices to your muffins. Try nutmeg or ginger for a warm twist. You might also mix in chocolate chips or dried cranberries. These add sweetness and texture. For a fun surprise, you can even use different types of pumpkin. Butternut squash gives a similar taste and adds variety. Toppings can make your muffins shine. For a simple touch, sprinkle some nuts on top before baking. Chopped pecans or walnuts add a nice crunch. If you want something sweet, drizzle caramel sauce over the muffins after they cool. You can also use whipped cream or a light cream cheese glaze. These toppings add flavor and make your muffins look fancy. For the complete recipe, check out the Full Recipe section. To keep your pumpkin cheesecake muffins fresh, place them in an airtight container. You can store them at room temperature for up to three days. If it’s warm in your kitchen, consider putting them in the fridge. This will help maintain their soft texture and flavor. If you want to save some muffins for later, freezing is a great option. First, let the muffins cool completely. Then, wrap each muffin in plastic wrap. After that, place them in a freezer bag. You can freeze them for up to three months. When you’re ready to enjoy them, just take out what you need. To reheat your muffins, a quick method works best. Preheat your oven to 350°F (175°C). Place the muffins on a baking sheet. Heat them for about 10 minutes. This will restore their warmth and soft texture. You can also use a microwave if you're in a hurry. Just heat them for about 15 to 20 seconds. Enjoy your yummy treat! For the full recipe, check out the complete details above. These muffins stay fresh for about three days at room temperature. Store them in an airtight container. If you want them to last longer, put them in the fridge. They can last up to a week there. For longer storage, freeze them. In the freezer, they keep well for about three months. Just remember to wrap them tightly! Yes, you can use fresh pumpkin! You should cook it first. Cut the pumpkin into pieces and roast it until tender. Then, scoop the flesh and blend it until smooth. This gives a great flavor and texture. Just make sure to measure it out like you would with canned pumpkin. The same amount works! If you need a substitute for cream cheese, try Greek yogurt. It gives a nice creaminess. You can also use ricotta cheese for a softer texture. Mascarpone works well too, for a richer taste. Just remember that these options may change the flavor slightly. Adjust the sugar in the filling if needed. You now know how to make delicious pumpkin cheesecake muffins. We covered all the key points, from choosing the right ingredients to perfecting the texture. Don't forget about the variations and storage tips to keep them fresh. With these simple steps, you can impress friends and family. Enjoy baking, and savor each bite of your tasty muffins!](https://recipesstation.com/wp-content/uploads/2025/07/0aca5f85-48d2-4551-b5c0-36cbd7a27644.webp)
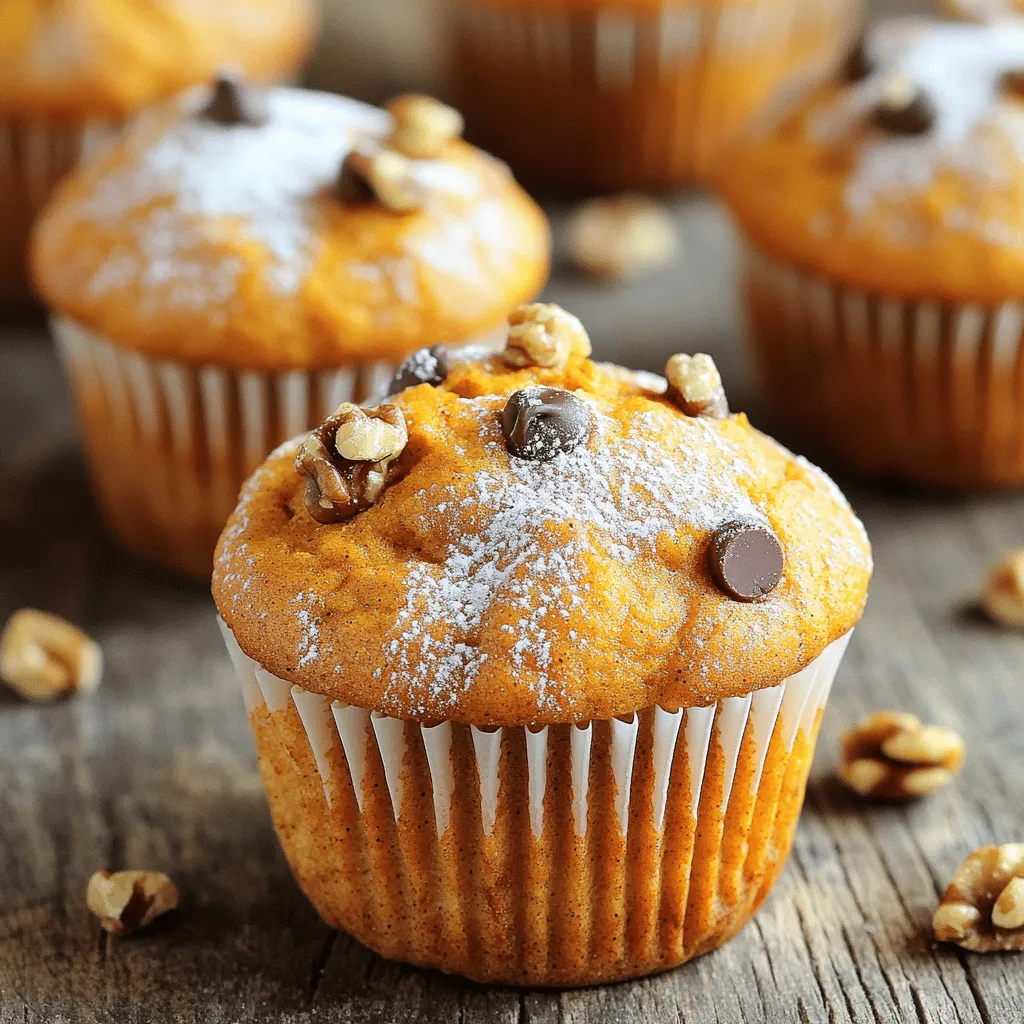
Are you ready to indulge in a tasty treat that combines pumpkin spice with creamy goodness? These Irresistible Pumpkin Cheesecake
Want a tasty treat that brings fall flavors all year round? These Ingredient Pumpkin Muffins are your answer! With simple
. You can use different flours, but each has its own pros and cons. - Almond flour: Adds a nice nutty flavor but may make muffins dense. - Coconut flour: Absorbs a lot of moisture. You need to adjust liquids for balance. - Oat flour: Great for texture but can be crumbly. Mix with other flours for best results. - Rice flour: Common in gluten-free recipes. It may not hold moisture well alone. Each flour brings unique flavors and textures. Experiment to find your favorite! You can use various sugar alternatives in this recipe. - Stevia: A natural sweetener that is much sweeter than sugar. Use less. - Monk fruit: Another great option. It has zero calories and a mild taste. - Erythritol: This sugar alcohol offers sweetness without calories. It may have a cooling effect. - Applesauce: You can replace some sugar with more applesauce for natural sweetness. Each option affects taste and texture, so choose what you enjoy! If you want to swap out cream cheese, several options work well. - Greek yogurt: It adds creaminess and protein. Choose plain for best results. - Silken tofu: Blend it until smooth for a dairy-free option. - Cottage cheese: Blend it for a creamier texture. - Vegan cream cheese: Many brands offer a plant-based alternative that tastes great. These substitutes offer different flavors, so pick one that fits your needs! Checking for doneness is easy with a few simple signs. - Toothpick test: Insert a toothpick into the center. If it comes out clean, they are done. - Golden edges: Look for edges that turn a light golden brown. - Springy tops: Gently press the top. If it springs back, it’s ready. These tips help ensure your muffins come out perfectly every time! Yes, mini muffins are a fun twist on this recipe! - Adjust baking time: Bake them for about 12-15 minutes instead of 18-20. - Portion sizes: Fill mini muffin tins only halfway to allow room for rising. - Check often: Use the toothpick test to ensure they bake through without overcooking. Mini muffins are perfect for snacks or parties! Enjoy making them! This blog post covered a great pumpkin muffin recipe. We discussed ingredient choices, like gluten-free flour and spices. We explored step-by-step instructions and tips for a perfect bake. You learned about variations for different diets and flavors. Remember to store your muffins properly and enjoy their freshness. With practice, your baking skills will grow. Happy muffin making!](https://recipesstation.com/wp-content/uploads/2025/07/7da20c82-8c82-457d-8b6e-7780ed3f65f1.webp)
Are you craving a delicious fall treat that’s also gluten-free? Look no further! My Gluten-Free Pumpkin Cream Cheese Muffins are

If you crave a warm, cheesy snack that’s easy to make, you’re in the right place! Garlic Parmesan Knots are
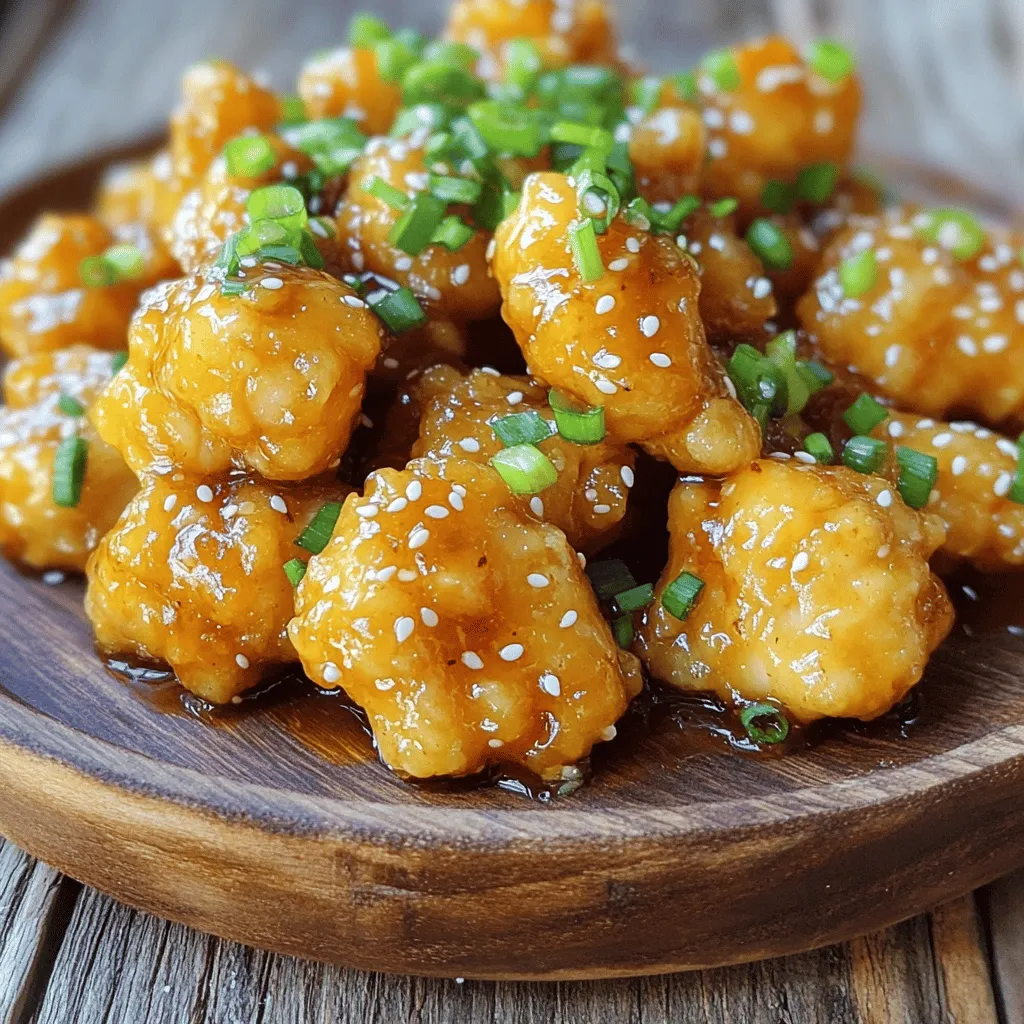
Looking for a quick and tasty dinner? Let’s dive into Honey Garlic Chicken Bites! This dish combines sweet honey, savory
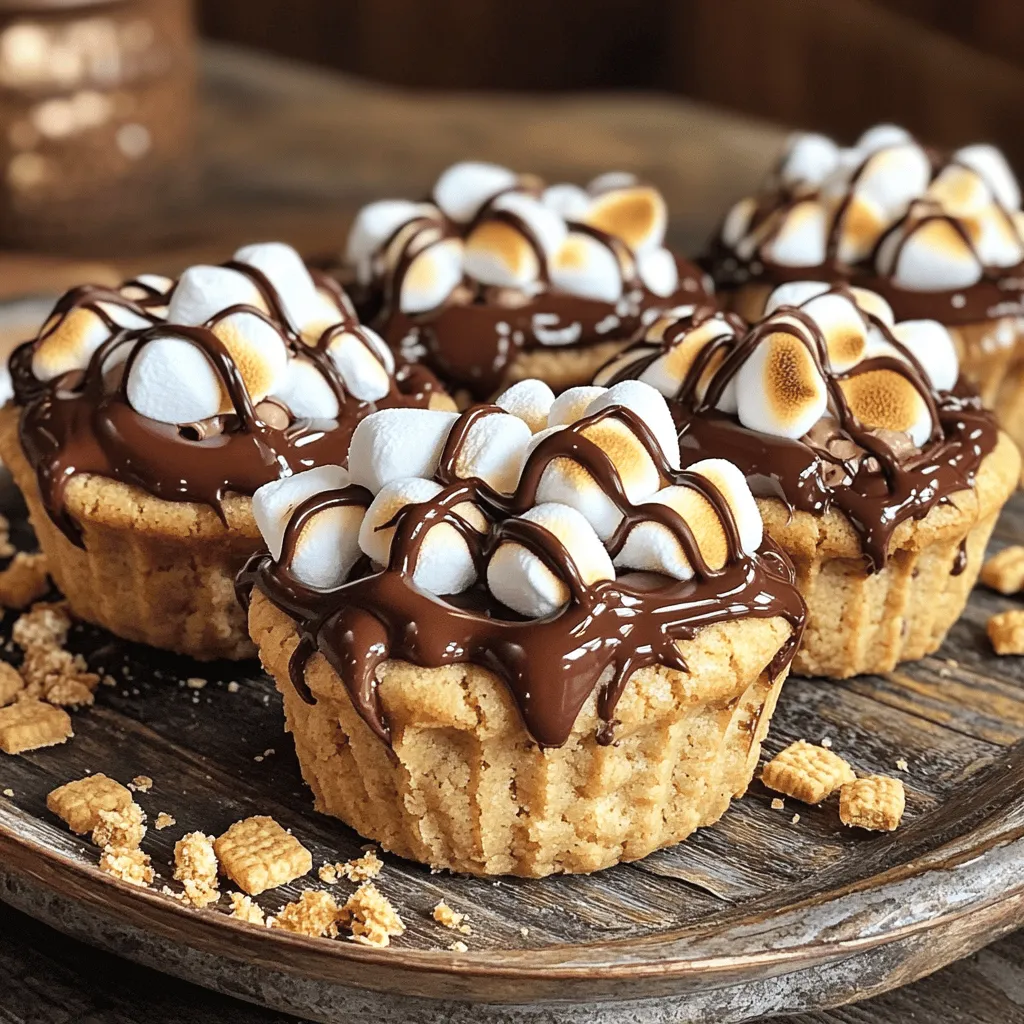
Ready to elevate your dessert game? S’mores Cookie Cups are the perfect sweet treat. They blend gooey chocolate, toasted marshmallows,
