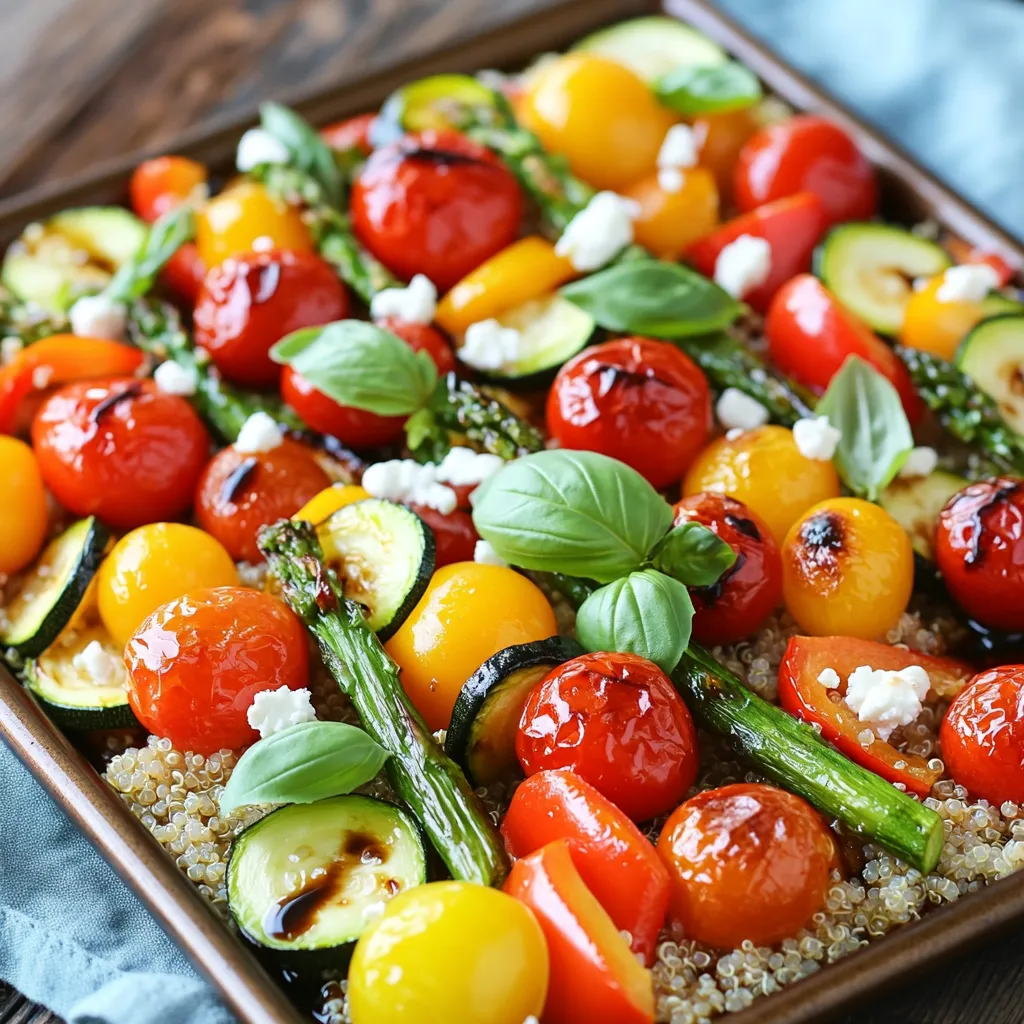
Sheet Pan Balsamic Veggie Bowls Healthy and Flavorful
Looking for a quick, healthy meal that’s packed with flavor? You’ve found it! Sheet pan balsamic veggie bowls combine fresh
Looking for a quick, healthy meal that’s packed with flavor? You’ve found it! Sheet pan balsamic veggie bowls combine fresh
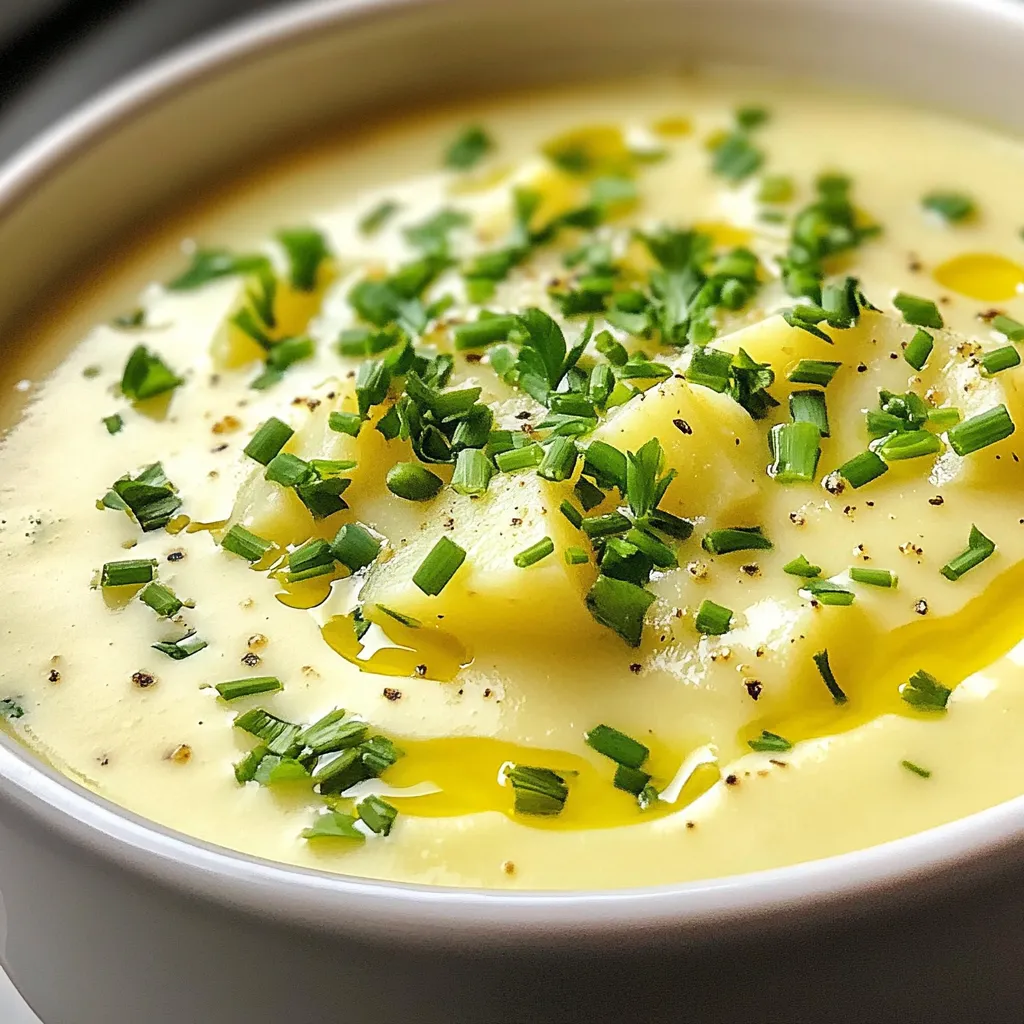
If you crave a warm, comforting meal, this Rustic Creamy Potato Soup is perfect for you. It’s delightfully rich and
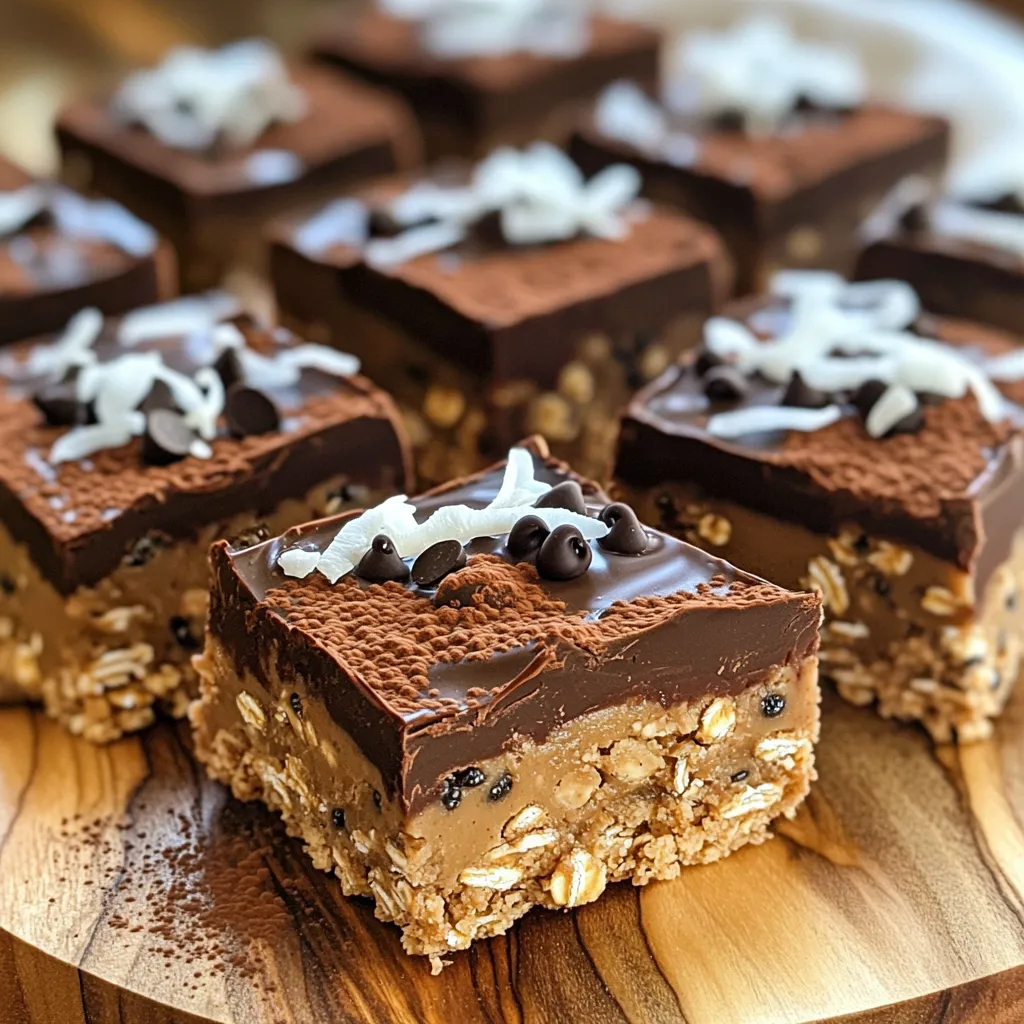
Craving a sweet treat that’s easy to make? These No-Bake Chocolate Peanut Butter Oat Bars are your answer! With just
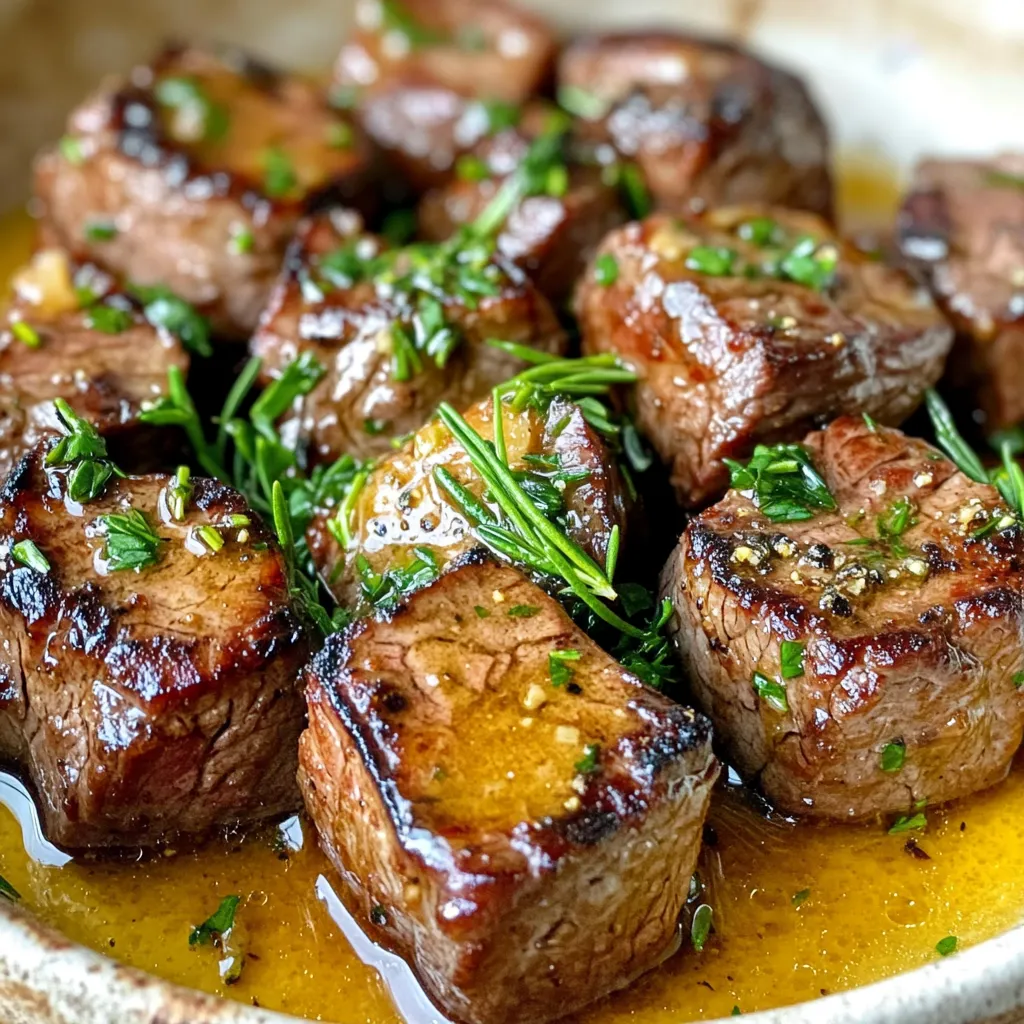
If you crave a quick and tasty meal, these Minute Garlic Butter Steak Bites are perfect for you! Made with
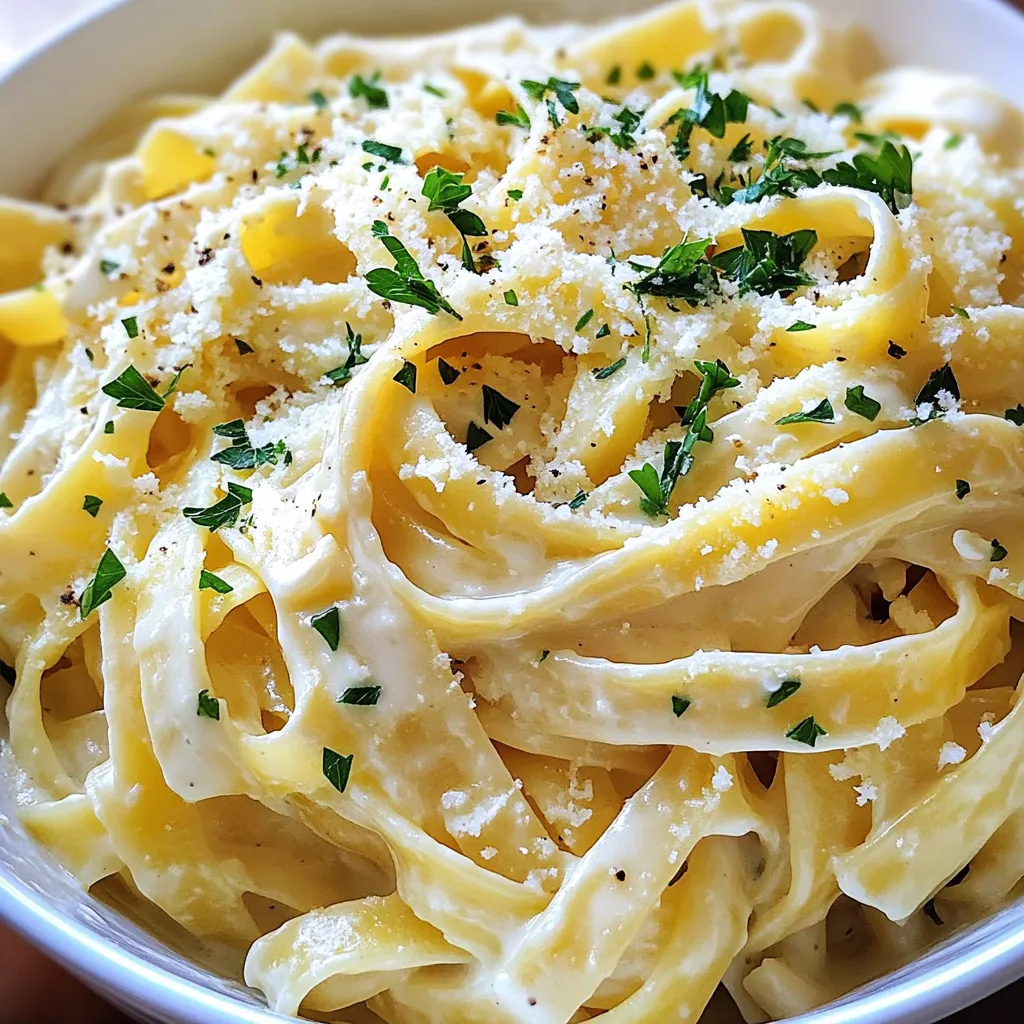
Looking for a quick and tasty dinner? This Cottage Cheese Alfredo Pasta will hit the spot! With creamy sauce and
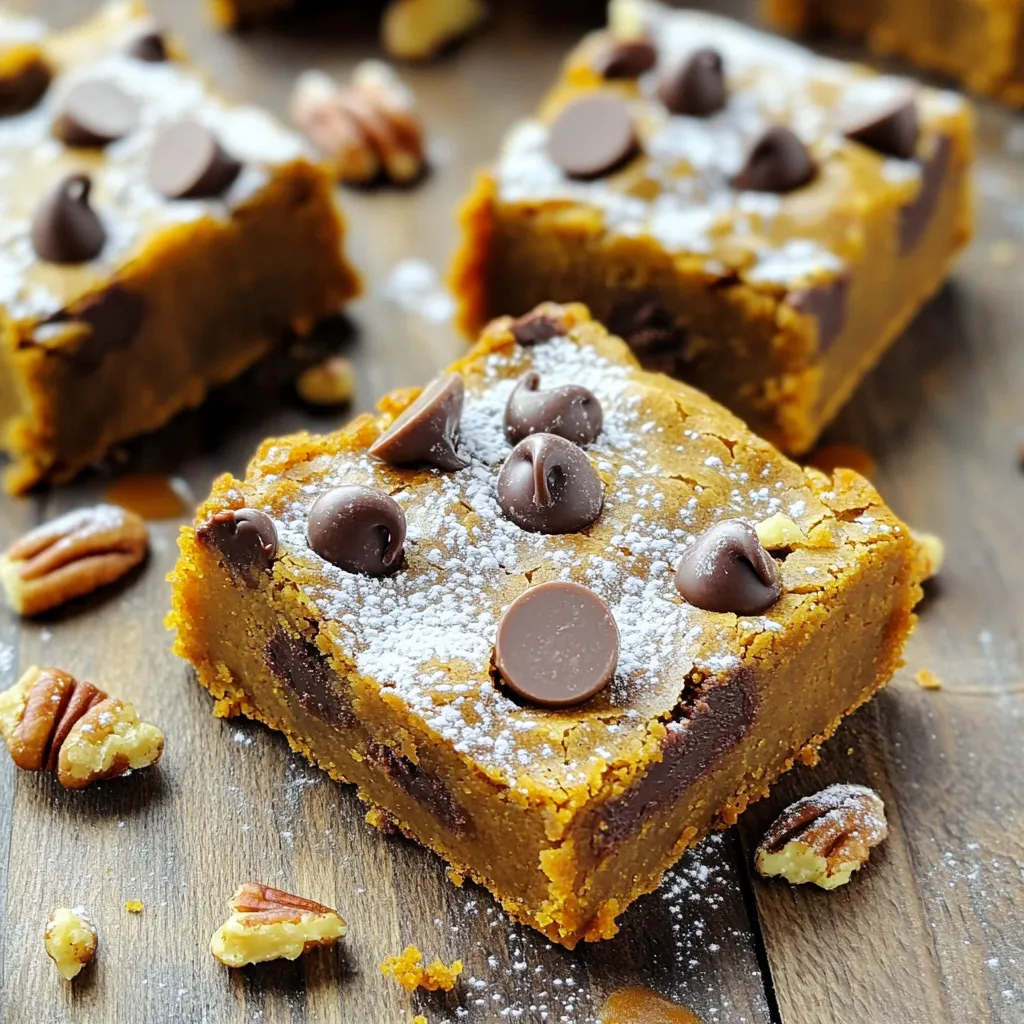
Are you ready to dive into fall flavors with a treat that’s easy to make? These Pumpkin Chocolate Chip Blondies
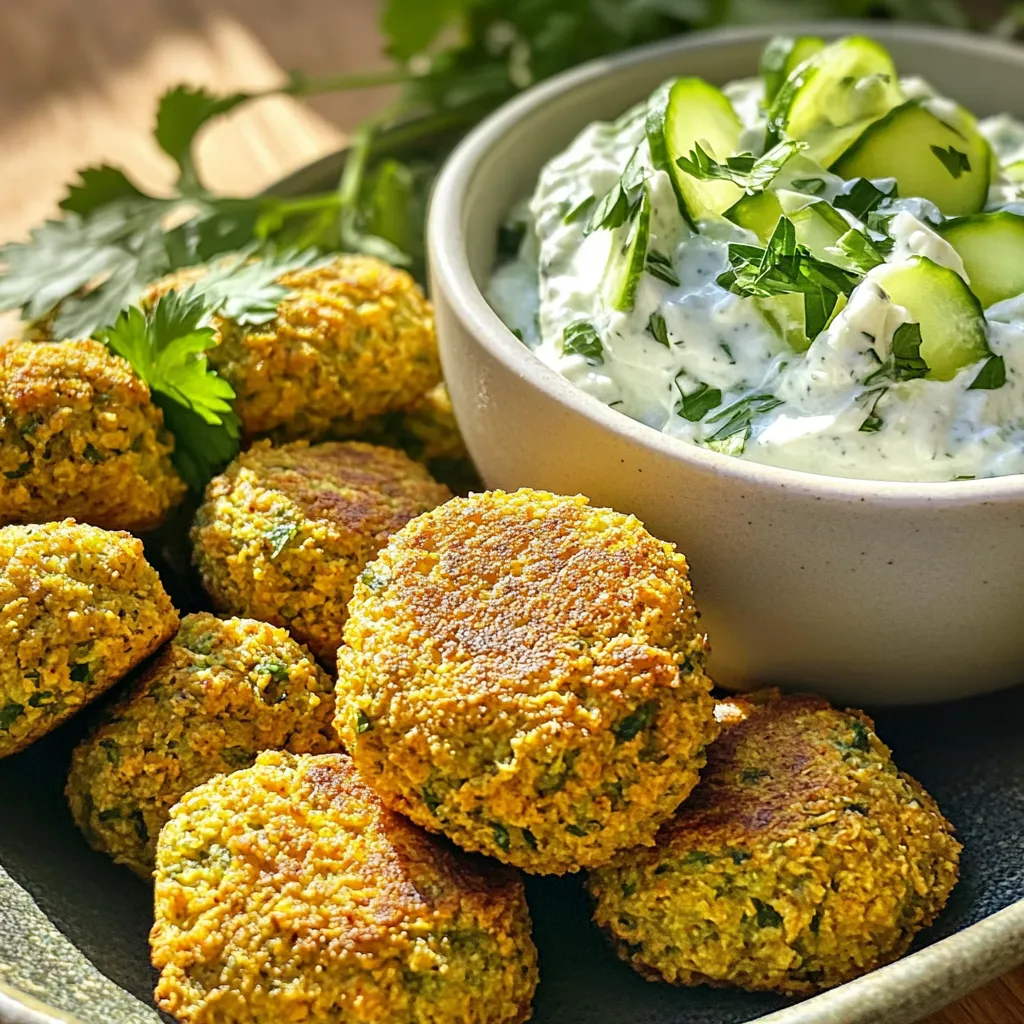
Are you ready to elevate your dinner game? This Flavorful Air Fryer Falafel with Tzatziki Delight offers crispy, tasty bites
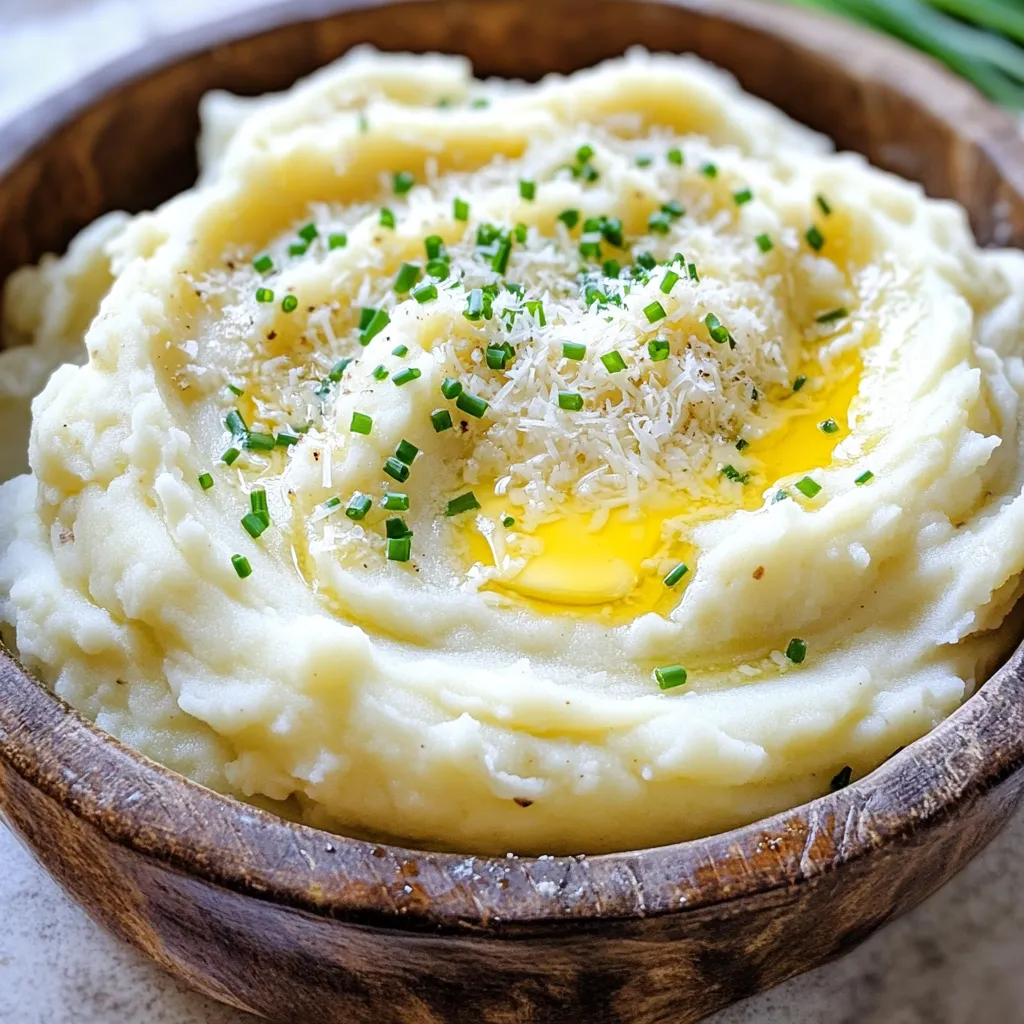
If you want a side dish that steals the show, you’ve found it! Creamy Garlic Parmesan Mashed Potatoes are rich,
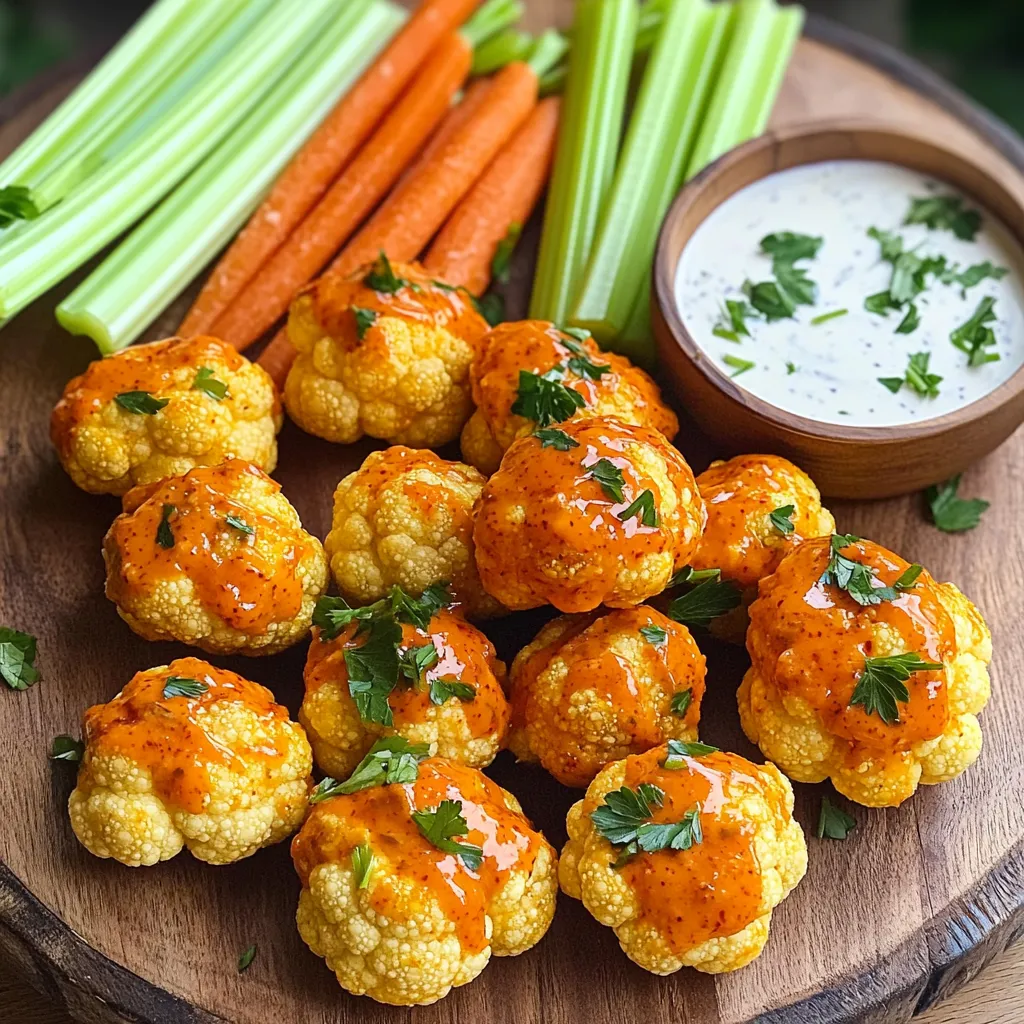
Looking for a tasty snack that packs a punch? Try my Air Fryer Buffalo Cauliflower Bites! These crispy delights are
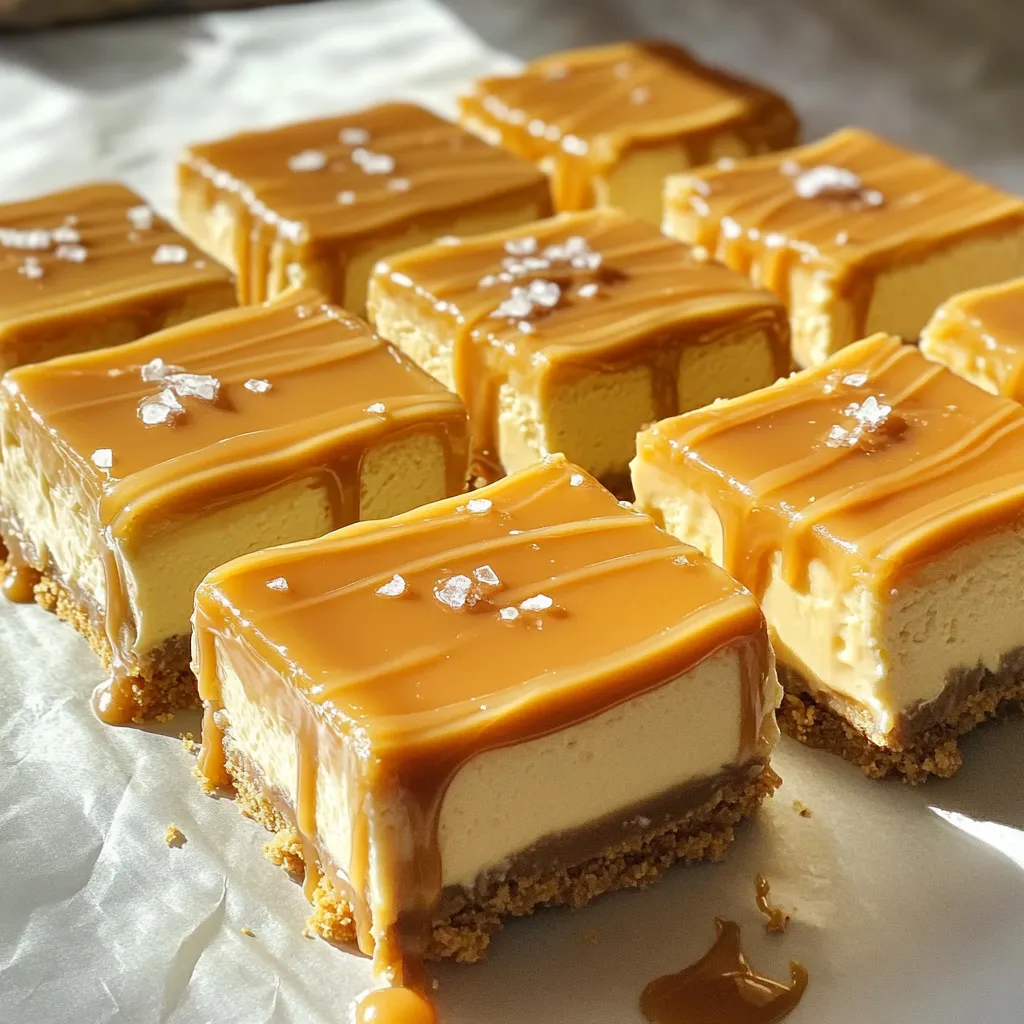
If you’re craving a sweet treat that doesn’t need baking, you’re in the right place! My No Bake Salted Caramel
