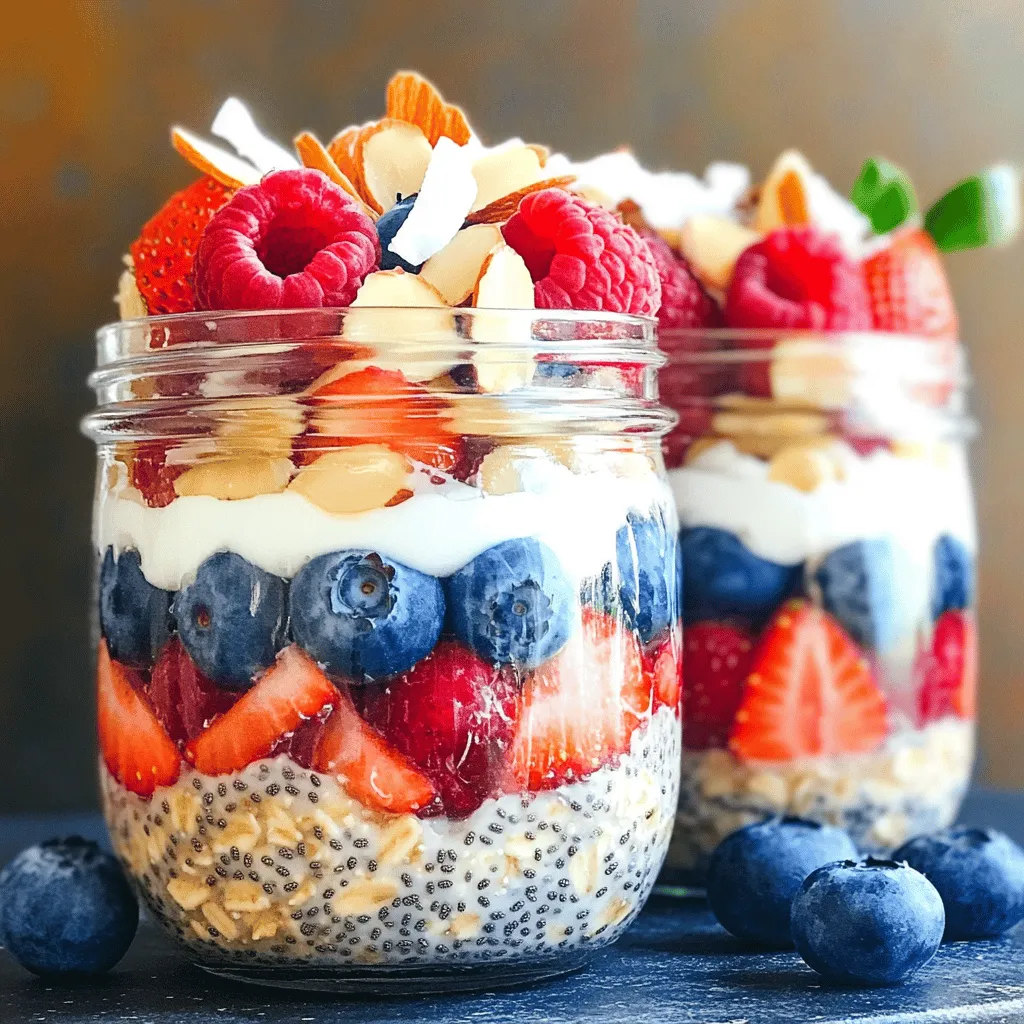
Overnight Oats with Berries Healthy and Easy Recipe
Looking for a quick and healthy breakfast? Overnight oats with berries are a delicious solution! This easy recipe combines rolled
Looking for a quick and healthy breakfast? Overnight oats with berries are a delicious solution! This easy recipe combines rolled
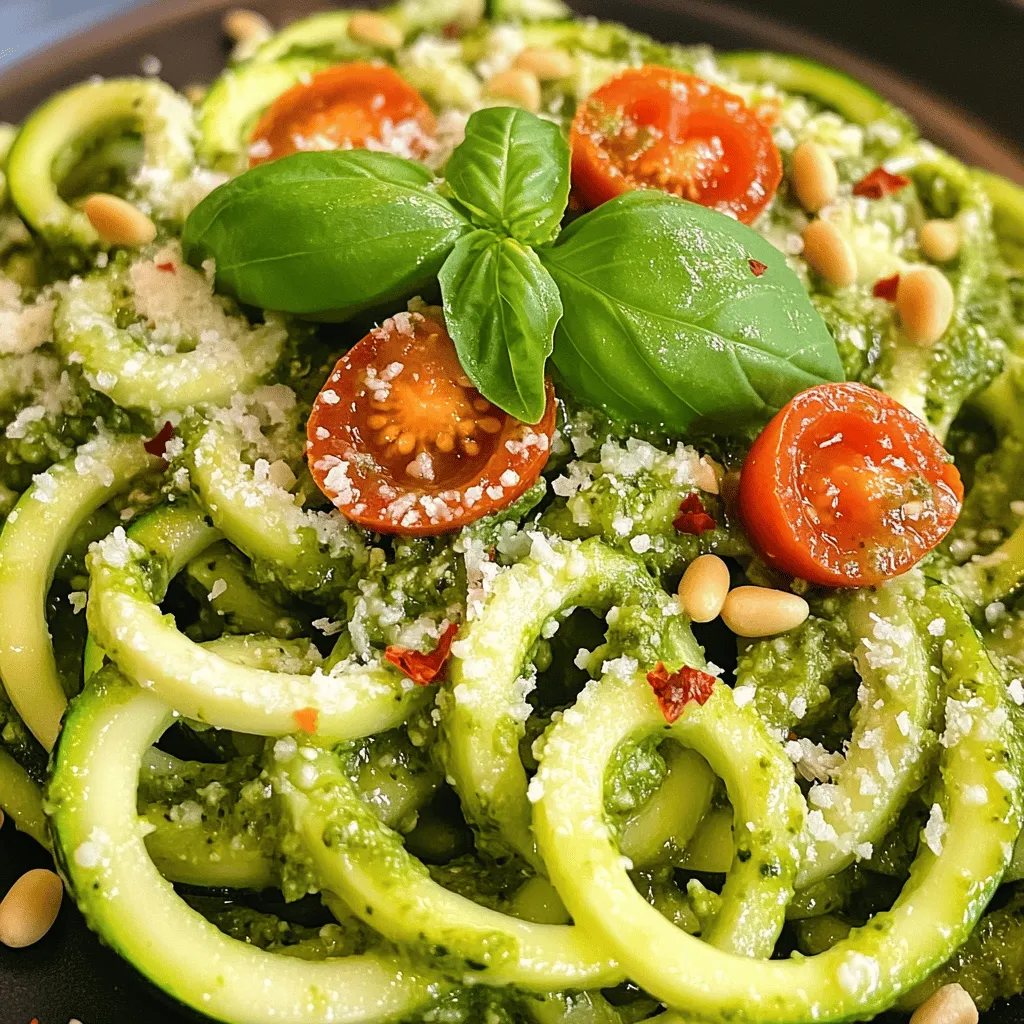
Are you ready to elevate your meals with a fresh and tasty twist? Zucchini noodles with pesto offer a light,

Welcome to your next favorite meal: Creamy Mushroom Risotto! This dish is rich, flavorful, and truly satisfying. In this blog

Are you ready to explore a dish that’s tasty, healthy, and easy to make? Savory stuffed peppers are a perfect

Looking for a tasty meal that’s easy to make? This Lemon Herb Grilled Chicken recipe packs fresh flavor into every
![- 1 pound ground beef - 2 large potatoes, peeled and cut into cubes - 1 small onion, finely diced - 2 cloves garlic, minced - 1 teaspoon Worcestershire sauce - 1 teaspoon smoked paprika - 1/2 teaspoon salt - 1/2 teaspoon black pepper - 1 tablespoon fresh parsley, chopped - 1 large egg - 1/2 cup breadcrumbs - Vegetable oil for frying Gathering the right ingredients is key to making crispy beef and potato cakes. Start with a pound of ground beef. This gives the cakes a rich flavor and good texture. Next, use two large potatoes. Peel and cut them into cubes for easy cooking and mashing. A small onion and two cloves of garlic add depth to the dish. They bring a nice aroma and taste to the beef mixture. For seasoning, Worcestershire sauce brings umami notes. Smoked paprika adds a hint of warmth and smokiness. Salt and black pepper are essential for balancing flavors. Fresh parsley adds brightness to the mix, while one large egg helps bind everything together. Finally, don’t forget the breadcrumbs! They create a crunchy outer layer when frying. You will also need enough vegetable oil for frying. This helps achieve that delightful crispiness that makes these cakes irresistible. For the full recipe, check the earlier section! - Start by boiling the cubed potatoes in a pot of salted water. Cook them until they are tender when pierced with a fork, roughly 15-20 minutes. - Drain the potatoes and let them cool slightly. For smooth texture, mash the cooled potatoes well. Use a potato masher or fork to break them down. Make sure there are no lumps. - While the potatoes cool, heat some vegetable oil in a skillet over medium heat. Add the finely diced onion and minced garlic. Sauté until the onion is soft and clear, about 3-4 minutes. - Next, add the ground beef to the skillet. Use a spatula to break it apart as it cooks. Keep cooking until the beef is browned and no longer pink, about 5-7 minutes. Drain any fat from the skillet. - Stir in Worcestershire sauce, smoked paprika, salt, and black pepper. Mix well and let it cool for a few minutes. - In a large bowl, add the mashed potatoes and the cooled beef mixture. Add the chopped fresh parsley. Stir until well combined. - Use your hands to shape the mixture into small patties, about 2-3 inches wide. Make sure they hold together well. - In a shallow dish, beat the egg until smooth. In another dish, pour the breadcrumbs. Dip each patty in the egg first, letting the excess drip off, then coat it with breadcrumbs. - Heat enough vegetable oil in a large skillet over medium heat. Carefully add the patties in batches. Fry them for about 4-5 minutes on each side, or until they turn golden brown and crispy. - Once done, transfer the cakes to a paper towel-lined plate to soak up extra oil. For the full recipe, check out the [Full Recipe]. Enjoy the process and the delicious results! For crispy beef and potato cakes, cooling the ingredients is key. After boiling your potatoes, let them cool. This helps them mix better. If they are warm, the cakes may fall apart. For a crispy coating, use breadcrumbs. They give a nice crunch. A good tip is to double-coat your cakes. Dip them in egg, then breadcrumbs, and repeat. This makes the crust thicker and crunchier. Spices and herbs can change everything. Try adding garlic powder or onion powder for depth. Fresh herbs like thyme or dill also work well. You can also play with seasonings. For a kick, add cayenne pepper or chili flakes. Want something unique? Consider adding a dash of curry powder. These options let you create your perfect flavor. You can cook these cakes in different ways. Air frying is a great option. It uses less oil and still gives a crispy finish. Set the air fryer to 375°F and cook for about 10-12 minutes. Pan frying is another method. Heat vegetable oil in a skillet over medium heat. Fry them for about 4-5 minutes on each side. If you prefer a healthier option, you can bake them. Preheat the oven to 400°F and bake for 20-25 minutes, flipping halfway. For more details on the crispy beef and potato cakes, check the full recipe. {{image_4}} You can swap ground beef for turkey or plant-based meat. This change keeps the dish light and tasty. Use gluten-free breadcrumbs if you need to avoid gluten. They work just as well to create that perfect crispy crust. Want to make your crispy beef and potato cakes even better? Add cheese for a creamy touch. Cheddar or mozzarella melts beautifully into the cakes. You can also mix in vegetables like spinach or bell peppers. This adds nutrition and flavor to each bite. Pair your crispy beef and potato cakes with fresh salad or steamed veggies. These sides balance the meal and keep it healthy. For dips, sour cream or yogurt are perfect choices. You can also try spicy ketchup or a tangy barbecue sauce for an extra flavor kick. To keep your crispy beef and potato cakes fresh, follow these steps: - Allow the cakes to cool completely before storing. - Use an airtight container to prevent moisture. - Place a paper towel at the bottom to absorb extra oil. To reheat your cakes while keeping them crispy, consider these options: - Preheat your oven to 375°F (190°C) and place the cakes on a baking sheet. - Bake for about 10-15 minutes until they are hot and crisp again. - If using a microwave, place a paper towel on the plate. This helps absorb moisture, keeping the texture intact. If you want to freeze your cakes, follow these steps: - Cool the cakes completely before freezing. - Place them in a single layer on a baking sheet. Freeze until firm, then transfer to an airtight container or freezer bag. - For thawing, place the cakes in the fridge overnight. Reheat in the oven to restore crispiness. For the full recipe, refer to the earlier sections. Enjoy your cooking! Crispy beef and potato cakes are savory patties made from ground beef and mashed potatoes. They are popular in many cultures, often enjoyed as comfort food. The blend of flavors from the beef, onions, and spices creates a tasty treat. You can find similar dishes in various cuisines, like Irish potato cakes or Eastern European meat patties. Each region adds its twist, but the core idea remains the same: crispy on the outside and soft on the inside. Making crispy beef and potato cakes is simple. Follow these steps: 1. First, boil the potatoes until soft. 2. Mash the potatoes in a bowl. 3. Sauté onions and garlic until soft. 4. Add ground beef and cook until browned. 5. Mix beef with mashed potatoes and seasonings. 6. Shape the mix into small patties. 7. Coat each patty in egg and breadcrumbs. 8. Fry in hot oil until golden brown. This method gives you tasty cakes with great texture. You can find the full recipe for more detail. Yes, you can bake the cakes instead of frying them. Baking is a healthier option, as it uses less oil. However, the cakes might not be as crispy. Frying gives you that golden, crunchy crust. If you choose to bake, preheat your oven to 400°F (200°C). Place the patties on a baking sheet lined with parchment paper. Bake for about 20-25 minutes, flipping halfway through. This way, you can enjoy a lighter version of this dish while still savoring the flavors. Crispy beef and potato cakes are easy to make and tasty. We covered the main ingredients, seasoning, and cooking methods. You can customize flavors with different spices or proteins. Storing and reheating tips help keep cakes fresh. Remember, achieving that perfect crispy texture takes practice. Follow these steps to make savory cakes your family will love. Enjoy your cooking journey, and don’t be afraid to experiment for even more delicious results!](https://recipesstation.com/wp-content/uploads/2025/06/d297290f-bf0f-4bcc-a124-63bfe3871138.webp)
Are you ready to impress your family with a fun and delicious meal? Crispy Beef & Potato Cakes are flavorful
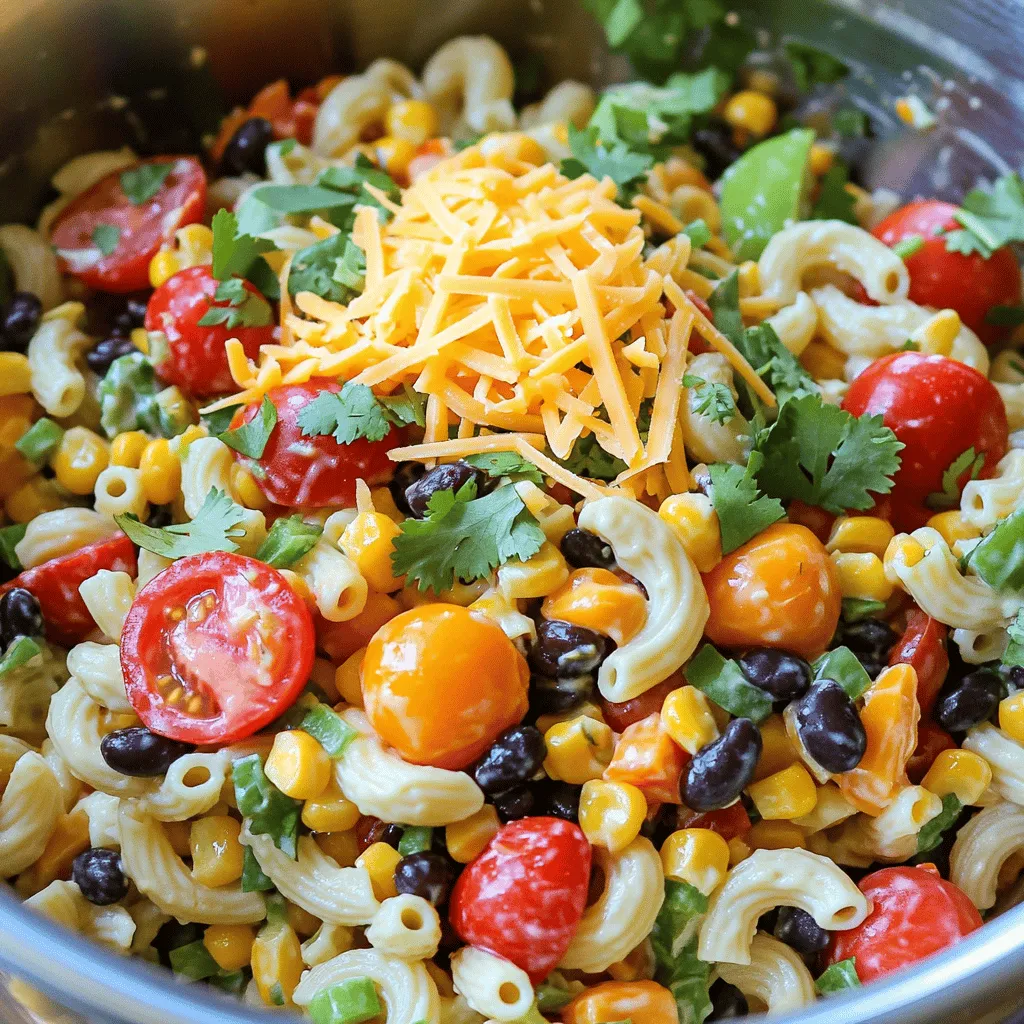
Looking for a quick and tasty meal? Taco Pasta Salad is your answer! It’s simple to make, packed with flavor,
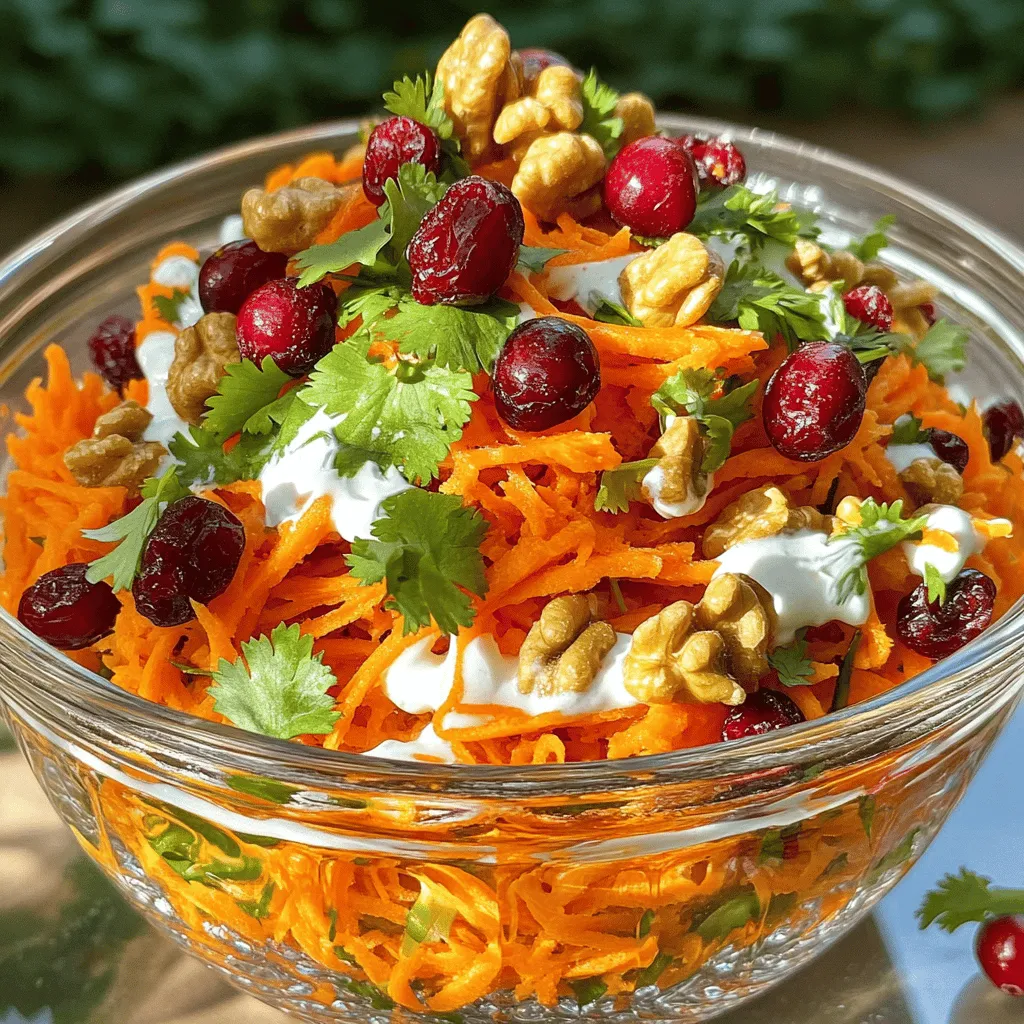
Looking for a fresh and tasty salad? This Carrot Cranberry Salad is both easy and healthy. Packed with colorful ingredients,

Looking for a new weeknight favorite? Marry Me Chicken Pasta is a delicious and easy dish that will make your

Looking for a quick and tasty meal? This 30-Minute Veggie Stir Fry is your answer! With fresh vegetables and simple
