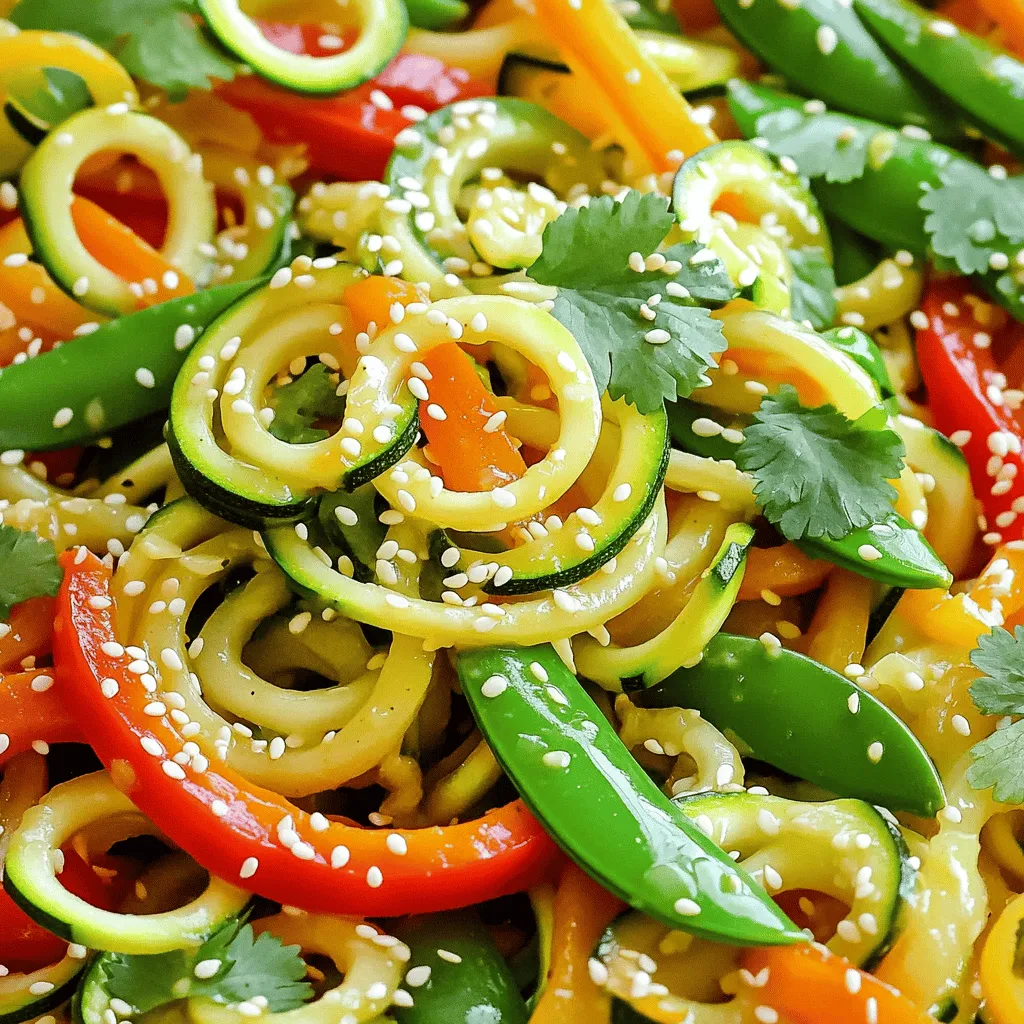
Zucchini Noodle Stir Fry Flavorful and Healthy Dish
Looking to whip up a colorful and healthy meal? This Zucchini Noodle Stir Fry is your answer! Packed with fresh
Looking to whip up a colorful and healthy meal? This Zucchini Noodle Stir Fry is your answer! Packed with fresh
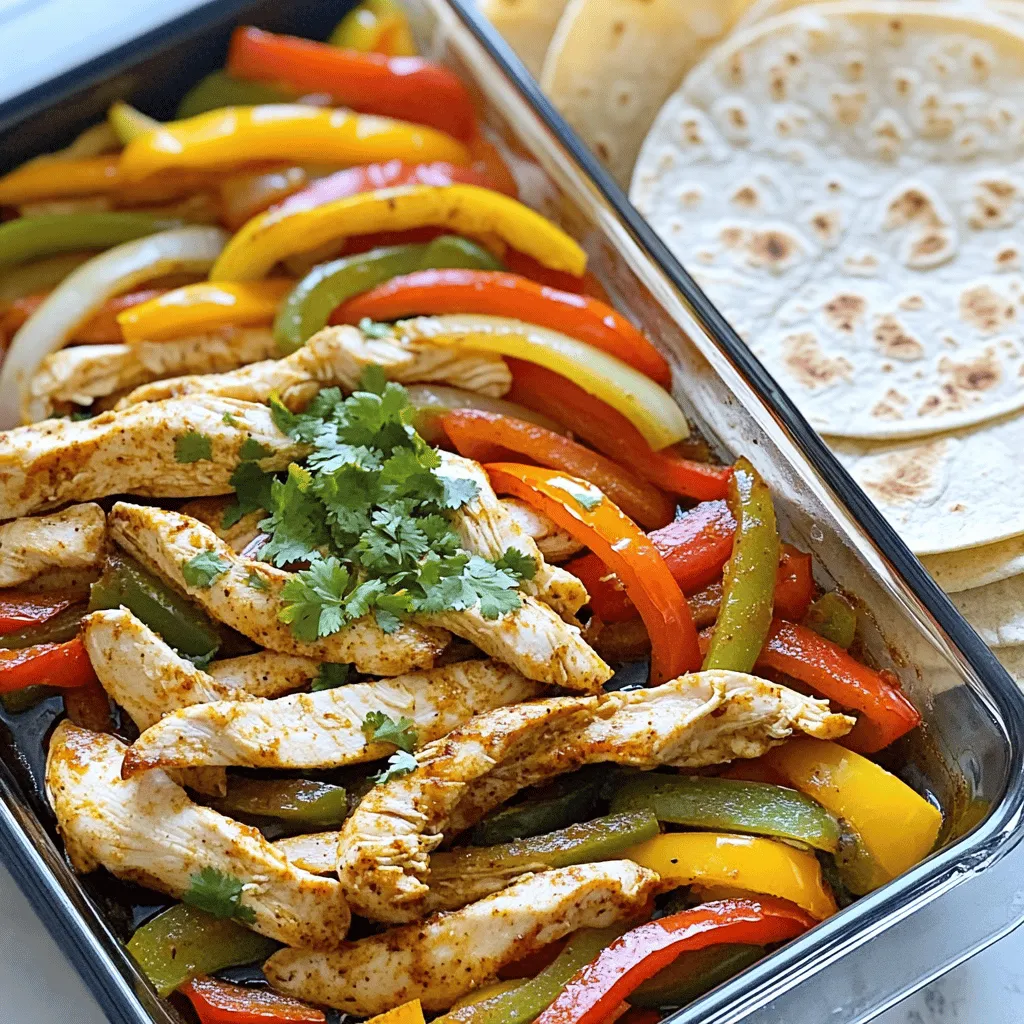
Looking for an effortless dinner idea? Let me introduce you to my Satisfying One-Pan Chicken Fajitas. This easy recipe brings
![Gathering fresh and vibrant ingredients is key to making this Mediterranean Chickpea Salad. Here’s what you need for a delicious experience: - 1 can (15 oz) chickpeas, drained and rinsed - 1 cup cherry tomatoes, halved - 1 large cucumber, diced - 1/2 red onion, finely chopped - 1/2 bell pepper (red or yellow), diced - 1/3 cup Kalamata olives, sliced - 1/4 cup crumbled feta cheese (optional) - 2 tablespoons fresh parsley, chopped - 2 tablespoons olive oil - 1 tablespoon red wine vinegar (or lemon juice) - 1 teaspoon dried oregano - Salt and pepper to taste Each ingredient adds its own special touch. Chickpeas provide protein and fiber, while tomatoes offer sweetness. The cucumber adds crunch, and the onion gives a nice bite. Bell peppers add color and flavor, and olives bring briny goodness. Feta, if you choose to add it, gives a creamy texture. Fresh parsley brightens the dish, and the olive oil and vinegar create a tangy dressing. This well-rounded mix makes every bite exciting. For the full recipe, explore the complete instructions. To make your Mediterranean chickpea salad, follow these simple steps. - Combine the chickpeas, tomatoes, cucumber, onion, bell pepper, and olives. Start by taking a large bowl. Add the drained chickpeas. Next, toss in the halved cherry tomatoes and diced cucumber. Add the finely chopped red onion and bell pepper. Finally, mix in the sliced olives. This mix brings bright colors and flavors. - Add feta cheese (if using) and gently toss. If you want creaminess, sprinkle crumbled feta cheese over the salad. Use a light touch as you mix. This helps keep the cheese intact and adds a nice touch. - Prepare the dressing in a separate bowl. In a small bowl, whisk together the olive oil, red wine vinegar, and dried oregano. Add a pinch of salt and pepper. Whisk until blended. This dressing ties everything together with rich flavor. - Pour dressing over the salad and mix well. Drizzle the dressing over your salad mix. Gently toss everything together. Ensure all the ingredients are nicely coated with the dressing. - Adjust seasoning based on taste. Before serving, taste your salad. You may like to add more salt or pepper. If you prefer extra crunch, add more cucumber or bell pepper. - Garnish with parsley before serving. Just before you serve, chop some fresh parsley. Sprinkle it on top for a burst of color and freshness. For the full recipe, check [Full Recipe]. Enjoy your fresh and flavorful Mediterranean chickpea salad! Choosing ripe tomatoes and fresh cucumbers makes a big difference. Look for tomatoes that are bright and firm. Cucumbers should feel crisp. Both add great taste and texture to your salad. Onions can have a strong flavor. To tone it down, soak chopped onion in cold water for ten minutes. This simple trick helps reduce their sharpness. Rinse and then add them to your salad for a milder taste. Balancing flavors is key. If your salad feels too tart, add a bit more olive oil. If it tastes flat, a pinch of salt can bring everything alive. Small adjustments can make your salad shine. For fresh herbs and vegetables, visit local farmers' markets. They often have the best produce. You can also check organic grocery stores for quality ingredients. Fresh herbs like parsley can elevate your dish. Sometimes, you may not find certain items. If you can’t get Kalamata olives, green olives work well too. For the feta cheese, try using a vegan version if you prefer. Feel free to make swaps that fit your taste and needs. For the full recipe, check out the provided link above. {{image_4}} You can change this salad based on the season. In summer, use fresh fruits like peaches or watermelon. These add sweetness and a juicy bite. In winter, consider roasted vegetables like sweet potatoes or Brussels sprouts. They bring warmth and heartiness to the dish. You can also swap some veggies. For example, in fall, try adding roasted squash. It gives a nice sweetness and depth. In spring, fresh peas can add a pop of color and crunch. If you want a vegan option, no problem! You can skip the feta cheese or use a plant-based version. Many brands offer vegan feta that tastes great. This keeps your salad creamy without dairy. For gluten-free eaters, this salad is naturally safe. All the ingredients are gluten-free. Just make sure your olives and any extras are also gluten-free. This way, everyone can enjoy a delicious meal without worry. To keep your Mediterranean Chickpea Salad fresh, store it in an airtight container. This prevents moisture and keeps flavors bright. Place the salad in the fridge right after serving. It stays good for about 3 days. After that, the veggies might get soggy and lose their crunch. You don’t need to heat this salad. It’s best served cold or at room temperature. If you want to serve it later, mix in a splash of olive oil or a squeeze of lemon juice before serving. This helps refresh the flavors and adds some moisture back to the salad. What can I add to enhance flavor? You can add fresh herbs like basil or mint. Try adding avocado for creaminess. A splash of lemon juice brightens the salad. Consider adding grilled chicken or shrimp for protein. Can I meal prep this salad for the week? Yes, this salad is great for meal prep. Make it ahead and store it in the fridge. It stays fresh for up to five days. Keep the dressing separate until you’re ready to eat. What are the best pairings for Mediterranean Chickpea Salad? This salad pairs well with grilled meats like chicken or lamb. It also goes great with pita bread or a side of hummus. Serve it as part of a larger Mediterranean spread with olives and feta. How healthy is Mediterranean Chickpea Salad? Mediterranean Chickpea Salad is very healthy. Chickpeas provide protein and fiber. Fresh veggies add vitamins and minerals. This salad is low in calories and high in nutrients. Caloric breakdown per serving One serving has about 180 calories. Most calories come from chickpeas and olive oil. Feta cheese adds some calories but also flavor. Key vitamins and minerals found in the ingredients Chickpeas offer iron and magnesium. Tomatoes give vitamin C and potassium. Cucumbers add hydration and vitamins A and K. Olives bring healthy fats and antioxidants. In this article, we explored the delightful Mediterranean Chickpea Salad. We discussed its fresh ingredients, step-by-step preparation, and helpful tips for perfecting your dish. I shared various ways to adapt the salad for different seasons and diets. Remember to store your leftovers properly to keep them fresh. This salad is not just tasty; it’s packed with nutrients, too. Enjoy making this healthy recipe that fits any meal! With these tips, you can create a satisfying salad every time.](https://recipesstation.com/wp-content/uploads/2025/06/c9be352a-c70f-4243-8adf-3f6150920b7f.webp)
Looking for a fresh and tasty meal? Try this Mediterranean Chickpea Salad! Packed with colorful veggies and savory flavors, it’s

Looking for a quick and tasty meal? Lemon garlic shrimp is your answer! This dish is packed with flavor, easy

Looking for a side dish that elevates any meal? Steakhouse Creamed Corn is rich, creamy, and packed with flavor! This

Are you ready for a quick and tasty meal? These Quick Buffalo Chicken Stuffed Shells pack a punch with bold
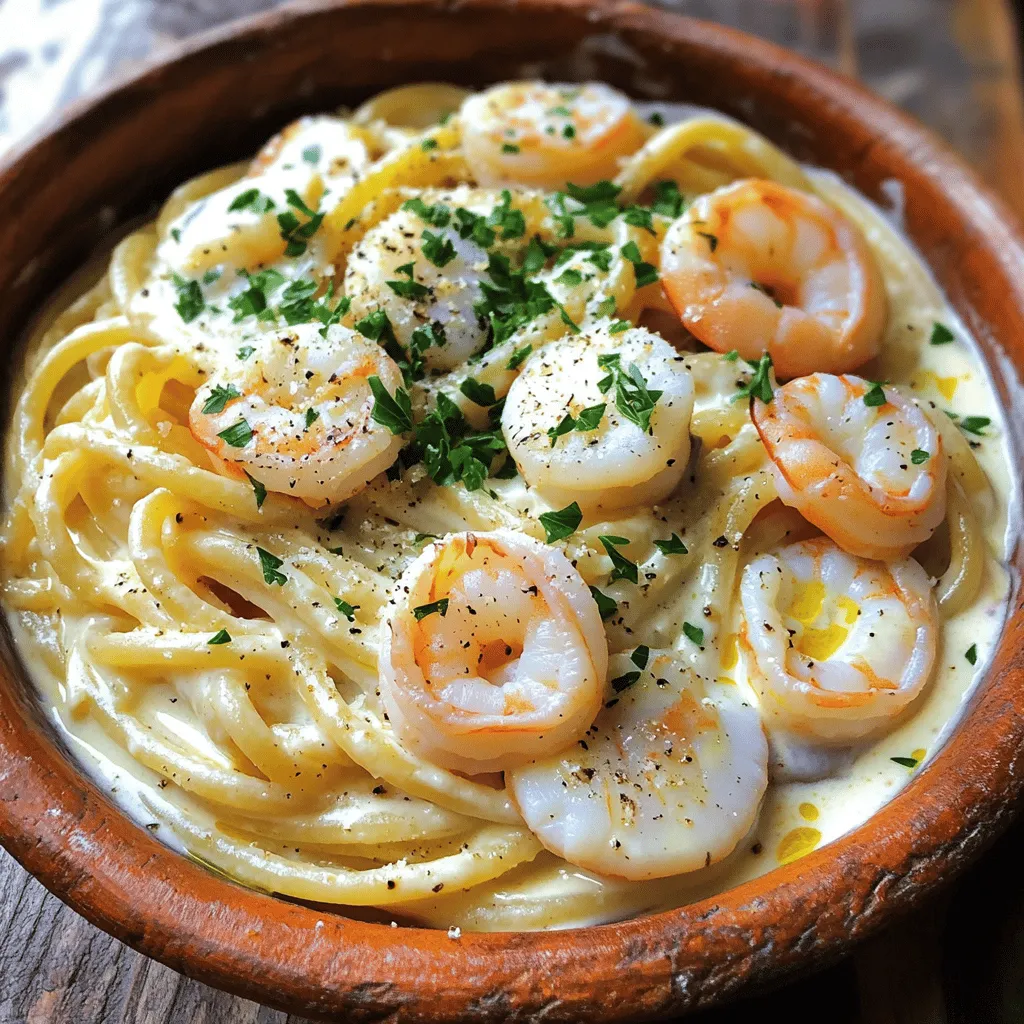
If you love seafood and creamy pasta, you’re in for a treat! This Creamy Seafood Spaghetti is both savory and
![For a rich chocolate mousse cake, you need these key ingredients: - 1 1/2 cups all-purpose flour - 1 cup granulated sugar - 1/2 cup unsweetened cocoa powder - 1 teaspoon baking powder - 1/2 teaspoon baking soda - 1/2 teaspoon salt - 1/2 cup unsalted butter, softened - 2 large eggs - 1 teaspoon vanilla extract - 1 cup buttermilk, at room temperature - 1 cup semi-sweet chocolate chips - 2 cups heavy whipping cream, divided - 1/4 cup powdered sugar - 1 teaspoon vanilla extract (for the mousse) Each ingredient plays a role in creating the cake's rich flavor and smooth texture. To bake this cake, you will also need some basic tools: - Two 9-inch round cake pans - Mixing bowls - A whisk or hand mixer - Spatula - Toothpick (for testing doneness) - Parchment paper (optional, for easy removal) These tools help you mix, bake, and serve your cake with ease. To make your cake even prettier, consider these garnishes: - Dark chocolate shavings - Fresh berries - Whipped cream These little touches can elevate your cake and impress your guests. For the full recipe, check the section above! First, preheat your oven to 350°F (175°C). This step is key for even baking. Grease and flour two 9-inch round cake pans. You can also use parchment paper for easy removal later. In a large bowl, mix the dry ingredients. Combine 1 1/2 cups of flour, 1 cup of sugar, 1/2 cup cocoa powder, 1 teaspoon baking powder, 1/2 teaspoon baking soda, and 1/2 teaspoon salt. Whisk these together to break up any lumps. In another bowl, beat 1/2 cup of softened butter until creamy. Add 2 large eggs and 1 teaspoon of vanilla. Mix until smooth. Then, slowly stir in 1 cup of buttermilk. Make sure everything blends well. Now, add the wet mix to the dry mix. Stir gently until just combined. Be careful not to overmix; you want a tender cake. Fold in 1 cup of chocolate chips evenly into the batter. Divide the cake batter between the two pans. Bake in your preheated oven for 25-30 minutes. To check for doneness, insert a toothpick in the center. If it comes out clean, your cakes are done. Let them cool in the pans for 10 minutes before moving to wire racks. In a medium saucepan, heat 1 cup of heavy cream over medium heat. Stir until it simmers. Remove from heat and add the remaining chocolate chips. Stir until melted and smooth, then let it cool a bit. In a separate bowl, whip the remaining 1 cup of heavy cream with 1/4 cup powdered sugar and 1 teaspoon vanilla. Whip until stiff peaks form. Gently fold this whipped cream into your cooled chocolate mixture. Be gentle to keep it airy. Once the cake layers are cool, place one layer on your serving platter. Spread half of the chocolate mousse on top. Add the second cake layer and cover the whole top with the remaining mousse, smoothing with a spatula. Chill the assembled cake in the fridge for at least 2 hours. This helps the mousse set and taste better. Before serving, add dark chocolate shavings on top for a nice touch. Slice and enjoy this rich, decadent treat! For the complete recipe, check [Full Recipe]. To get the best texture, follow these steps: - Make sure your butter is at room temperature. - Don’t overmix the batter; mix until just combined. - Use fresh ingredients for the best rise and flavor. - Let the cakes cool completely before adding the mousse. This ensures a light and fluffy cake that won’t collapse. Many people make simple mistakes. Here are a few to watch for: - Skipping the cooling step can ruin the mousse. - Using cold eggs or butter can cause lumps. - Overbaking can dry out the cake. Pay attention to your baking time and check for doneness. Whipping cream is key for the mousse. Follow these tips: - Start with cold heavy cream for better volume. - Use a clean, dry bowl to avoid any fat. - Whip until stiff peaks form, but don’t overwhip. Gentle folding into the chocolate mix keeps it light and airy. For the full experience, check out the Full Recipe to see how all these tips come together in a delightful way! {{image_4}} You can make a vegan version of the chocolate mousse cake. Replace the eggs with flaxseed meal. For each egg, mix one tablespoon of flaxseed meal with three tablespoons of water. Allow it to sit until it thickens. Use coconut or almond milk instead of buttermilk. Substitute the butter with coconut oil or vegan butter. Choose dairy-free chocolate chips for the mousse. This keeps it rich and chocolatey while being plant-based. To make a gluten-free version, swap all-purpose flour for a gluten-free blend. Many brands offer great mixes that work well in cakes. Ensure the baking powder is gluten-free too. This cake can still have a soft and moist texture without gluten. The chocolate mousse will remain delicious, giving you the same indulgent experience. You can add different flavors to your cake and mousse. Try adding espresso powder to the cake batter for a coffee twist. You can also mix in orange zest or peppermint extract to the mousse for a fun flavor change. For a fruity touch, layer fresh raspberries or strawberries between the cake layers. Top the cake with whipped coconut cream or a berry compote for added flair. These variations keep the cake exciting and allow for personal tastes. For the full recipe, check out the complete guide above. Store your chocolate mousse cake in the fridge. Use an airtight container to keep it fresh. If you have leftovers, wrap individual slices in plastic wrap. This keeps the cake moist and tasty. You may not need to reheat chocolate mousse cake. The best way to enjoy it is chilled. If you prefer it warm, use a microwave. Heat a slice for about 10 seconds. Check to see if it's warm enough. Avoid overheating, as it can melt the mousse. You can freeze chocolate mousse cake for later. Wrap the whole cake or slices in plastic wrap. Then, place them in a freezer-safe bag. This will keep the cake fresh for up to three months. When you’re ready to eat it, thaw it in the fridge overnight. For the best flavor, consume it within a month. For the full recipe, check the earlier section. Chocolate mousse cake lasts about 3 to 5 days in the fridge. Keep it in an airtight container. The mousse maintains its taste and texture during this time. After that, it may lose flavor and freshness. Yes, you can make this cake a day or two ahead. It tastes even better after chilling. Just be sure to store it well in the fridge. This allows the flavors to meld beautifully. Serve chocolate mousse cake chilled for best taste. Use a sharp knife to slice. Garnish with dark chocolate shavings for a fancy touch. A dollop of whipped cream can also enhance the presentation. To make it even richer, add a layer of ganache on top. Use high-quality chocolate for the mousse. You can also add espresso powder to enhance the chocolate flavor. A sprinkle of sea salt can boost the taste too. You can find chocolate mousse cake at many bakeries. Check local shops or online bakeries. Some grocery stores also offer gourmet options. Look for places that use premium ingredients for the best taste. Use semi-sweet chocolate for a balanced flavor. Dark chocolate works well too if you prefer a richer taste. Avoid milk chocolate, as it may make the mousse too sweet. Quality chocolate makes a big difference in your cake. For the complete recipe, check out the Full Recipe. You learned how to make a delightful chocolate mousse cake. We covered key ingredients, step-by-step baking, and helpful tips. Remember to store the cake properly for the best taste. Whether you want a classic or a variation, you can enjoy this treat any time. With these instructions, your cake will impress and satisfy. Get ready to share your delicious creation!](https://recipesstation.com/wp-content/uploads/2025/06/5fcb1138-8407-43a3-bdf5-202aae90e986.webp)
Are you ready to indulge in a dessert that’s rich, smooth, and simply divine? Chocolate Mousse Cake is the ultimate
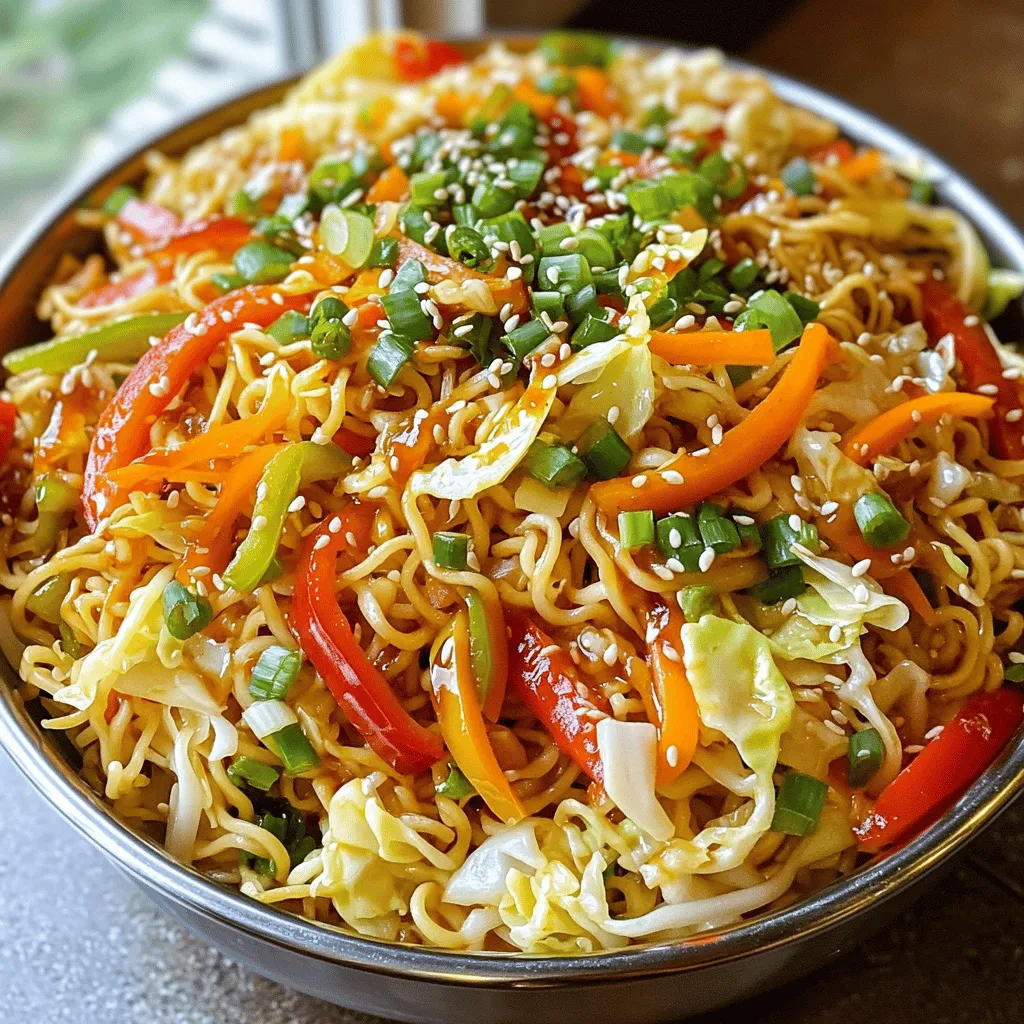
Craving a quick, tasty meal? Look no further! In this guide to Veg Hakka Noodles, I’ll share a simple recipe
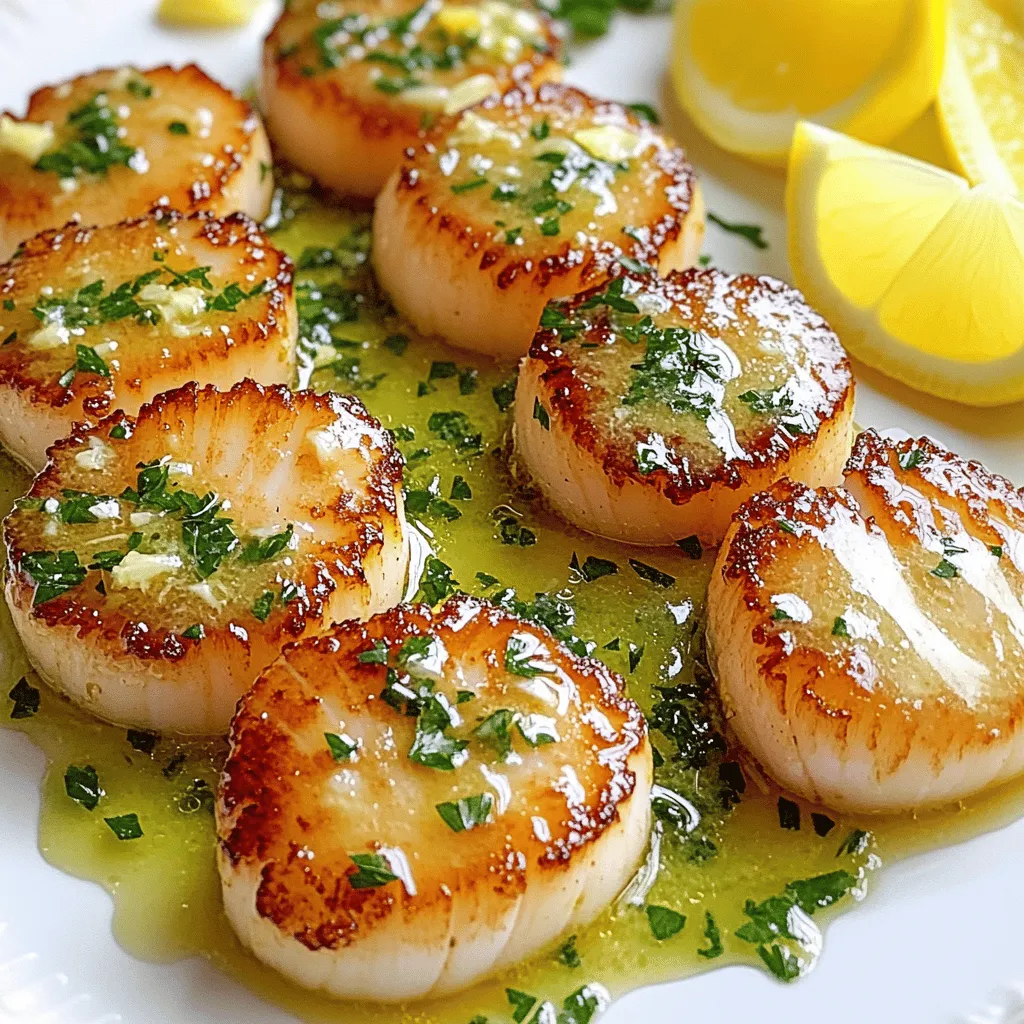
Seared scallops can transform your dinner from ordinary to extraordinary in minutes. If you crave a dish that’s quick, flavorful,
