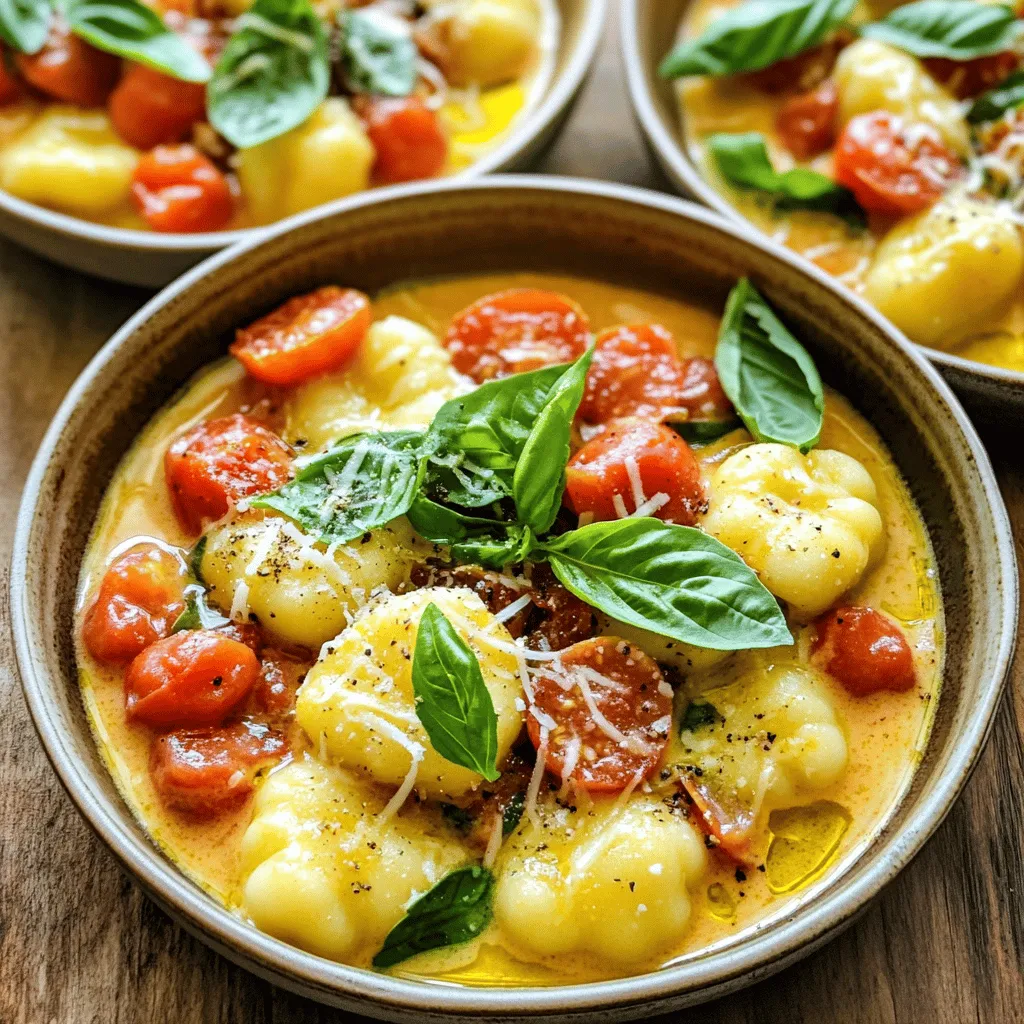
One-Pot Creamy Tomato Basil Gnocchi Tasty Delight
Are you ready to whip up a delicious and creamy dish with minimal fuss? My One-Pot Creamy Tomato Basil Gnocchi
Are you ready to whip up a delicious and creamy dish with minimal fuss? My One-Pot Creamy Tomato Basil Gnocchi
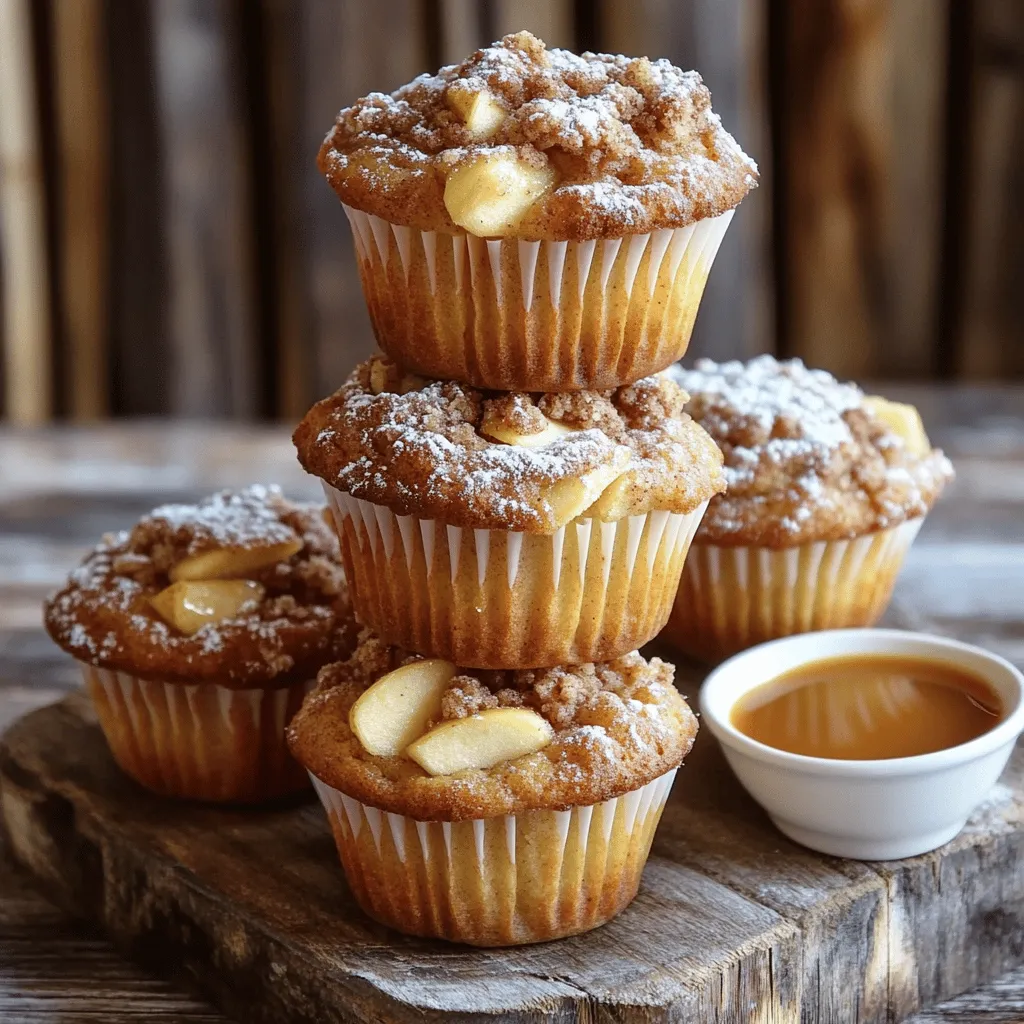
If you’re looking for a delightful treat that’s simple and satisfying, you’ve found it! These Apple Cinnamon Streusel Muffins combine
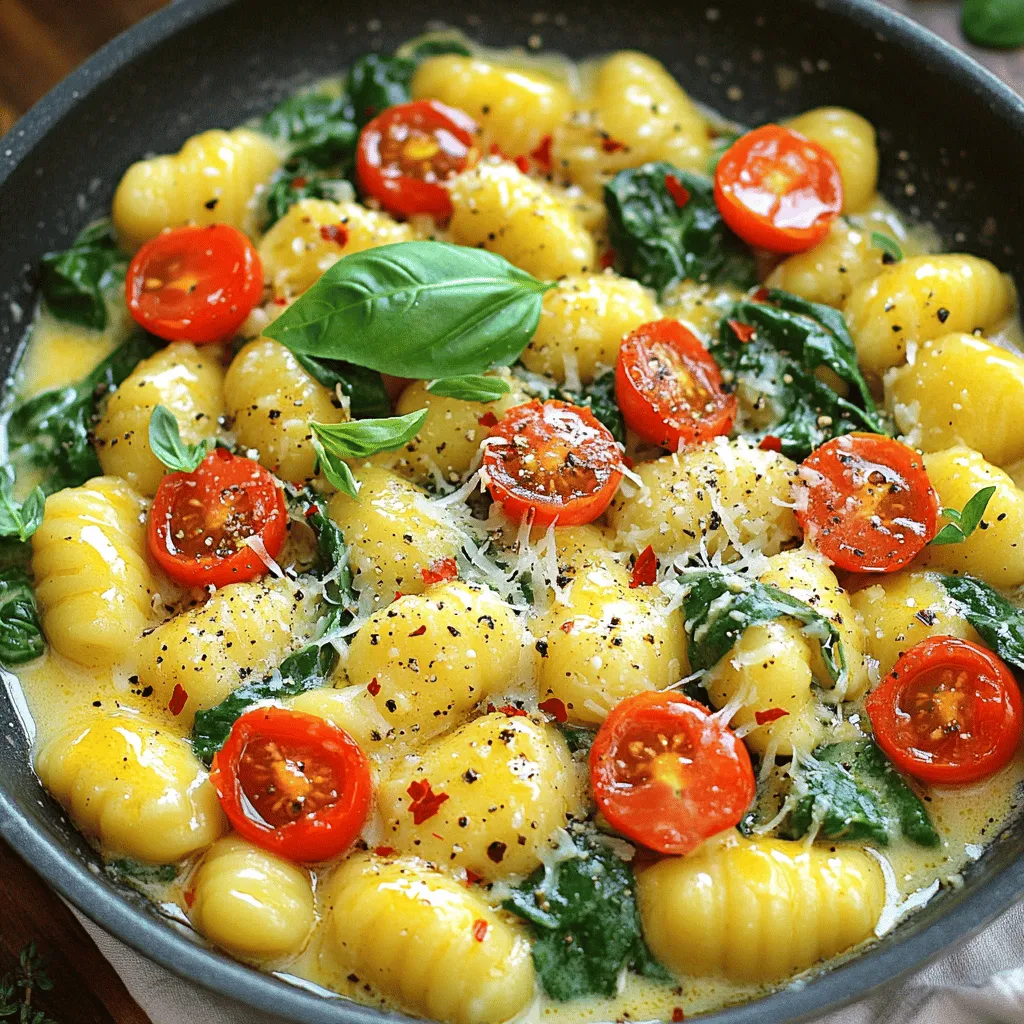
Are you craving a simple, delicious meal that’s ready in a flash? Look no further! My Garlic Butter Gnocchi Skillet
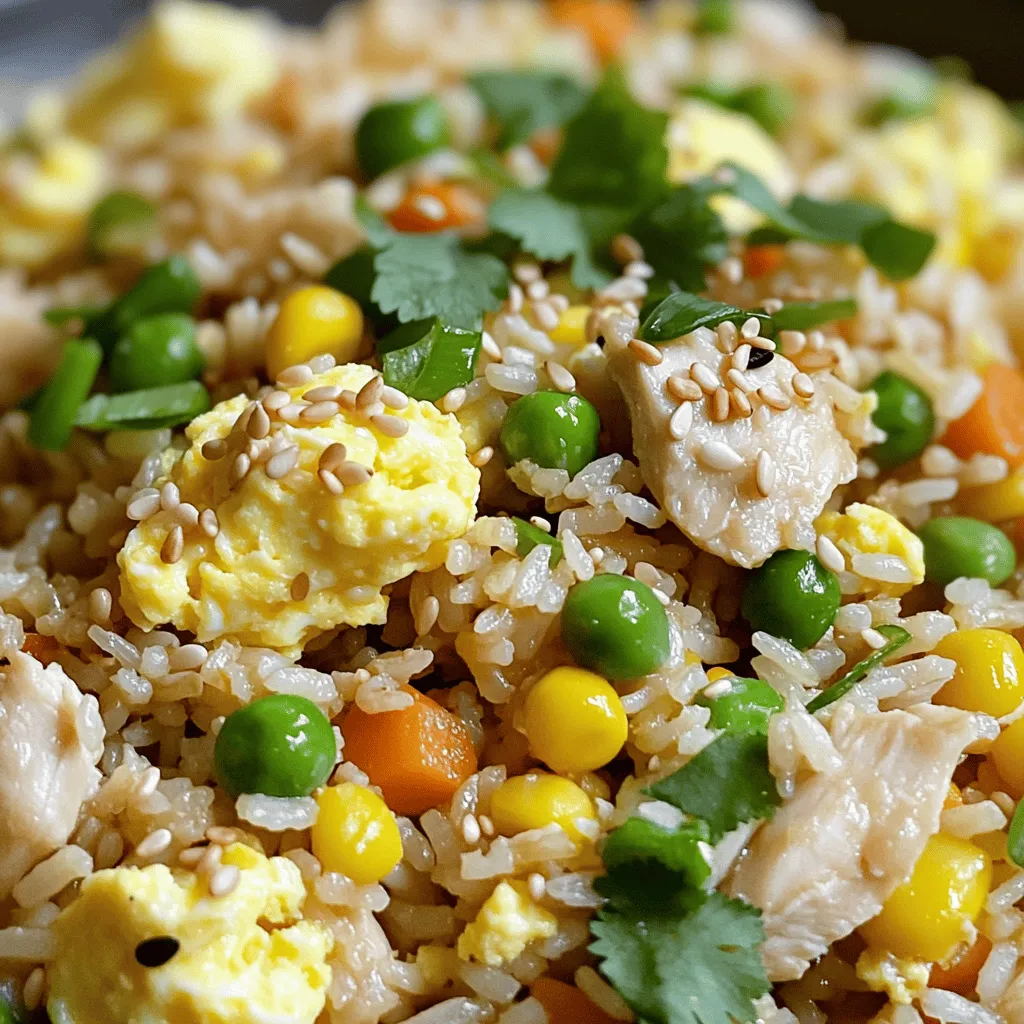
Craving takeout but want to whip up something at home? This Sesame Chicken Fried Rice Fakeout is your answer! With
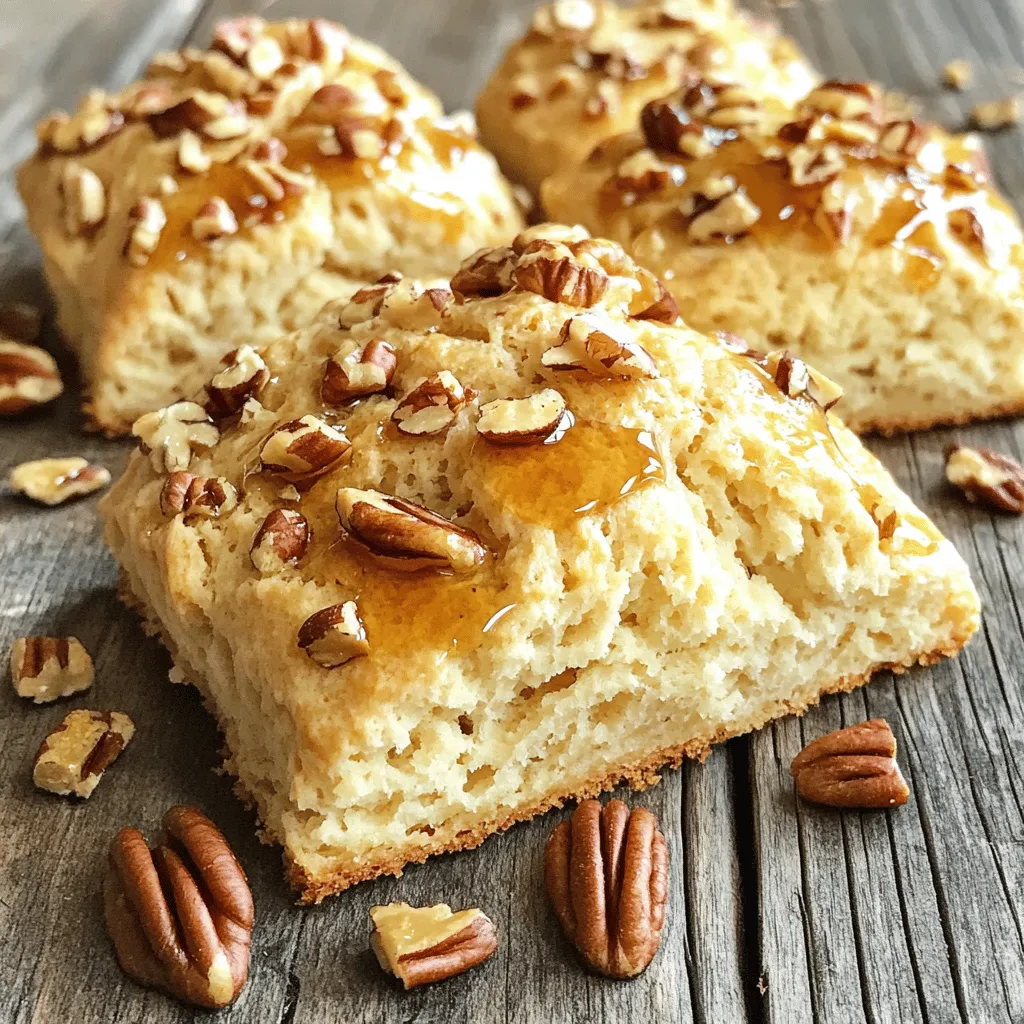
Are you ready to bake something delightful? Maple Pecan Scones are the perfect treat for any occasion. With rich maple

Welcome to “Slow Cooker Chicken Tortilla Soup: Comforting Delight.” You’re about to discover a warm and hearty meal perfect for
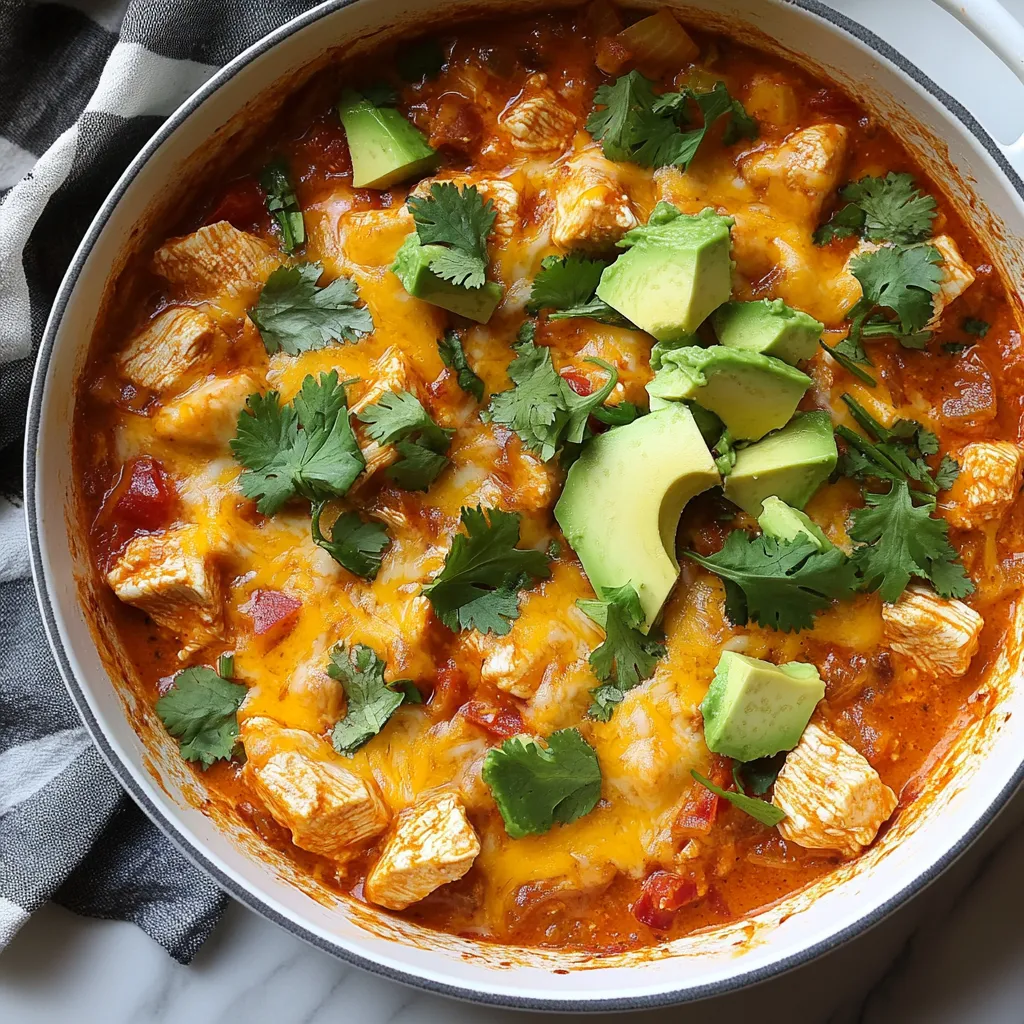
Are you ready for a tasty twist on dinner? This Keto Chicken Enchilada Skillet is both quick and full of

Fall’s favorite flavor, pumpkin spice, meets creamy delight in this irresistible Danish braid! You’ll love how easy it is to
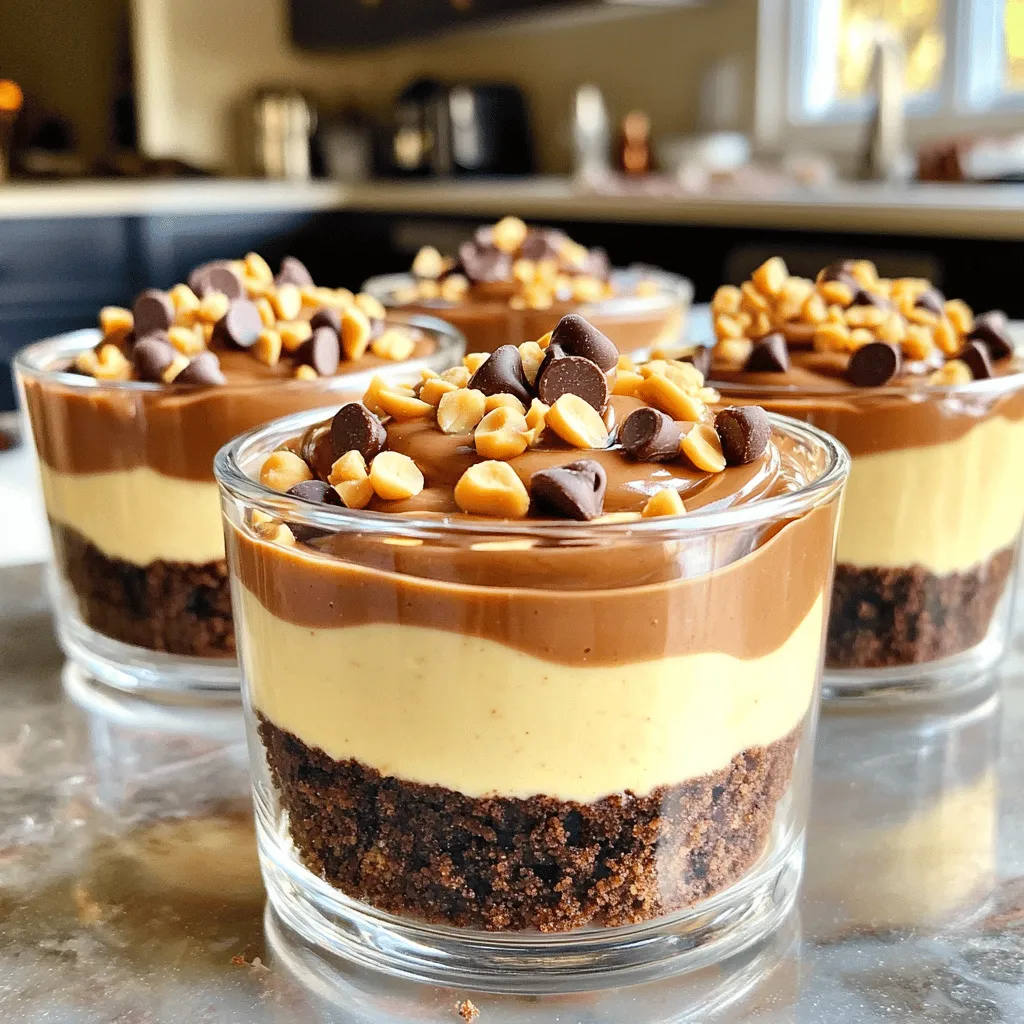
Craving a sweet treat that’s easy and fun? Let me introduce you to No-Bake Chocolate Peanut Butter Cheesecake Cups. These
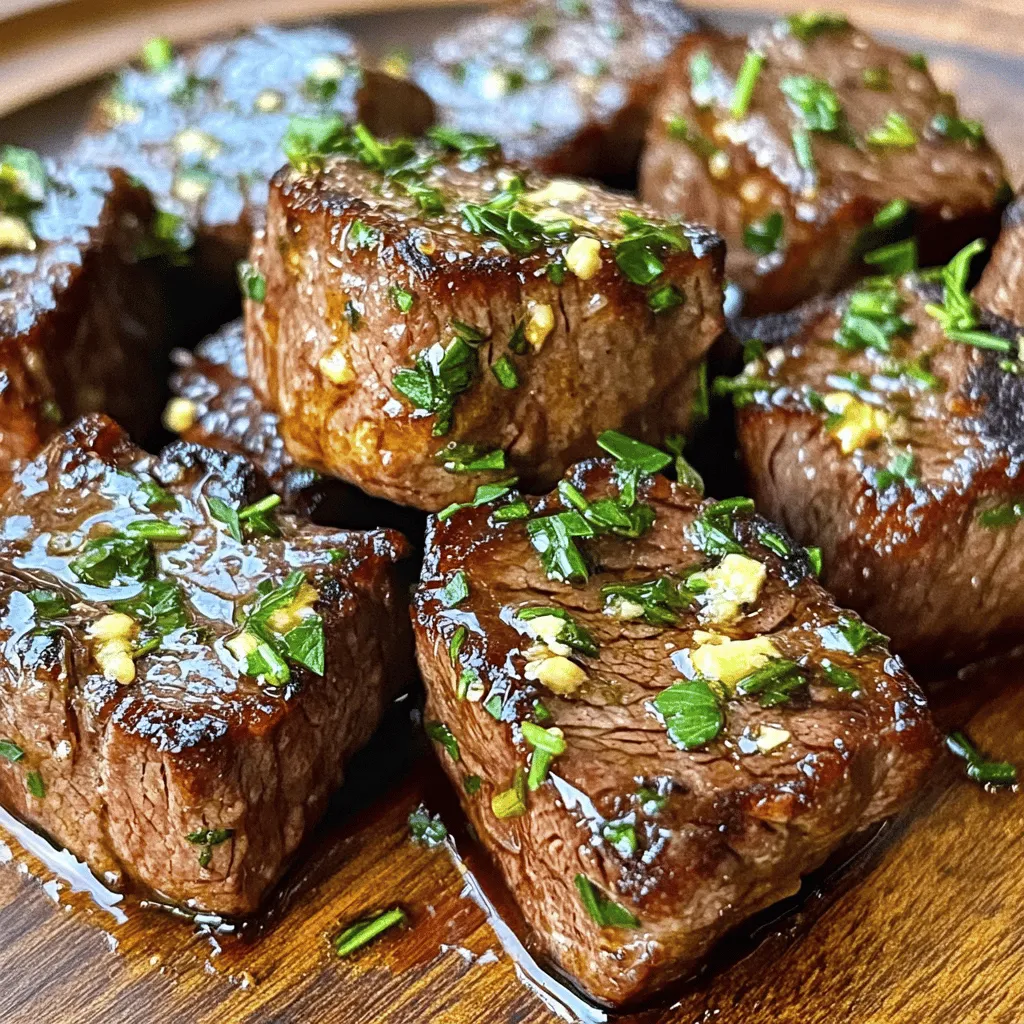
Craving a quick, delicious meal? Look no further! You can whip up Garlic Butter Steak Bites in just 15 minutes.
