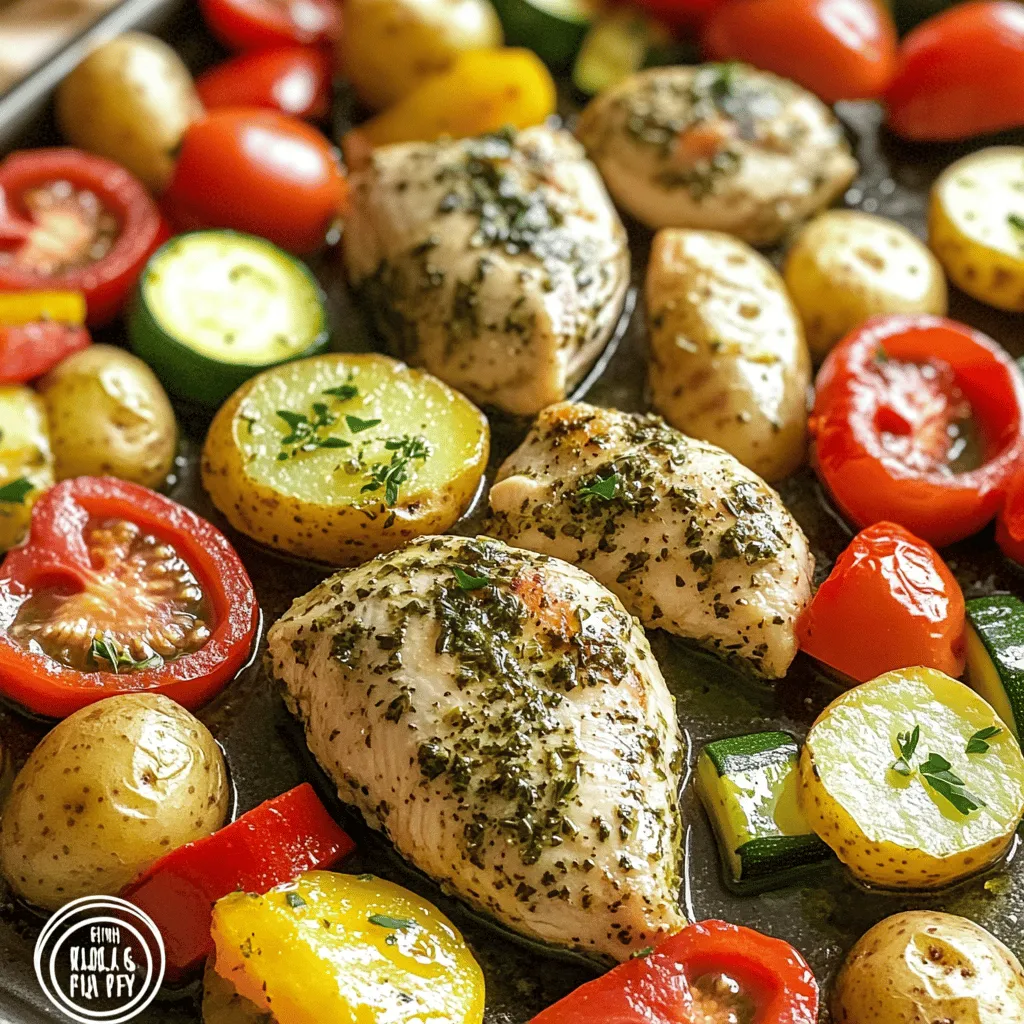
Sheet-Pan Herb Chicken & Veggies Easy Family Meal
Looking for a simple, delicious dinner? You’ve found it! This Sheet-Pan Herb Chicken & Veggies recipe is perfect for busy
Looking for a simple, delicious dinner? You’ve found it! This Sheet-Pan Herb Chicken & Veggies recipe is perfect for busy

Craving a hearty meal that bursts with flavor? Smothered Green Chili Burritos are your answer! They’re not just easy to
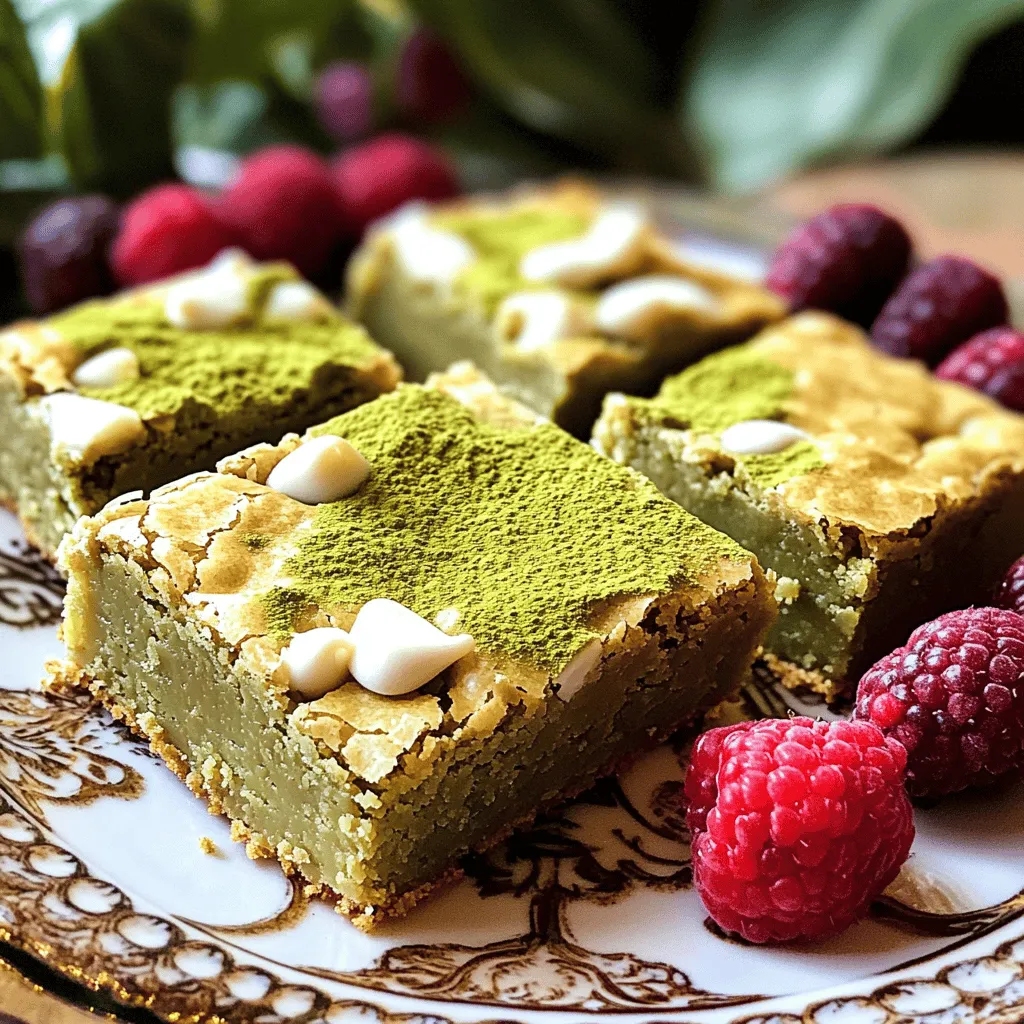
Are you ready to indulge in something truly special? My Matcha White Chocolate Blondies are a delightful twist on the

Are you ready to indulge in a sweet treat that feels like a hug in a cup? My Irresistible Ingredient
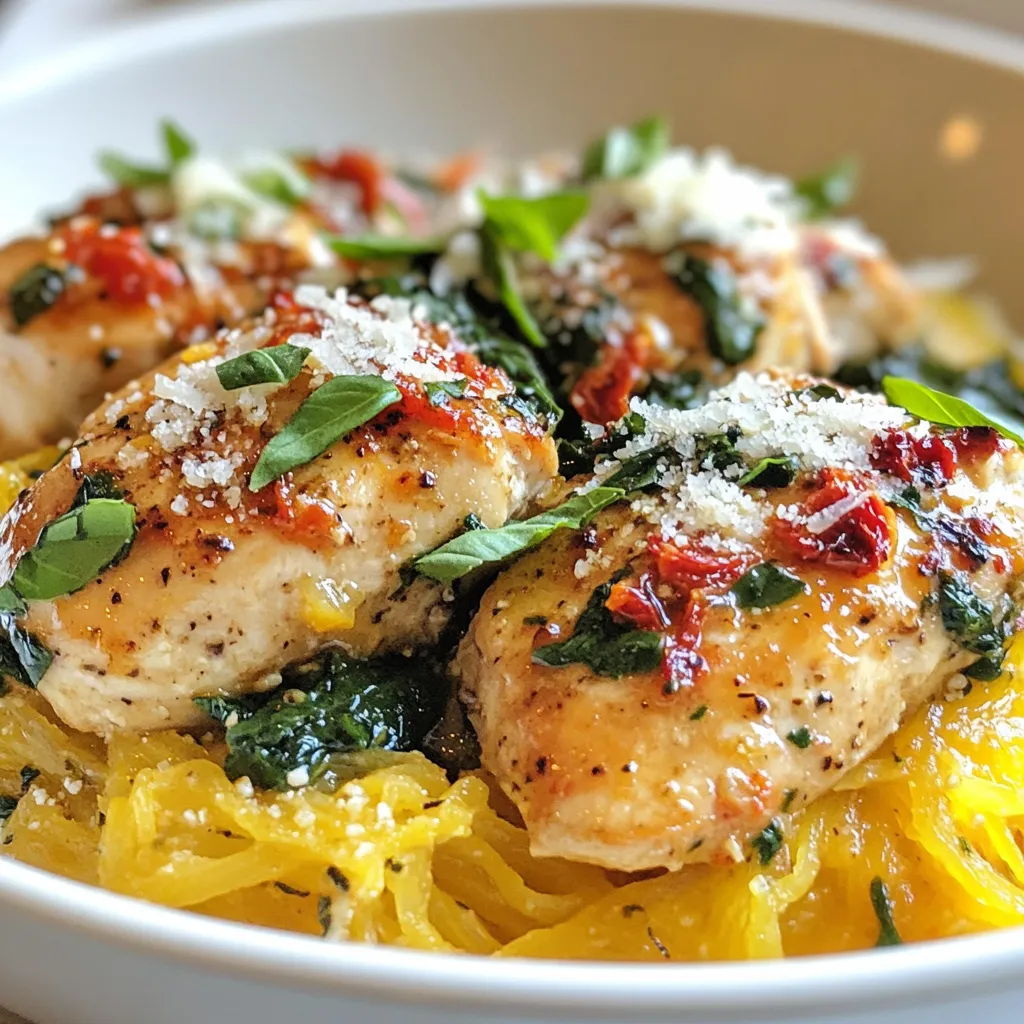
Looking for a delicious and healthy dinner? You’ll love this Tuscan Chicken with Spaghetti Squash! This dish brings rich flavors

Looking for a quick and tasty dinner? This Italian Broccoli Pasta recipe is just what you need! Packed with fresh

Are you ready to bake the ultimate treat? In this guide, I’ll share my irresistibly good recipe for chewy chocolate
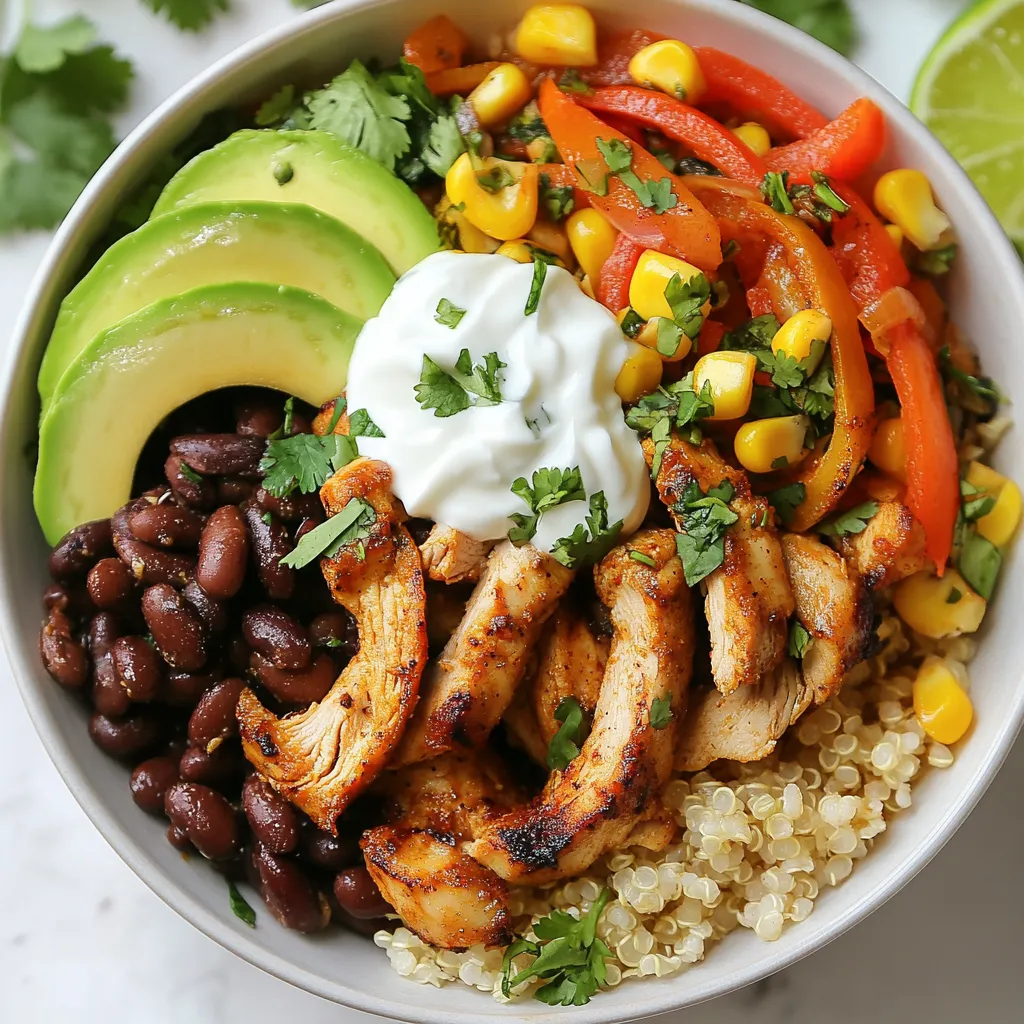
Ready to spice up your meal prep? In this Chicken Fajita Burrito Bowl guide, I’ll show you how to craft
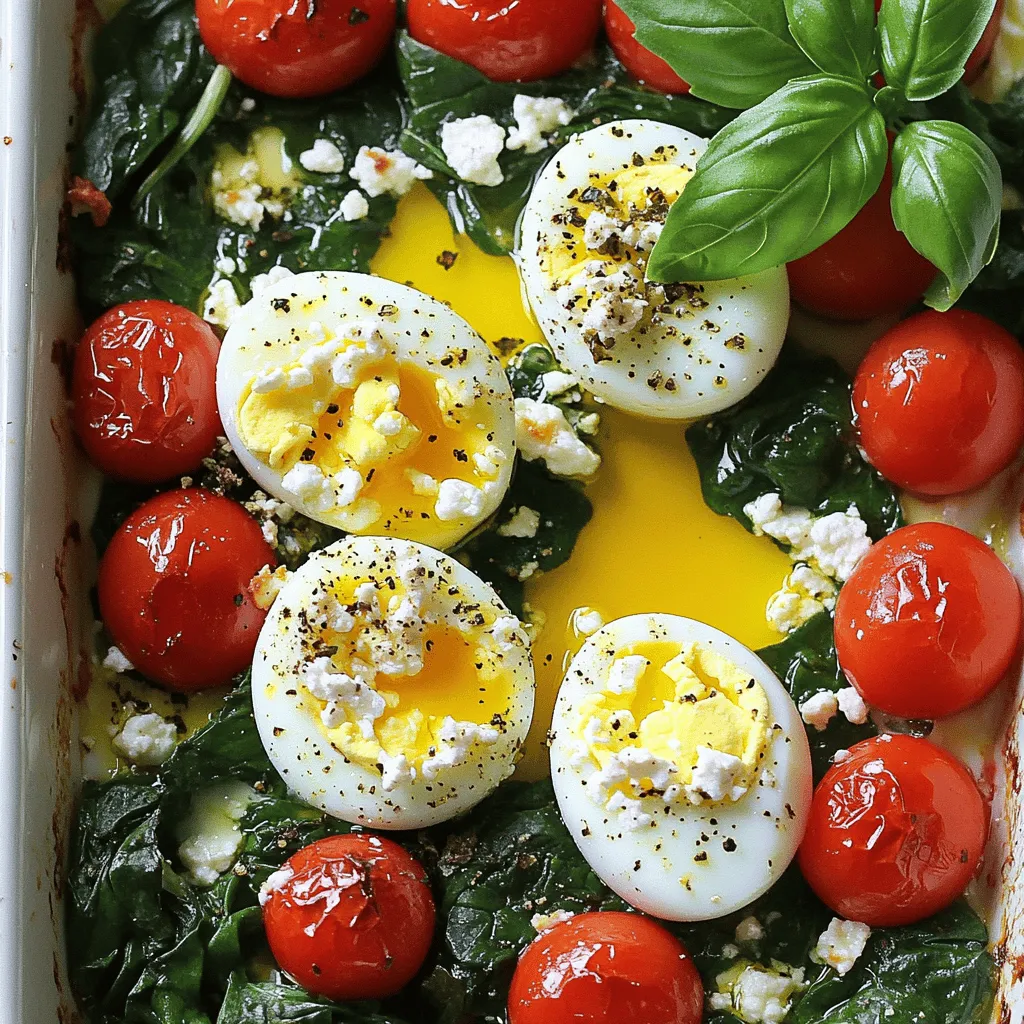
Are you ready to transform your breakfast game? Baked Feta Eggs are not just easy to make; they’re also packed
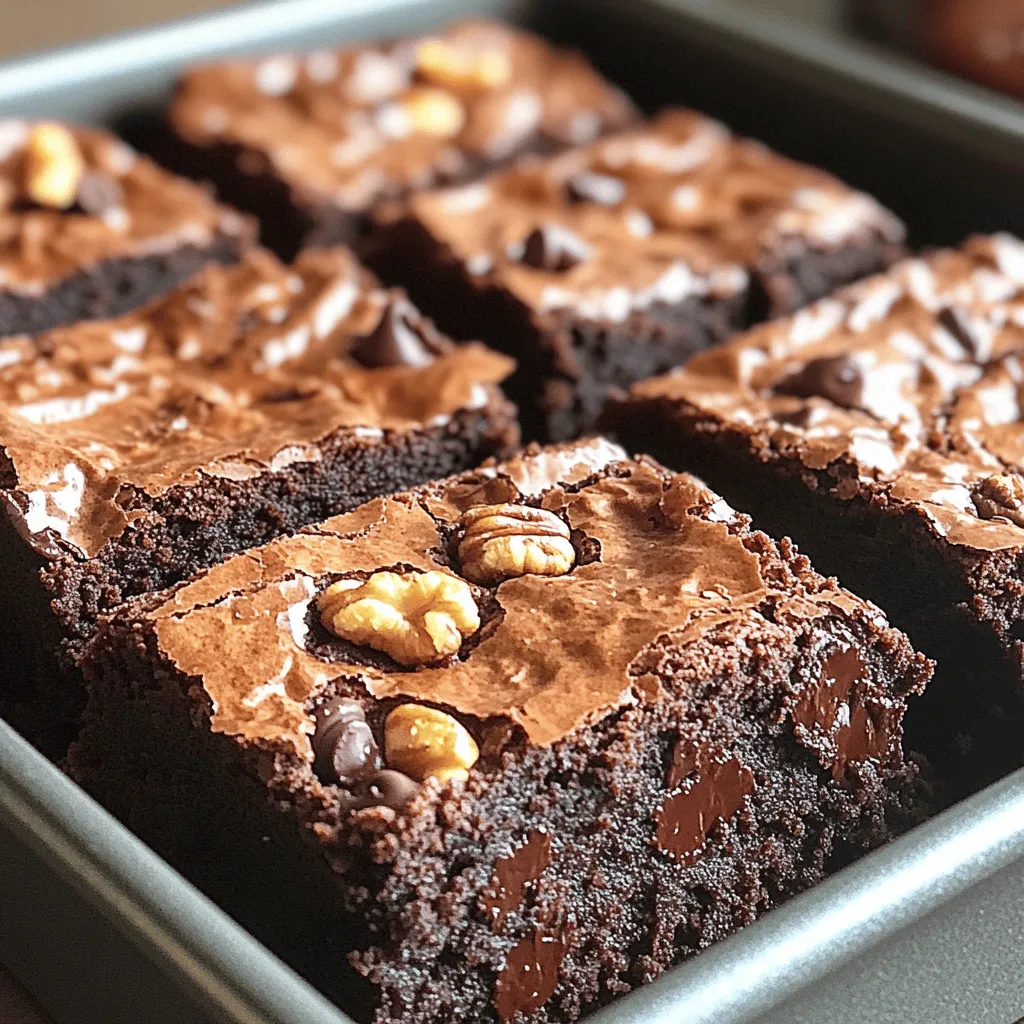
Craving a chocolate treat that’s rich, gooey, and downright irresistible? Look no further! In this easy recipe for Fudgy Best-Ever
