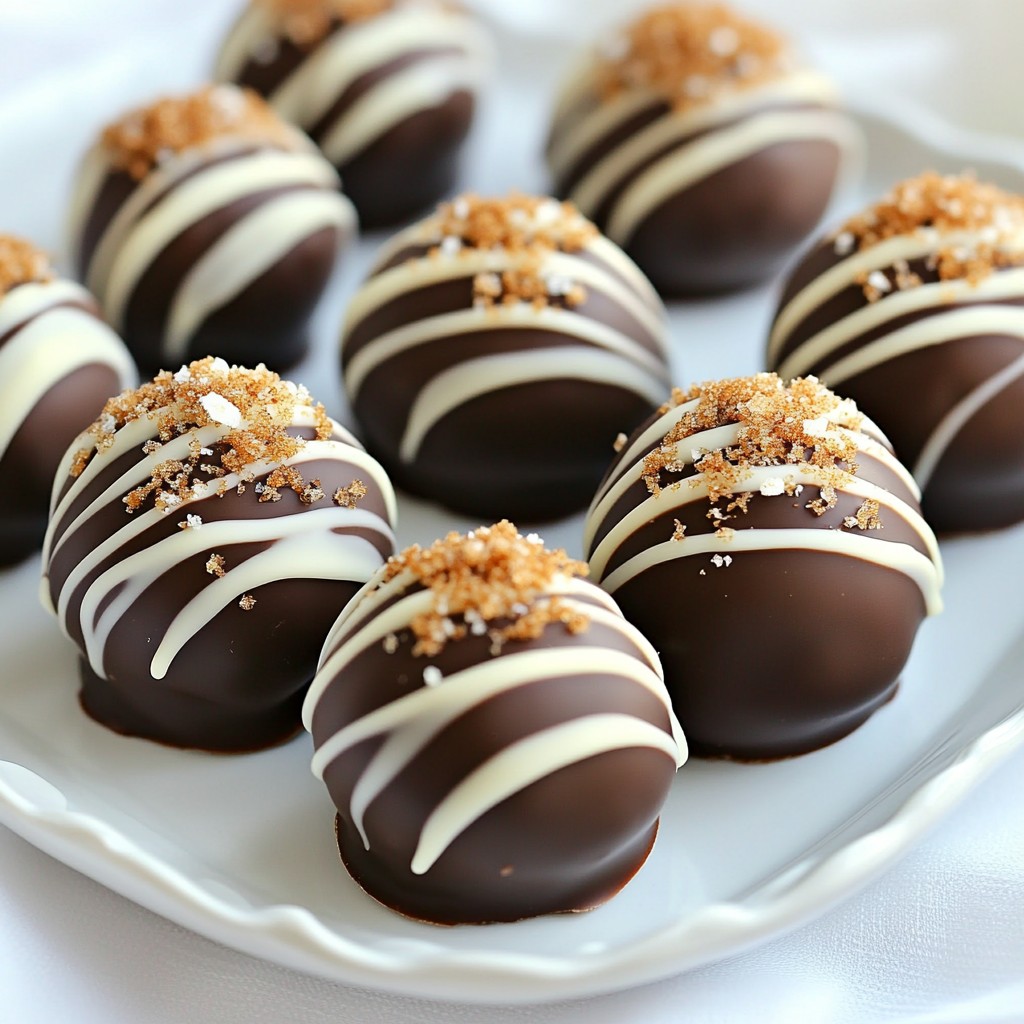
Indulging in a sweet treat just got easier! In this post, I’ll show you how to make Biscoff Truffles two delicious ways. These easy recipes will let you create tasty truffles that everyone will love. With just a few ingredients and simple steps, you can wow your friends and family. Let’s dive into the world of Biscoff and transform your dessert game!
Why I Love This Recipe
- Deliciously Indulgent: These truffles are a perfect blend of creamy and crunchy, offering a rich taste of Biscoff in every bite.
- Easy to Make: This recipe requires minimal effort and ingredients, making it great for both novice and experienced bakers.
- Customizable: You can easily tweak the recipe by adding your favorite toppings or mix-ins to suit your taste.
- Perfect for Sharing: These truffles are an ideal treat for gatherings, making them a hit at parties or as gifts for friends and family.
Ingredients
Ingredients for Biscoff Bliss Truffles
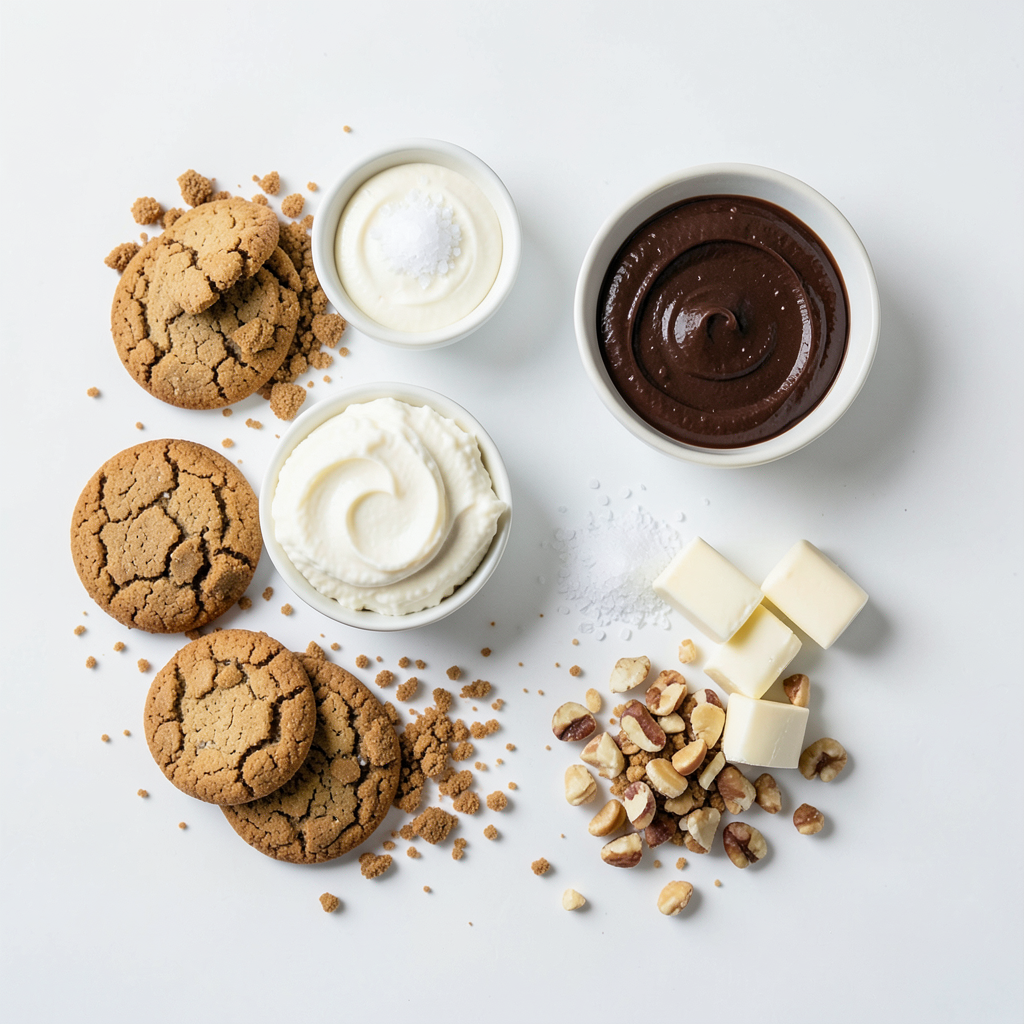
To make Biscoff Bliss Truffles, you need these simple ingredients:
- 200g Biscoff cookies, finely crushed
- 100g cream cheese, at room temperature
- 100g Biscoff spread
- 100g dark chocolate, for dipping
- 50g white chocolate, for drizzling
- Pinch of sea salt
These ingredients create a rich and creamy truffle that melts in your mouth. The Biscoff cookies add a unique flavor, while the cream cheese gives the truffles a smooth texture.
Optional coatings and garnishes
For a fun twist, consider these optional coatings and garnishes:
- Chopped nuts (like walnuts or hazelnuts)
- Additional cookie crumbs
- Cocoa powder
These add texture and extra flavor to your truffles. You can mix and match as you like!
Recipe variations: Flavor and texture options
You can easily change the flavor and texture of your Biscoff Bliss Truffles. Here are a few ideas:
- Swap Biscoff spread for peanut butter or Nutella for a new taste.
- Use milk chocolate instead of dark chocolate for a sweeter coating.
- Add a splash of vanilla extract for extra depth.
Feel free to experiment! Each variation can bring a new delight.
Step-by-Step Instructions
Preparation of the truffle mixture
Start by gathering your ingredients. You will need 200g of finely crushed Biscoff cookies, 100g of cream cheese, and 100g of Biscoff spread. In a large bowl, mix these three ingredients together. Use a spatula or your hands. Keep mixing until you see a smooth, sticky dough. This combination gives the truffles their rich flavor.
Shaping and chilling the truffles
Now, take small portions of the dough. Roll them into balls, about 1 inch wide. Place these balls on a baking sheet lined with parchment paper. Make sure to space them out. Once you shape all the dough, cover the sheet with plastic wrap. Put it in the fridge for about 30 minutes. This helps the truffles firm up and makes them easy to coat.
Melting and coating with chocolate
While the truffles chill, it’s time to melt the dark chocolate. Use a microwave-safe bowl. Heat the chocolate in 20-second bursts. Stir well after each interval. Once melted, take the truffles from the fridge. Dip each one into the dark chocolate. Use a fork to help you coat them evenly. Let the excess chocolate drip off before placing them back on the baking sheet.
Next, melt the white chocolate in the same way. Pour it into a piping bag or a small ziplock bag. Cut a small corner off to create a drizzle effect. Drizzle the white chocolate over the dark-coated truffles. If you like, sprinkle a pinch of sea salt or some crushed Biscoff cookies on top. This adds extra flavor.
Finally, chill the truffles again for 15 minutes. This allows the chocolate to harden completely. Now your Biscoff truffles are ready to enjoy!
Tips & Tricks
How to achieve the perfect texture
To get the right texture, mix the Biscoff cookies, cream cheese, and spread well. The dough should feel sticky but not too wet. If it feels too dry, add a bit more Biscoff spread. If it's too sticky, sprinkle in some crushed cookies. Remember, the goal is to roll the mixture into neat balls that hold together.
Recommended chocolate melting techniques
For melting chocolate, I suggest using a microwave. Place dark chocolate in a microwave-safe bowl. Heat it in 20-second bursts. Stir between bursts until it’s smooth. This method helps avoid burning the chocolate. If you prefer, you can also use a double boiler. Just make sure the bowl doesn’t touch the water. This will keep the chocolate warm and silky.
Presentation advice for serving
When serving your truffles, arrange them on a nice platter. You can add whole Biscoff cookies around them for a lovely touch. A sprinkle of crushed nuts also adds color and crunch. Drizzle the white chocolate on top before serving. This makes the truffles look even more tempting. Enjoy the delicious treats with friends or family!
Pro Tips
- Use Room Temperature Ingredients: Allow the cream cheese to soften at room temperature for easier mixing and a smoother truffle texture.
- Chill for Perfect Coating: Make sure to chill the truffles adequately before dipping them in chocolate for a firmer texture that holds its shape.
- Experiment with Toppings: Feel free to use different toppings like crushed nuts, sprinkles, or even sea salt for a unique flavor twist on your truffles.
- Quality Chocolate Matters: Use high-quality dark and white chocolate for melting to enhance the overall taste of your truffles.
Variations
Alternative flavor twists
You can easily change the flavor of your Biscoff truffles. Here are some fun ideas:
- Peanut Butter: Mix in creamy peanut butter with the Biscoff spread. This gives a nutty twist.
- Coconut: Add shredded coconut to the dough. It adds a tropical touch.
- Mint: Use mint extract for a fresh flavor. Just a few drops can make a big difference.
Experimenting with flavors keeps things exciting. Each twist adds a new layer to your truffle experience.
Nut-free options
If you need a nut-free version, it’s simple. Just skip any nuts in the recipe. You can still enjoy great taste without them.
- Coating: Use crushed Biscoff cookies for a crunchy coating instead of nuts.
- Flavor: Stick with the classic Biscoff flavors. They shine bright on their own.
These options make the truffles safe for those with nut allergies while keeping them delicious.
Vegan adaptations
To make your Biscoff truffles vegan, swap out a few ingredients. Here’s how:
- Cream Cheese: Use vegan cream cheese instead. It works just as well.
- Chocolate: Choose dairy-free dark chocolate for dipping.
- Biscoff Spread: Make sure your Biscoff spread is vegan-friendly.
These changes let everyone enjoy the truffles, regardless of dietary needs. Vegan or not, they taste amazing!
Storage Info
Best practices for storing Biscoff truffles
To keep your Biscoff truffles fresh, store them in an airtight container. This helps prevent them from drying out. Place parchment paper between layers if you stack them. This way, the truffles won’t stick together. Keep the container in the fridge for best results. The cool air helps maintain their texture and flavor.
Shelf life of truffles
When stored properly, Biscoff truffles can last about one week in the fridge. After that, they may start to lose their taste and texture. If you want to enjoy them longer, consider freezing them. They will stay tasty for about three months in the freezer. Just remember to thaw them in the fridge before serving.
Freezing truffles for longer shelf life
To freeze your Biscoff truffles, start by placing them on a baking sheet. Make sure they are not touching each other. Freeze them for about one hour. Once they are firm, transfer them to an airtight container or a freezer bag. Label the bag with the date for easy reference. When you are ready to enjoy them, take out the truffles and let them thaw in the fridge for a few hours. This method keeps them safe and delicious for later!
FAQs
Can I use other types of cookies?
Yes, you can use other cookies. Many cookies work well in truffles. Try using Oreos or ginger snaps. Each cookie adds its own flavor. Just remember to crush them finely. This keeps your truffles smooth and tasty.
How do I make these truffles gluten-free?
To make these truffles gluten-free, choose gluten-free cookies. Many brands offer gluten-free Biscoff cookies. Check the label to ensure they are safe. The rest of the ingredients, like cream cheese and chocolate, are usually gluten-free. Always double-check the labels before you start.
What can I do if the chocolate coating isn't smooth?
If your chocolate coating isn't smooth, don’t worry. Here are some quick fixes:
- Make sure to melt the chocolate gently. Heat in short bursts and stir often.
- Add a small amount of vegetable oil or shortening to the chocolate. This can help it coat better.
- If it’s too thick, try adding a splash of cream. This can create a smooth finish.
- Remember to dip the truffles quickly to keep the coating even.
We’ve covered how to make Biscoff Bliss Truffles, from ingredients to storage tips. You can mix flavors, use different coatings, and try new add-ins to fit your taste. Remember, the best texture comes from proper mixing and cooling. These truffles are easy to store and stay fresh longer when frozen. Enjoy sharing these treats with friends and family. With these steps and ideas, you can create the truffles of your dreams. So, get cooking and start your truffle journey today!


