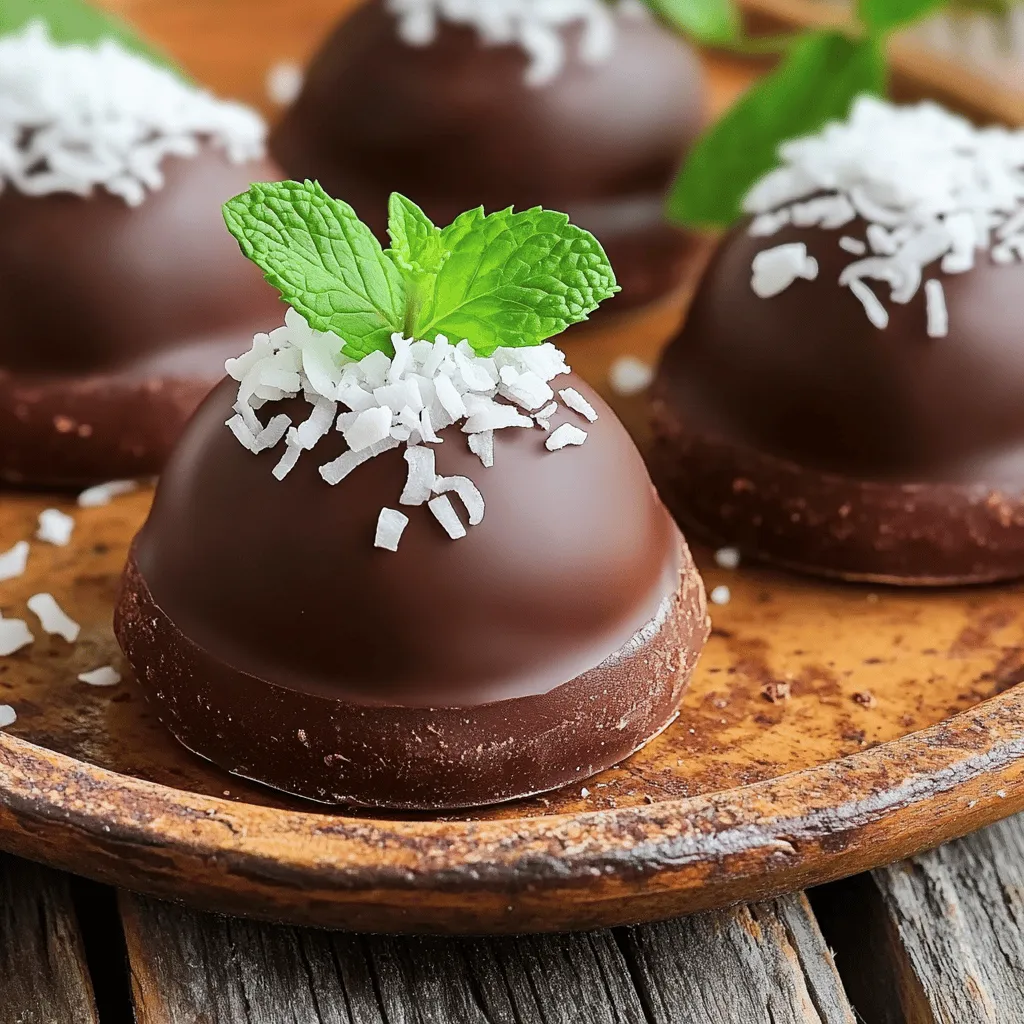
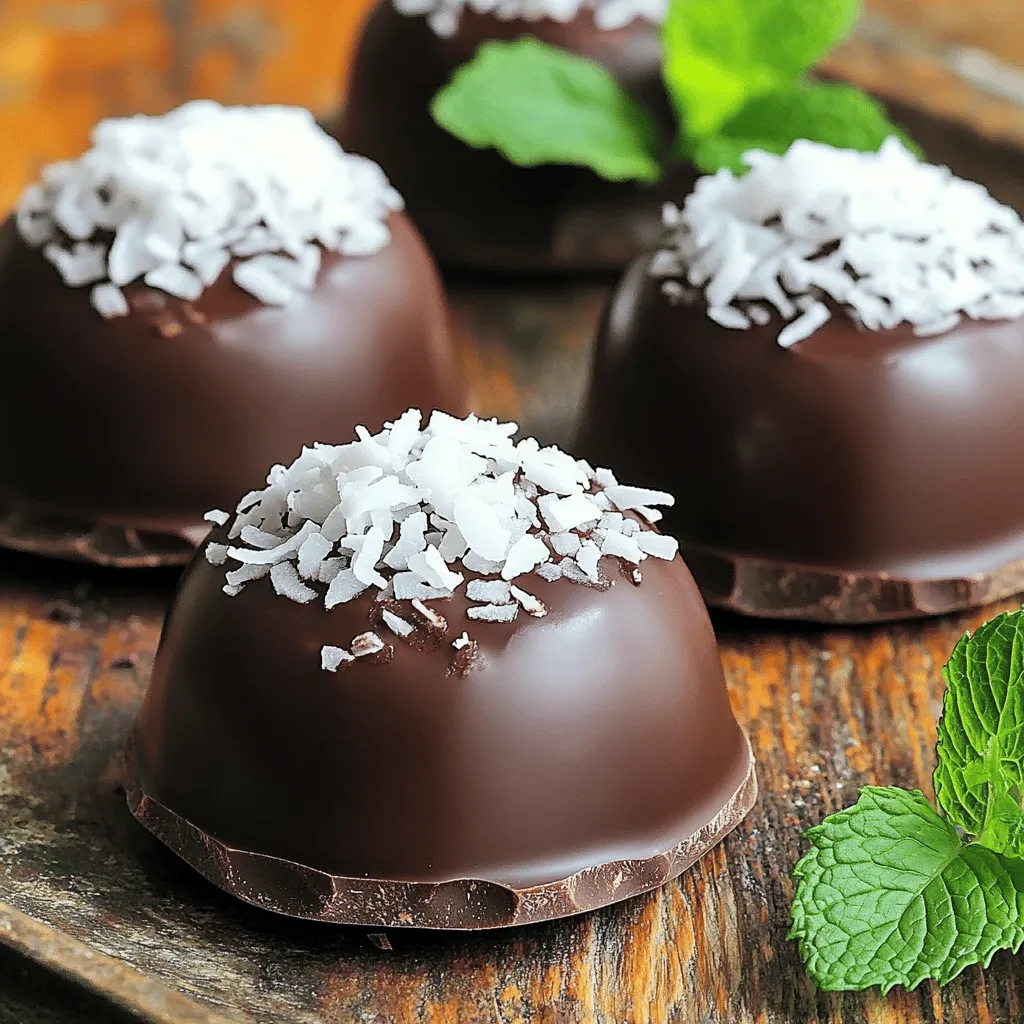
Indulging in a Coconut Chocolate Dome is a sweet treat you’ll love. This delightful dessert combines rich chocolate with creamy coconut in a fun dome shape. Whether you’re impressing guests or just treating yourself, this recipe is simple and satisfying. Follow my easy step-by-step guide to create your own Coconut Chocolate Dome. You’ll discover tips, ingredient options, and variations to make it truly yours. Let’s dive in and get started!
Ingredients
List of required ingredients for Coconut Chocolate Dome
To create a delicious Coconut Chocolate Dome, you need the following ingredients:
– 1 cup coconut cream
– 1/2 cup granulated sugar
– 1/2 cup unsweetened cocoa powder
– 1/2 cup dark chocolate, finely chopped
– 1/4 cup shredded coconut
– 1 teaspoon pure vanilla extract
– Pinch of salt
– 1 tablespoon coconut oil
– 1/4 cup milk chocolate, for coating
– Fresh mint leaves, for garnish (optional)
Alternative ingredient options
If you want to change the flavor or texture, here are some options:
– Use almond milk instead of coconut cream for a nutty twist.
– Try maple syrup in place of granulated sugar for a natural sweetener.
– Use white chocolate instead of milk chocolate for a sweeter finish.
– Add crushed nuts for extra crunch and flavor.
Importance of ingredient quality in flavor profile
The quality of your ingredients can make a big difference. Fresh coconut cream gives a rich flavor that can’t be replaced. High-quality cocoa powder adds depth and richness. Using good dark chocolate boosts the overall taste. When you choose the best ingredients, your Coconut Chocolate Dome turns out more delicious. It’s all about what you put in. Always aim for the best!
Step-by-Step Instructions
Overview of preparation process
Making the coconut chocolate dome is fun and simple. You will mix coconut cream, sugar, and cocoa, then freeze it. After that, you dip them in melted chocolate for a tasty finish.
Detailed step-by-step guide
1. Combine the base: In a medium saucepan, mix together the coconut cream, granulated sugar, cocoa powder, and salt. Stir while heating over medium heat until it is smooth.
2. Add chocolate: Take the pan off the heat. Stir in dark chocolate, shredded coconut, and vanilla. Keep stirring until the chocolate melts.
3. Cool and mold: Let the mixture cool for 10-15 minutes. Pour it into dome-shaped silicone molds, filling them just below the top.
4. Freeze: Place the molds in the freezer for about 4-5 hours, or until firm.
5. Unmold: Carefully take the domes out of the molds. If they stick, warm the outside of the mold with your hands.
6. Melt the coating: In a bowl, mix milk chocolate and coconut oil. Heat in the microwave in 30-second bursts, stirring until smooth.
7. Coat the domes: Dip the tops of each dome into the melted chocolate. Let the extra chocolate drip off.
8. Set the coating: Place the domes on a wire rack to allow the chocolate to harden.
9. Serve: Once set, place the domes on dessert plates. Add shredded coconut or mint leaves for garnish if you like.
Tips for ensuring perfect consistency during preparation
– Stir continuously to avoid lumps when mixing ingredients.
– Make sure the mixture cools slightly before pouring it into the molds.
– If the chocolate coating is too thick, add a bit more coconut oil to thin it out.
– Keep an eye on the melting chocolate to prevent burning.
Tips & Tricks
How to achieve the best chocolate coating
To get a great chocolate coating, use good quality chocolate. I like to melt milk chocolate with a bit of coconut oil. This mix helps keep the chocolate smooth and shiny. Dip each dome into the melted chocolate. Let the excess drip off before placing it on a wire rack. This will help you avoid thick spots.
Common mistakes to avoid
One common mistake is not tempering the chocolate. If you melt chocolate too fast or at high heat, it can seize. Keep the heat low and stir often. Another mistake is overfilling the molds. Fill them just below the rim. This gives enough room for the chocolate coating. Lastly, don’t skip the freezing time. It’s key to getting that perfect dome shape.
Expertise tips for presentation and serving
For a stunning presentation, place each dome on a pretty plate. A sprinkle of shredded coconut on top looks great. You can also add fresh mint leaves for color. These small details elevate the dish. Serve right after you coat them. This keeps the chocolate shiny and fresh. For fun, consider adding a scoop of ice cream on the side.

Variations
Different flavor additions (e.g., orange zest or nuts)
You can change the taste of your Coconut Chocolate Dome in fun ways. Try adding orange zest for a fruity twist. Just add one teaspoon of zest to the mixture before you pour it into molds. If you like nuts, fold in chopped almonds or hazelnuts. This adds a nice crunch and depth of flavor.
Alternate chocolate options (dark vs. white chocolate)
You can also switch up the chocolate used. Dark chocolate gives a rich, deep taste. White chocolate, however, adds a creamy sweetness. If you want a sweeter dome, use white chocolate for the top coating. Mix and match to find your favorite flavor balance.
Adjusting the sweetness level for personal preference
Sweetness can be adjusted to suit your taste. If you prefer less sweetness, cut back on the sugar. Start with a 1/4 cup and taste the mixture. You can always add more later. For those who love sweeter desserts, add a bit more sugar or honey. This flexibility makes the Coconut Chocolate Dome perfect for everyone’s taste buds.
Storage Info
Best practices for storing Coconut Chocolate Domes
Store your Coconut Chocolate Domes in an airtight container. This keeps them fresh and moist. Make sure to layer parchment paper between each dome to prevent sticking. Keep them in the fridge if you plan to eat them within a week. For longer storage, the freezer is best.
Shelf life and freezing tips
Coconut Chocolate Domes last about 5 days in the fridge. If you freeze them, they can last up to 3 months. To freeze, wrap each dome tightly in plastic wrap, then place them in a freezer-safe bag. This helps avoid freezer burn. Thaw them in the fridge overnight before serving.
How to reheat or serve leftovers
You don’t need to reheat these domes. They taste great cold! If you like, you can warm them slightly in the microwave for 10 seconds. Just be careful not to melt the chocolate too much. Serve them cold or at room temperature for the best flavor. For a fun twist, add a scoop of ice cream on the side. Enjoy your delightful Coconut Chocolate Dome!
FAQs
What are the key flavors in a Coconut Chocolate Dome?
The main flavors come from coconut and chocolate. You taste rich dark chocolate and creamy coconut. The vanilla adds warmth, while the pinch of salt enhances the sweetness. Shredded coconut gives a nice texture. Together, these flavors create a delightful treat.
Can I make Coconut Chocolate Domes ahead of time?
Yes, you can make them ahead! These domes freeze well, so you can prepare them a few days in advance. Just store them in an airtight container in the freezer. When ready to serve, let them thaw for a few minutes. This way, you have a tasty dessert ready anytime.
How can I make this recipe vegan or dairy-free?
To make it vegan, use dark chocolate that contains no milk. Ensure that all other ingredients, like coconut cream and sugar, are also vegan. You can omit the milk chocolate coating or use a dairy-free alternative. This way, you can enjoy the Coconut Chocolate Dome without dairy!
The Coconut Chocolate Dome is a fun dessert. We covered key ingredients, steps, and tips for success. Quality matters for flavor, so choose fresh items. I shared tricks to avoid common mistakes and how to present your dome well. Variations let you mix flavors and adjust sweetness if you want. For storage, follow best practices to keep them fresh.
With these insights, you can create a delicious treat. Enjoy making and sharing it with others!


