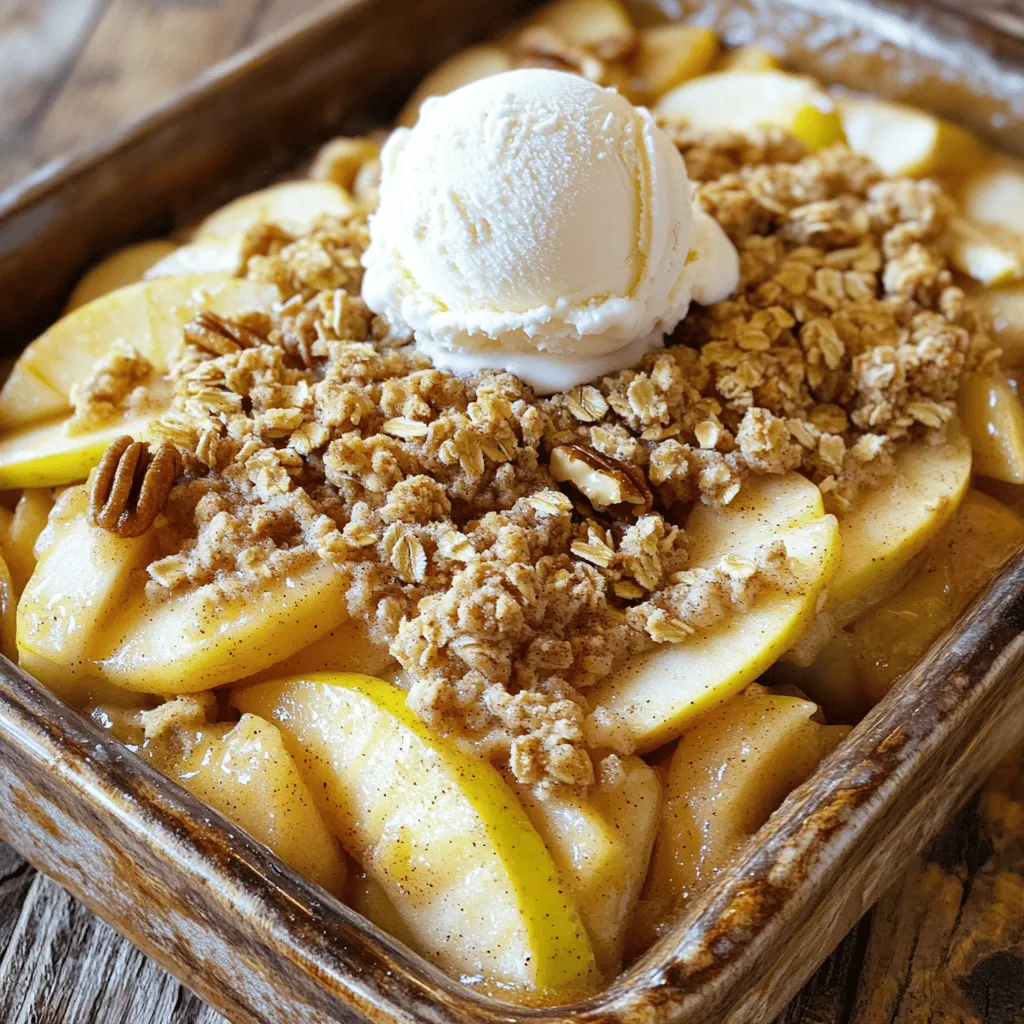
If you’re craving a warm, comforting dessert, look no further than this Easy Apple Crumble. With just a few simple ingredients, you can create a delightful dish that brings smiles to the table. I’ll guide you through each step, from selecting the best apples to achieving the perfect crumbly topping. Let’s dive into this easy recipe and enjoy a slice of homemade happiness!
Ingredients
Main Ingredients
– Apples (4 medium-sized, peeled and sliced)
– Brown Sugar (½ cup packed)
– Rolled Oats (1 cup)
Additional Ingredients
– Ground Cinnamon (1 teaspoon)
– Unsalted Butter (½ cup, melted)
– Optional Nuts (¼ cup chopped walnuts or pecans)
For this easy apple crumble, I focus on simple yet flavorful ingredients. I love using four medium-sized apples. You can pick tart ones like Granny Smith or sweeter types like Honeycrisp. Both add great taste to the dish.
I pack half a cup of brown sugar for sweetness. This sugar gives the crumble a rich flavor. Adding one cup of rolled oats makes the topping crunchy and hearty.
To enhance the apple flavor, I add one teaspoon of ground cinnamon. The warm spice pairs well with the apples. For the topping, I melt half a cup of unsalted butter. This binds the crumble together and gives it a nice golden color when baked.
Finally, I like to add optional chopped nuts. A quarter cup of walnuts or pecans adds a lovely crunch. If you want a nut-free version, feel free to skip them. This delightful apple crumble recipe is all about using fresh, high-quality ingredients for the best results.
Step-by-Step Instructions
Preparing the Apples
1. Preheat the Oven
Start by preheating your oven to 350°F (175°C). This helps the crumble bake evenly.
2. Mix Apples with Cinnamon and Lemon Juice
In a large bowl, add the sliced apples. Pour in the lemon juice and sprinkle the ground cinnamon over them. Mix well to coat the apple slices. The lemon juice keeps the apples fresh, while the cinnamon adds warm flavor.
3. Transfer Apples to Baking Dish
Take a greased 9-inch baking dish. Pour the apple mixture into it. Spread the apples evenly across the dish. This step ensures every bite has that sweet apple goodness.
Making the Crumble Topping
1. Combine Dry Ingredients
In another bowl, mix together the rolled oats, all-purpose flour, brown sugar, and a pinch of salt. This creates a sweet base for the topping.
2. Add Melted Butter
Pour the melted butter into the dry mixture. The butter adds richness and helps bind everything together.
3. Mix to Achieve Crumbly Texture
Use a fork or your fingers to combine the ingredients until you see a crumbly texture. This should look like coarse sand. It’s important to not overmix, as you want those lovely little crumbles.
Baking the Apple Crumble
1. Assemble Layers in the Baking Dish
Sprinkle the crumble topping generously over the apple layer in the baking dish. Make sure to cover all the apples for an even bake.
2. Bake in Preheated Oven
Place the dish in the oven and bake for 30-35 minutes. Look for the apples to become tender and the topping to turn golden brown. This means your crumble is ready.
3. Cool Before Serving
After baking, let the crumble cool for about 10 minutes. This helps the flavors settle and makes it easier to serve. For a delightful treat, serve warm with ice cream or whipped cream.
Tips & Tricks
Choosing the Right Apples
Sweet vs. Tart Varietals
When making apple crumble, the type of apple is key. I love using a mix of sweet and tart apples. Granny Smith offers a nice tartness. Honeycrisp brings out the sweetness. Combining these gives great flavor and balance.
Seasonal Recommendations
Always choose apples that are in season. In the fall, you can find many fresh varieties. This makes your crumble taste better and supports local farmers.
Achieving the Perfect Crumble Texture
Optimal Butter Temperature
Using melted butter is essential for a great crumble. It helps bind the dry ingredients. Make sure it’s not too hot; warm is perfect. This makes mixing easier and prevents clumping.
Mixing Techniques for Crumbly Finish
Mix the dry ingredients gently. You want a coarse, crumbly texture. Use your fingers or a fork to combine. Avoid over-mixing; this keeps the topping light and airy.
Serving Suggestions
Pairing with Ice Cream or Cream
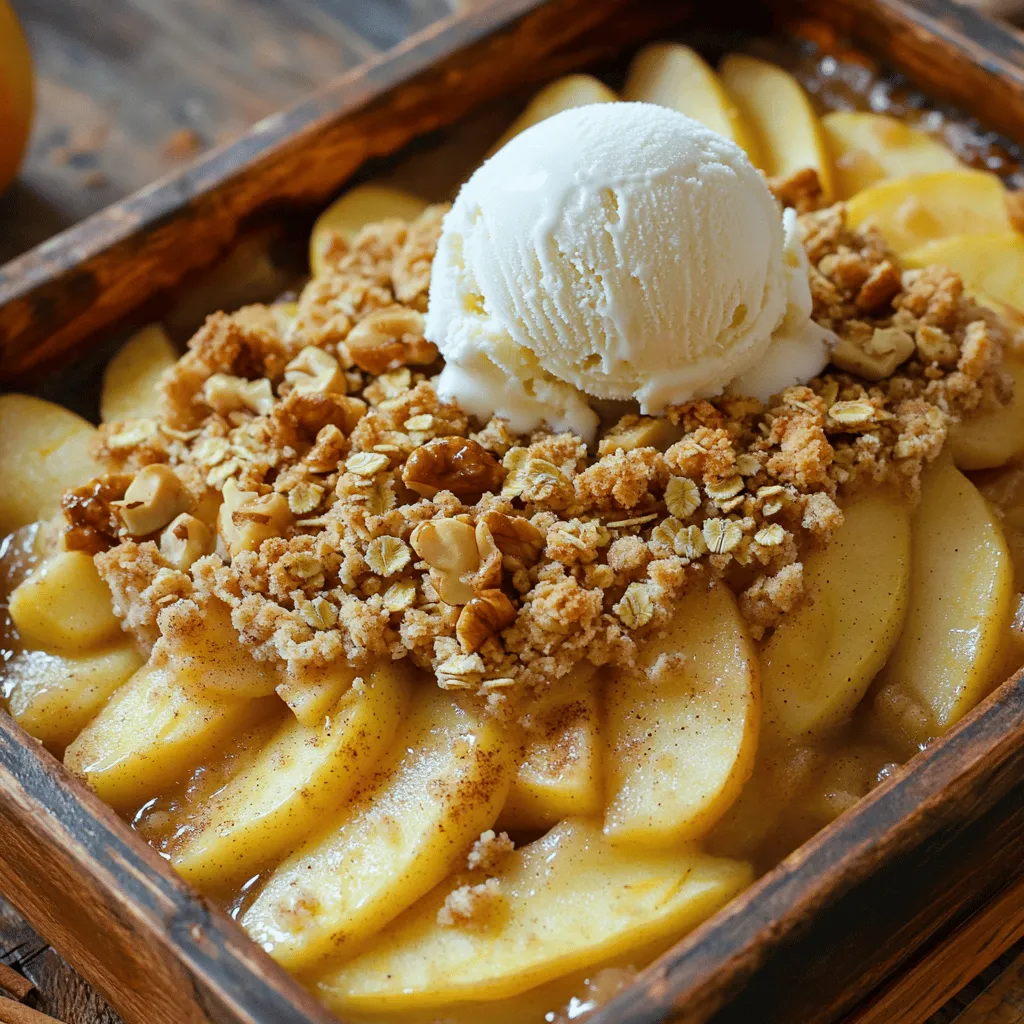
Serve your apple crumble warm. A scoop of vanilla ice cream on top is a must. The cold creaminess pairs well with the warm crumble. You can also use fresh whipped cream for a lighter touch.
Adding Garnishes for Aesthetic Appeal
Garnishing makes a dish pop. Sprinkle ground cinnamon on top for color. You can also add thin apple slices for a fresh look. This adds a nice touch and makes your dessert more inviting.Enjoy crafting this delightful dessert!
Variations
Adding Spices and Flavors
You can easily change the taste of your apple crumble by adding spices. A dash of nutmeg brings warmth. Ginger adds a nice zing. You might try a bit of allspice for a cozy, sweet flavor.
Mix in other fruits for fun. Berries like blueberries or raspberries work well. Pears add a juicy twist. Experimenting with these fruits can create a new favorite dish.
Gluten-Free Options
If you need a gluten-free version, use alternative flours. Almond flour or coconut flour are great choices. They keep the crumble tasty while being safe for gluten-free diets.
You can also swap brown sugar with coconut sugar or maple syrup. These options still give you sweetness without the refined sugar.
Healthier Versions
To make a healthier apple crumble, try reducing sugar or butter. Use only a third of a cup of sugar. You can replace half the butter with applesauce for less fat.
Incorporating nuts and seeds adds nutrition. Try adding chia seeds or pumpkin seeds to the crumble. This not only boosts health but also gives a nice crunch.
Storage Info
Storing Leftovers
– Use an airtight container for storing leftovers.
– You can keep it in the fridge for up to three days.
Reheating Instructions
– To reheat, use the oven at 350°F (175°C).
– Cover with foil to keep the topping crispy.
– Avoid the microwave as it makes the topping soggy.
Freezing the Apple Crumble
– Let the apple crumble cool completely before freezing.
– Wrap it tightly in plastic wrap and then in foil.
– It can last up to three months in the freezer.
– To thaw, place it in the fridge overnight.
– Reheat in the oven at 350°F (175°C) until warm.
FAQs
What type of apples are best for apple crumble?
The best apples for apple crumble mix sweet and tart flavors. I recommend using:
– Granny Smith (tart and firm)
– Honeycrisp (sweet and juicy)
– Fuji (crispy and sweet)
– Braeburn (balanced sweetness)
These apples hold their shape well during baking. They give your crumble a lovely texture and flavor.
Can I make apple crumble ahead of time?
Yes, you can make apple crumble ahead of time. Here’s how:
– Prepare the apple filling and crumble topping separately.
– Store them in the fridge for up to 24 hours.
– When ready to bake, layer the topping over the apples and bake as directed.
This method saves time on busy days. You can enjoy the warm crumble fresh from the oven.
Is it possible to make this recipe vegan?
Absolutely! To make this recipe vegan, swap a few ingredients:
– Use coconut oil or vegan butter instead of unsalted butter.
– Replace brown sugar with coconut sugar or maple syrup.
These simple changes make the dish plant-based while keeping the flavors rich and delicious. Enjoy your vegan apple crumble!
In this blog post, we explored the delightful world of apple crumble. We covered essential ingredients, step-by-step instructions, and tips for a perfect bake. You learned about apple choices, variations, and storage methods to keep your crumble fresh.
As you create your own apple crumble, remember to experiment with flavors and adjust to your taste. Enjoy this warm dessert with friends or family, and savor the joy it brings. Happy baking!