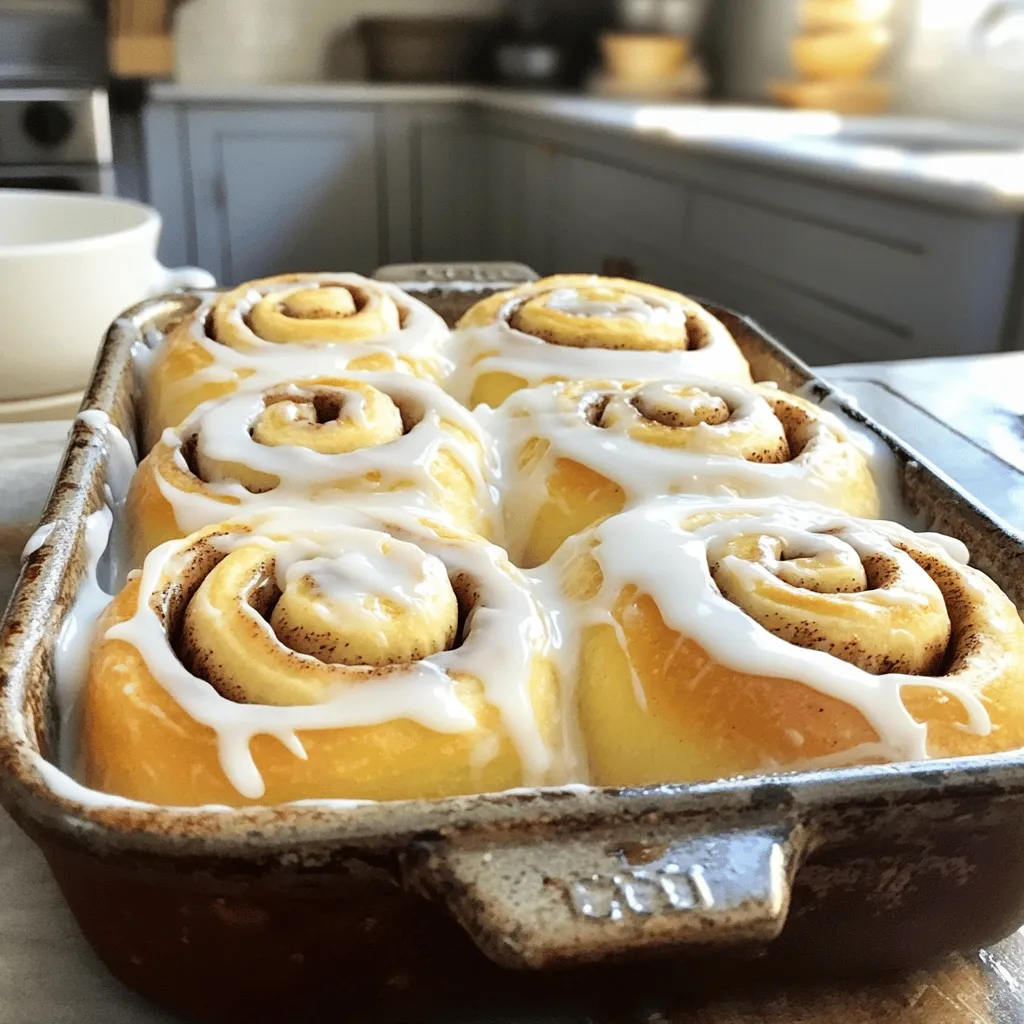
If you crave a warm, delicious treat that melts in your mouth, you’re in for a treat with these Fluffy Cinnamon Roll Swirls. As you bite into these soft rolls, the sweet cinnamon filling will awaken your taste buds. I’ll guide you through each step, from mixing the dough to icing these rolls to perfection. Let’s dive into this cozy baking adventure that is sure to delight anyone who loves fresh, homemade goodies!
Ingredients
Main Ingredients
– 4 cups all-purpose flour
– 1/4 cup granulated sugar
– 1 packet (2 1/4 teaspoons) active dry yeast
– 1 cup warm milk (110°F/43°C)
– 1/4 cup unsalted butter, melted
I love using all-purpose flour for its versatility. It gives the rolls a nice soft texture. The granulated sugar helps to sweeten the dough and feed the yeast. Active dry yeast is key for that fluffy rise. Warm milk, at the right temperature, wakes up the yeast. Melted butter adds richness and flavor.
Filling Ingredients
– 1 tablespoon ground cinnamon
– 1/2 cup brown sugar, packed
– 1/2 cup unsalted butter, softened
The ground cinnamon adds warmth and spice to the rolls. Brown sugar gives a deeper flavor and keeps the filling moist. Softened butter helps the filling spread easily and adds a rich taste.
Icing Ingredients
– 1 cup powdered sugar
– 2 tablespoons milk
– 1 teaspoon vanilla extract
Powdered sugar makes a sweet, smooth icing. Milk thins it to the right consistency. Vanilla extract adds a lovely flavor that complements the cinnamon rolls.
These ingredients work together to create a soft, warm treat that you will love.
Step-by-Step Instructions
Preparing the Dough
To start, I combine warm milk and granulated sugar in a large bowl. I gently sprinkle the yeast on top and let it rest for about 5-10 minutes. This helps the yeast activate and bubble up. Next, I add melted butter, salt, and eggs to the bowl and mix well. I gradually add flour, one cup at a time, until a soft dough forms. This dough is the base for our fluffy cinnamon rolls.
Kneading and First Rise
After the dough forms, I knead it on a floured surface. I knead for about 5-7 minutes until the dough feels smooth and elastic. Once ready, I place the dough in a greased bowl, cover it with a damp cloth, and let it rise in a warm place for about 1 hour. During this time, it should double in size, filling the kitchen with a lovely smell.
Rolling and Shaping the Rolls
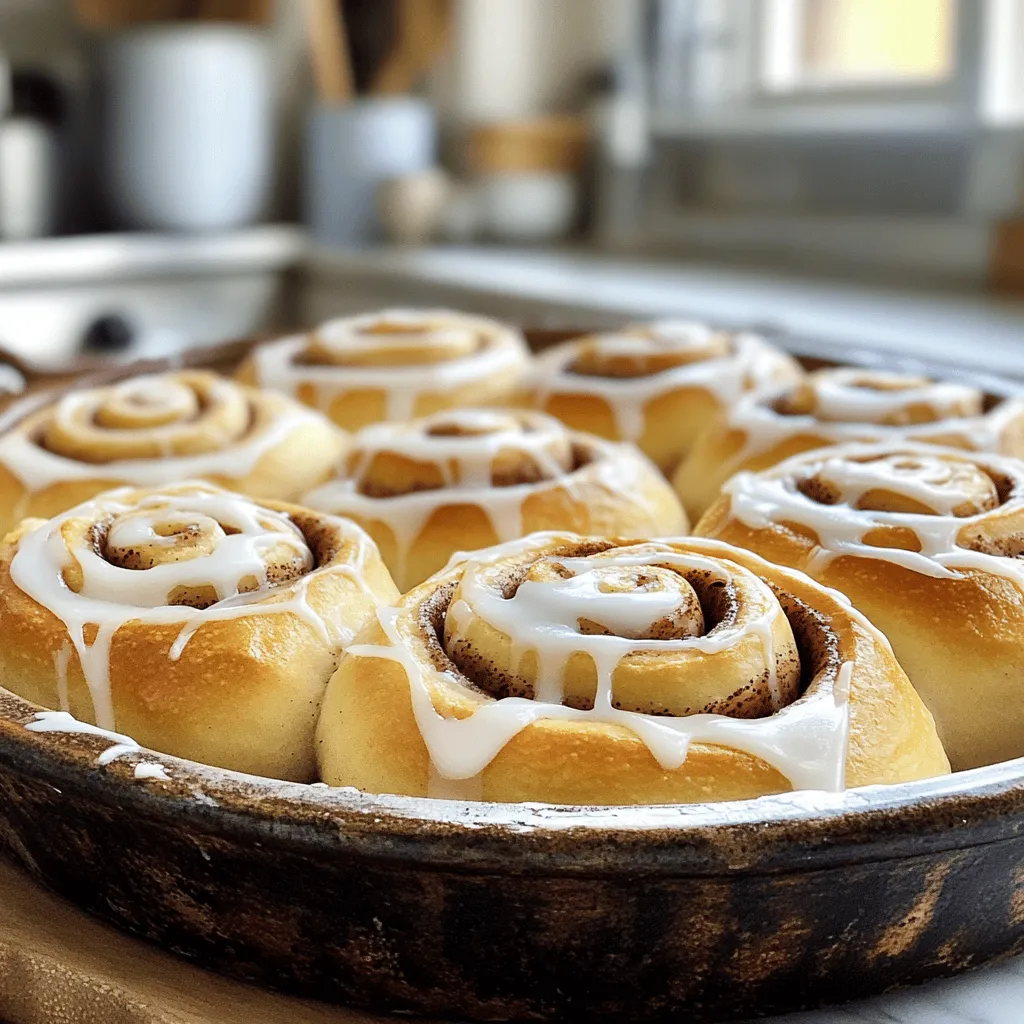
Once the dough has risen, I gently punch it down to release any air. I roll it out into a rectangle, about 16×12 inches. Then, I spread softened butter evenly over the surface. In a small bowl, I mix ground cinnamon and brown sugar, and I sprinkle this filling all over the buttered dough. Next, I start from one long edge and tightly roll the dough into a log. Finally, I slice the log into 12 equal pieces and arrange them cut side up in a greased baking dish.
Second Rise and Baking
I cover the dish with a clean kitchen towel and let the rolls rise again for about 30 minutes. During this time, I preheat my oven to 375°F (190°C). After the second rise, I place the dish in the hot oven and bake the rolls for 25-30 minutes. They should turn golden brown on top, making them look and smell amazing. Once baked, I remove them from the oven and let them cool slightly.
Tips & Tricks
Perfecting Fluffiness
Kneading is key to getting soft rolls. It helps develop gluten, which adds structure. Knead the dough for about 5-7 minutes. You want it smooth and elastic. If it feels sticky, add a little more flour.
For the ideal rise, keep the dough warm. After kneading, place it in a greased bowl. Cover it with a damp cloth. Let it rise in a warm spot for about one hour. It should double in size. If your kitchen is cool, you can turn on the oven briefly. Just warm it, then turn it off. Place the dough inside until it rises.
Icing Application
Icing is the best part! You can choose to drizzle or spread it. Drizzling gives it a nice look, while spreading covers it evenly. I prefer to drizzle for a more rustic feel.
Timing matters too. Wait until the rolls cool slightly before icing. This keeps the icing from melting completely. Apply the icing while the rolls are still warm. It will soak in a bit, adding flavor.
Equipment Recommendations
Using the right tools makes baking easier. Choose a large mixing bowl for the dough. A sturdy wooden spoon or dough hook helps mix well.
For kneading, a clean, floured surface works best. A rolling pin is great for flattening the dough. Use a sharp knife or dental floss to slice the rolls evenly. This keeps them looking nice in the pan.
Variations
Flavor Enhancements
You can add nuts or fruit to the filling. Chopped walnuts or pecans add a nice crunch. Diced apples or raisins give a sweet twist. Just mix them in with the cinnamon-sugar filling. This small change can make a big difference in taste.
You can also try alternative spices for varied flavor profiles. Nutmeg or allspice can give a warm, cozy flavor. Cardamom adds a unique twist that many love. Feel free to experiment and find your favorite mix!
Dietary Modifications
If you need gluten-free options, you can use gluten-free flour blends. Make sure to check that it has a binding agent, like xanthan gum. This helps keep your cinnamon rolls soft and tasty.
For vegan substitutions, swap butter for coconut oil or vegan butter. You can replace eggs with flaxseed meal mixed with water. This makes it easy to enjoy cinnamon rolls without animal products.
Storage Info
Short-Term Storage
To store leftover cinnamon rolls, place them at room temperature in an airtight container. This keeps them soft and fresh for up to two days. If you want to enjoy them warm, simply reheat in the microwave for about 10-15 seconds. For a crispier texture, pop them in a toaster oven for a few minutes.
Long-Term Storage
For long-term storage, freezing is a great option. Wrap each roll tightly in plastic wrap, then place them in a freezer-safe bag. You can freeze them for up to three months. When you are ready to enjoy, take them out and let them thaw in the fridge overnight. Re-bake them in a preheated oven at 350°F (175°C) for about 10-15 minutes. This method brings back their fluffy texture and warm flavor.
FAQs
How can I make cinnamon rolls rise faster?
To help cinnamon rolls rise quickly, use warm milk. Yeast thrives in warmth. Place the dough in a warm spot, like near a heater. Cover it with a damp cloth to keep it moist. This creates the perfect environment for the yeast to work.
What can I substitute for active dry yeast?
If you don’t have active dry yeast, you can use instant yeast. Use the same amount: one packet. Another option is fresh yeast, but you will need about three times the amount. Always check the expiration date and store it properly.
Can I prep the dough ahead of time?
Yes, you can prepare the dough ahead of time. After kneading, place it in a greased bowl and cover it tightly. Refrigerate the dough for up to 24 hours. When ready, let it warm up before rolling it out.
How do I know when my cinnamon rolls are fully baked?
Cinnamon rolls are fully baked when they are golden brown on top. You can also check the internal temperature. It should be around 190°F (88°C). If you gently tap the bottom, it should sound hollow.
Making cinnamon rolls requires simple ingredients and clear steps. We covered the main ingredients, from flour to icing. I shared tips to achieve fluffy rolls and ways to store them. You can even try fun variations to suit different tastes.
Baking cinnamon rolls at home brings joy and deliciousness to any day. Enjoy experimenting with flavors and make them your own. Happy baking!