Are you craving a delicious fall treat that’s also gluten-free? Look no further! My Gluten-Free Pumpkin Cream Cheese Muffins are here to satisfy your sweet tooth without the gluten. With their fluffy texture and creamy filling, these muffins blend seasonal flavors into every bite. Whether you’re baking for yourself or a crowd, I’ll guide you through the simple steps. Let’s get started on this mouthwatering journey!
Ingredients
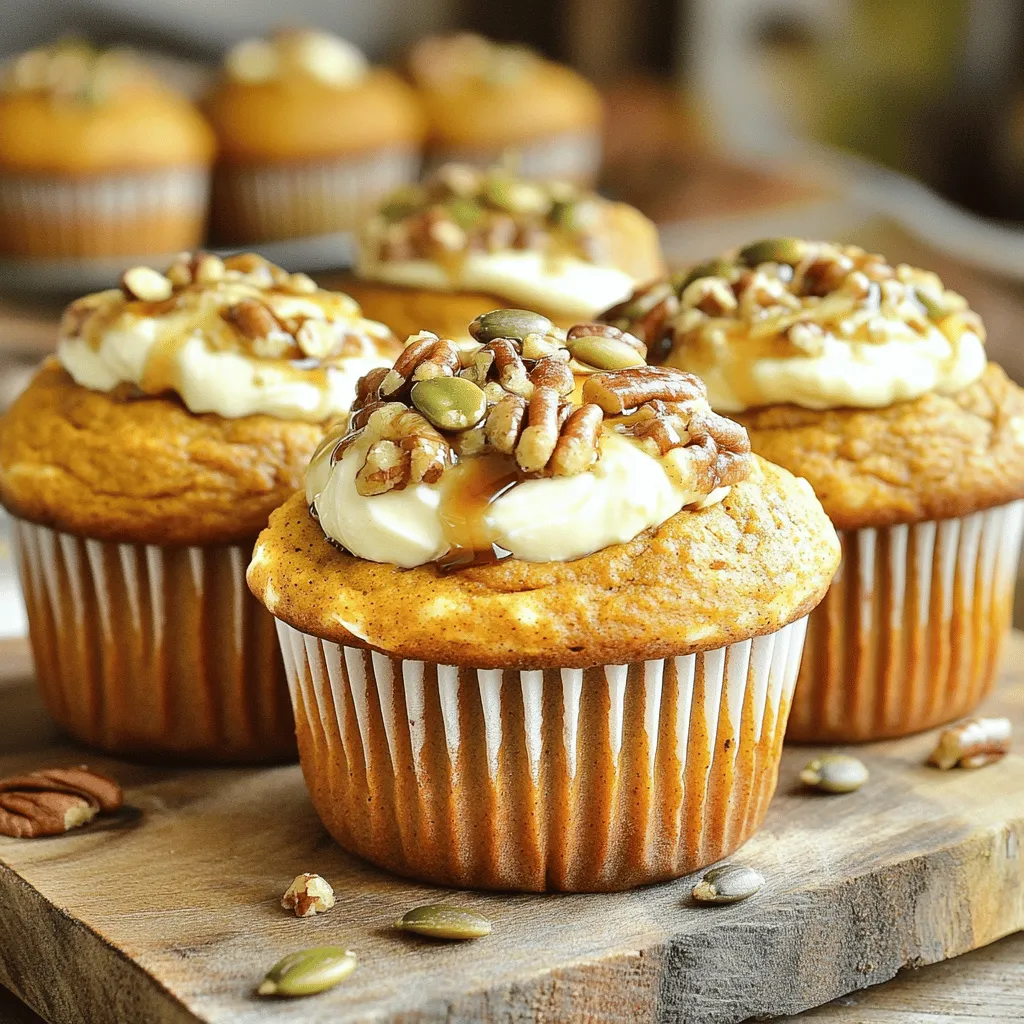
To create the perfect gluten-free pumpkin cream cheese muffins, gather these key ingredients:
– 1 cup gluten-free all-purpose flour
– 1/2 teaspoon baking powder
– 1 teaspoon baking soda
– 1/2 teaspoon ground cinnamon
– 1/4 teaspoon ground nutmeg
– 1/4 teaspoon ginger powder
– 1/2 teaspoon salt
– 1/2 cup brown sugar, packed
– 1/4 cup granulated sugar
– 1/2 cup unsweetened applesauce
– 1 cup canned pumpkin puree
– 2 large eggs, at room temperature
– 1 teaspoon pure vanilla extract
– 4 oz cream cheese, softened to room temperature
– 2 tablespoons pure maple syrup (for filling)
– Optional: Pumpkin seeds or chopped pecans for topping
These ingredients bring together warm flavors and a creamy filling. The pumpkin puree provides moisture and richness. The cream cheese adds a delightful surprise in each bite. Make sure to use gluten-free all-purpose flour for the best results. You can find it at most grocery stores.
Each spice adds depth to the muffins. Cinnamon, nutmeg, and ginger create a cozy fall flavor. Sweeteners help balance the spices and enrich the taste.
Feel free to experiment! Swap in your favorite nuts or seeds for a crunch. You can also leave off the cream cheese for a simpler version. But trust me, that creamy center is worth it!Happy baking!
Step-by-Step Instructions
Preparation
First, preheat your oven to 350°F (175°C). This step warms up the oven for even baking. Next, prepare your muffin tin. Line it with paper liners or grease it with cooking spray. This will keep your muffins from sticking.
Now, grab a large bowl. In this bowl, mix together these dry ingredients:
– 1 cup gluten-free all-purpose flour
– 1/2 teaspoon baking powder
– 1 teaspoon baking soda
– 1/2 teaspoon ground cinnamon
– 1/4 teaspoon ground nutmeg
– 1/4 teaspoon ginger powder
– 1/2 teaspoon salt
Whisk these dry ingredients well until they blend completely.
Combine Wet Ingredients
Now it’s time to work on the wet ingredients. In a separate medium bowl, combine:
– 1/2 cup brown sugar, packed
– 1/4 cup granulated sugar
– 1/2 cup unsweetened applesauce
– 1 cup canned pumpkin puree
– 2 large eggs, at room temperature
– 1 teaspoon pure vanilla extract
Mix these ingredients until they become smooth and well blended.
Combine Dry and Wet Ingredients
Next, we need to mix the wet and dry ingredients. Gradually fold the wet mixture into the dry mixture. Use a spatula or wooden spoon for this. Be gentle. Stir just until combined. Overmixing can make the muffins tough, which we want to avoid.
Fill Muffin Cups
Now, let’s fill the muffin cups. Start by filling each cup about halfway with the pumpkin batter. Then, take the cream cheese filling and place a generous teaspoon in the center of each cup. Finally, top it off with more pumpkin batter until the cup is nearly full. This layering adds a delightful surprise to each bite.
Baking
It’s time to bake! Place your muffin tin in the preheated oven. Bake for 18-20 minutes. To check for doneness, insert a toothpick into the center of a muffin. If it comes out clean, the muffins are ready.
Once they are baked, let the muffins cool in the pan for about 5 minutes. Then, transfer them to a wire rack to cool completely.
Now you have delicious gluten-free pumpkin cream cheese muffins to enjoy!
Tips & Tricks
Baking Tips
When you bake gluten-free, you need to remember a few key points. First, always weigh your flour. This gives you accurate amounts. Too much flour can make your muffins dense. Next, use a mix of gluten-free flours for better results. A blend of rice flour, almond flour, and tapioca works great. Also, add xanthan gum to help with texture and rise.
Perfecting Texture
Avoid overmixing your batter! Mixing too much can make your muffins tough. Stir until the ingredients just come together. Use a spatula to gently fold the wet mix into the dry. This keeps the muffins light and fluffy. If you want more air, try using room temperature eggs. They help create a better rise.
Decorating and Serving Suggestions
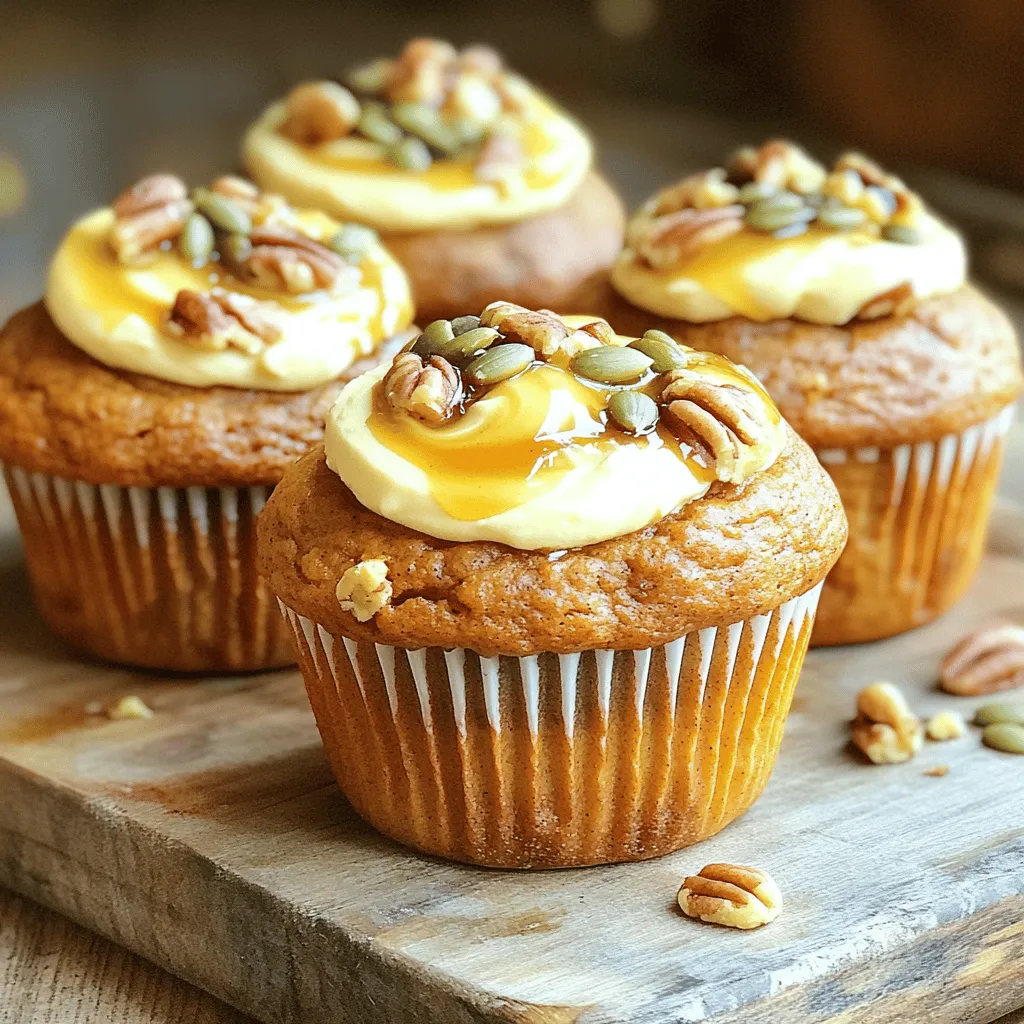
Presentation is key for any dish. For these muffins, arrange them on a nice platter. You can drizzle some maple syrup on top or sprinkle with powdered sugar. If you want a crunch, add pumpkin seeds or chopped pecans before baking. These muffins taste best when they are warm, so serve them fresh! Enjoy your delicious treat while they are still soft and sweet.
Variations
Dietary Alternatives
You can make these muffins dairy-free and vegan. For a dairy-free option, swap the cream cheese for a vegan cream cheese. Use a plant-based milk in place of the eggs. Applesauce works great as an egg substitute too.
– Vegan Cream Cheese: Choose a brand that suits your taste.
– Egg Substitute: Use 1/4 cup of applesauce or 1 tablespoon of ground flaxseed mixed with 3 tablespoons of water.
These changes keep the flavor while making the muffins suitable for more diets.
Flavor Variations
Feel free to get creative with flavors! You can add nuts, chocolate chips, or spices to enhance the taste. Walnuts or pecans give a nice crunch. Chocolate chips add sweetness and richness.
– Nuts: Fold in 1/2 cup of chopped nuts for texture.
– Chocolate Chips: Mix in 1/2 cup of dark or semi-sweet chips for a treat.
– Spices: A pinch of cloves or cardamom can add warmth to the muffins.
Experimenting with flavors keeps every batch exciting.
Seasonal Adaptations
These muffins shine during the fall and winter. For Halloween, add some orange food coloring to the batter. For Thanksgiving, sprinkle some nutmeg on top for a festive touch.
– Holiday Spice: Mix in a dash of allspice for the holiday spirit.
– Special Occasions: Top with a cream cheese frosting for birthday treats.
These seasonal tweaks make your muffins perfect for any occasion. Enjoy these delicious variations with friends and family!
Storage Info
How to Store Muffins
Store your muffins at room temperature for up to three days. Place them in an airtight container. If you want to keep them longer, the fridge is a good option. Just remember, they may dry out a bit in the fridge. For maximum freshness, enjoy them at room temperature.
Freezing Instructions
To freeze your muffins, first cool them completely. Wrap each muffin in plastic wrap. Then, place them in a freezer-safe bag. They can last for up to three months. When you want to enjoy one, take it out and let it thaw at room temperature. For a warm treat, pop it in the microwave for a few seconds.
Shelf Life
For the best taste, eat your muffins within three days at room temperature. In the fridge, they stay fresh for up to a week. If frozen, be sure to consume them within three months. Always check for signs of spoilage, like a strange smell or mold. These tips help keep your gluten-free pumpkin cream cheese muffins delightful!
FAQs
Can I use other flours for this recipe?
You can use different flours, but each has its own pros and cons.
– Almond flour: Adds a nice nutty flavor but may make muffins dense.
– Coconut flour: Absorbs a lot of moisture. You need to adjust liquids for balance.
– Oat flour: Great for texture but can be crumbly. Mix with other flours for best results.
– Rice flour: Common in gluten-free recipes. It may not hold moisture well alone.
Each flour brings unique flavors and textures. Experiment to find your favorite!
How can I make these muffins sugar-free?
You can use various sugar alternatives in this recipe.
– Stevia: A natural sweetener that is much sweeter than sugar. Use less.
– Monk fruit: Another great option. It has zero calories and a mild taste.
– Erythritol: This sugar alcohol offers sweetness without calories. It may have a cooling effect.
– Applesauce: You can replace some sugar with more applesauce for natural sweetness.
Each option affects taste and texture, so choose what you enjoy!
What can I substitute for cream cheese?
If you want to swap out cream cheese, several options work well.
– Greek yogurt: It adds creaminess and protein. Choose plain for best results.
– Silken tofu: Blend it until smooth for a dairy-free option.
– Cottage cheese: Blend it for a creamier texture.
– Vegan cream cheese: Many brands offer a plant-based alternative that tastes great.
These substitutes offer different flavors, so pick one that fits your needs!
How do I know when the muffins are done?
Checking for doneness is easy with a few simple signs.
– Toothpick test: Insert a toothpick into the center. If it comes out clean, they are done.
– Golden edges: Look for edges that turn a light golden brown.
– Springy tops: Gently press the top. If it springs back, it’s ready.
These tips help ensure your muffins come out perfectly every time!
Can I make mini muffins instead?
Yes, mini muffins are a fun twist on this recipe!
– Adjust baking time: Bake them for about 12-15 minutes instead of 18-20.
– Portion sizes: Fill mini muffin tins only halfway to allow room for rising.
– Check often: Use the toothpick test to ensure they bake through without overcooking.
Mini muffins are perfect for snacks or parties! Enjoy making them!
This blog post covered a great pumpkin muffin recipe. We discussed ingredient choices, like gluten-free flour and spices. We explored step-by-step instructions and tips for a perfect bake. You learned about variations for different diets and flavors.
Remember to store your muffins properly and enjoy their freshness. With practice, your baking skills will grow. Happy muffin making!


