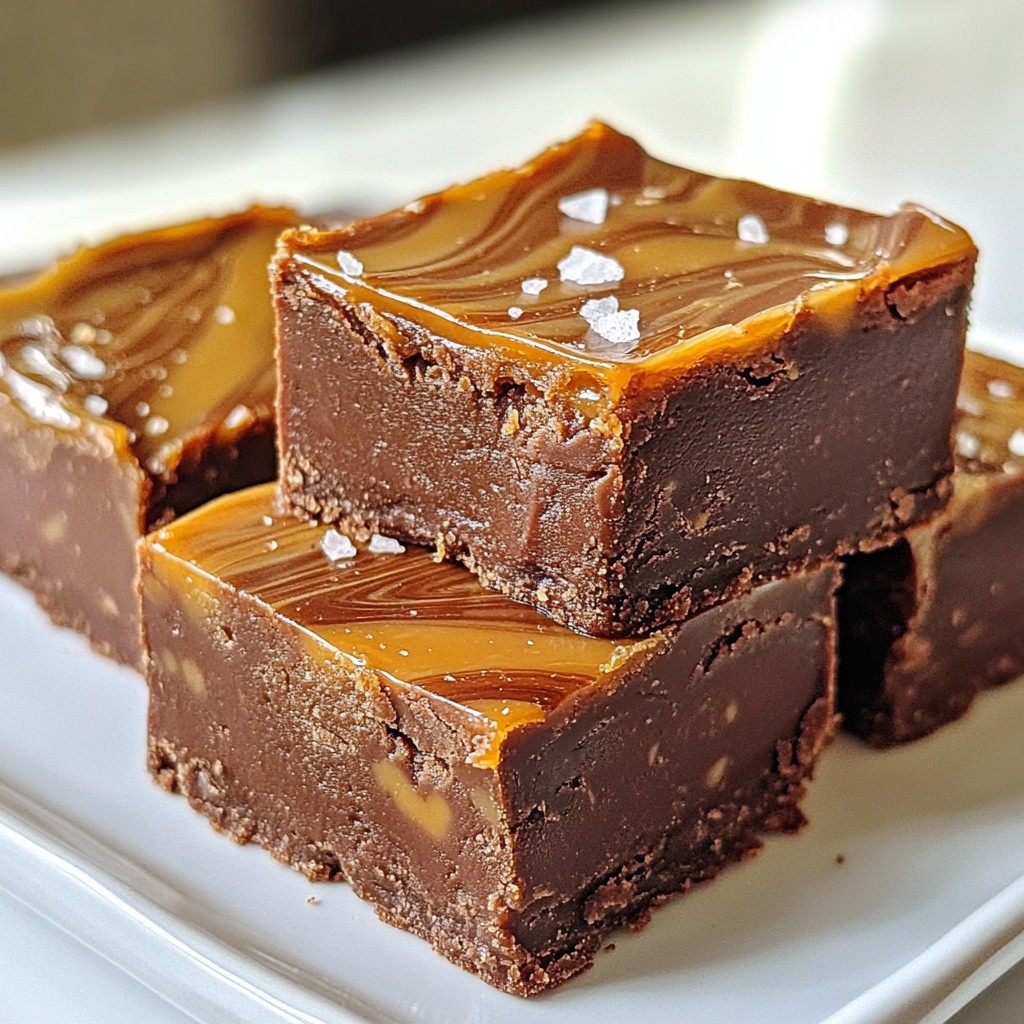
Are you ready to satisfy your sweet tooth? This Salted Caramel Fudge is a delightful treat. With a rich blend of cocoa, sugar, and creamy condensed milk, every bite is a flavor explosion. I will guide you through the simple steps to make this perfect dessert. Whether you're a kitchen novice or a seasoned chef, this fudge will impress everyone. Let’s dive into the ingredients and get started on this tasty journey!
Why I Love This Recipe
- Indulgent Flavor: This fudge combines rich cocoa and creamy caramel, creating a decadent treat that satisfies any sweet tooth.
- Simple Instructions: The straightforward steps make it easy for both novice and experienced bakers to whip up this delightful dessert.
- Perfect for Sharing: Cut into bite-sized pieces, this fudge is ideal for parties, gatherings, or simply sharing with friends and family.
- Customizable: Feel free to experiment with different types of chocolate chips or flavored caramel sauces to make it your own!
Ingredients
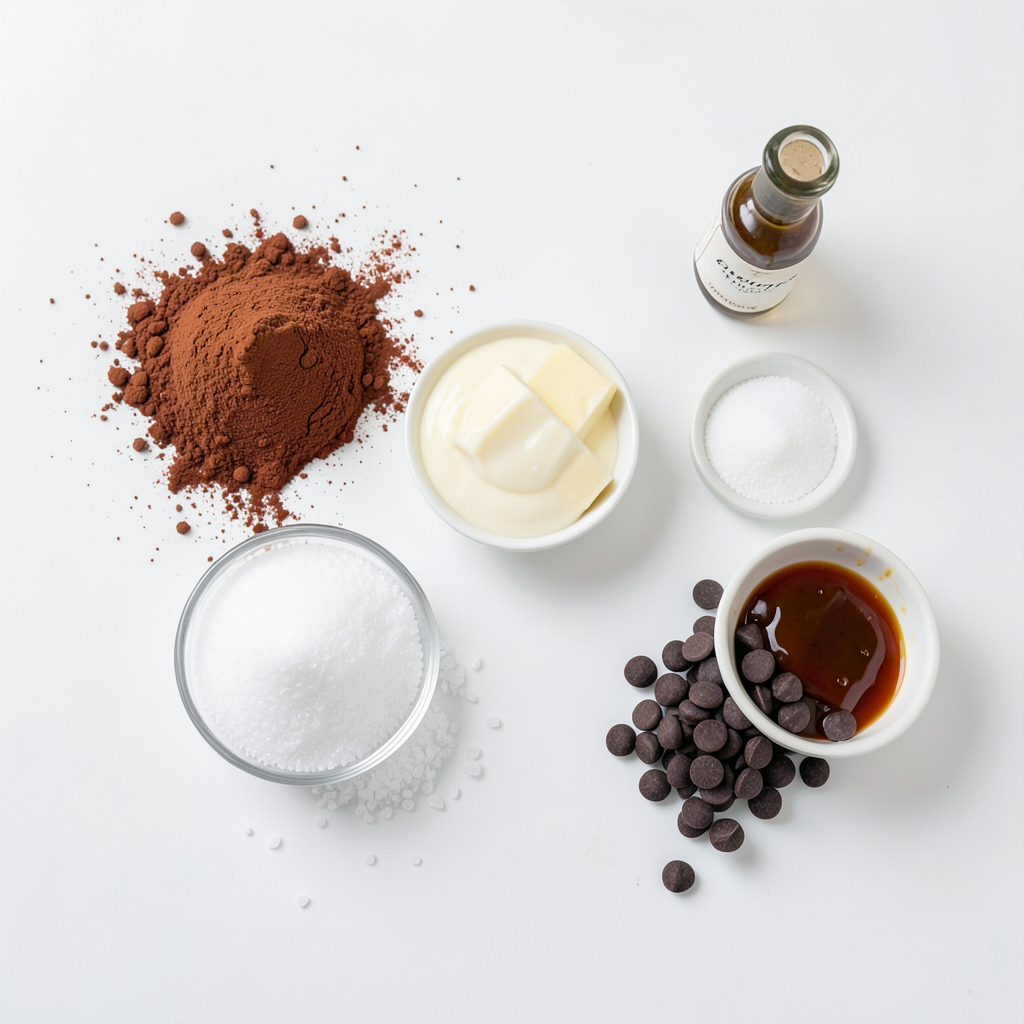
Main Ingredients for Salted Caramel Fudge
- 1 cup unsweetened cocoa powder
- 1 cup sweetened condensed milk
- 1 cup granulated sugar
The main ingredients create the rich base of your fudge. Cocoa powder gives the fudge its deep chocolate flavor. Sweetened condensed milk adds creaminess and sweetness. Granulated sugar enhances the overall sweetness and helps with texture.
Optional Ingredients
- 1 cup chocolate chips (semisweet or dark)
- 1/4 cup salted caramel sauce (homemade or store-bought)
- 1/2 teaspoon fine sea salt (plus extra for garnish)
Optional ingredients let you customize your fudge. Chocolate chips add extra richness. You can use homemade or store-bought salted caramel sauce for flavor. Fine sea salt balances the sweetness and enhances the taste.
Equipment Needed
- Baking dish (8x8 inch)
- Medium saucepan
- Spatula or wooden spoon
The right tools make fudge-making easier. A baking dish helps shape the fudge. A saucepan is needed for melting and mixing. A spatula or wooden spoon helps you stir the mixture smoothly.
Step-by-Step Instructions
Preparation of Baking Dish
- Lining with Parchment Paper: Start by cutting a piece of parchment paper. It should fit in an 8x8 inch square baking dish. Leave some paper hanging over the edges. This will help you lift the fudge out later.
- Ensuring Easy Removal: By lining the dish, you avoid any sticky mess. Once the fudge sets, you can easily pull it out using the paper. This step is key for perfect shapes!
Melting and Combining Ingredients
- Low Heat Techniques: Place a medium saucepan on the stove. Turn the heat to low. Melt the unsalted butter fully before adding any other ingredients. This slow melt is crucial for a smooth fudge.
- Incorporating Sugar and Condensed Milk: Once the butter melts, add granulated sugar and sweetened condensed milk. Stir constantly with a spatula. Keep mixing until the mixture is fully combined and smooth.
Cooking the Fudge Mixture
- Sifting Cocoa Powder: After combining the first ingredients, it's time to add cocoa powder. Gradually sift it into the saucepan. This step prevents lumps from forming in your fudge.
- Cooking Time and Consistency: Cook the mixture over low heat for 5-7 minutes. Watch for it to thicken a bit. Stir well to keep everything mixed. The right consistency is vital for a creamy fudge.
Layering and Swirling
- Pouring Half of the Fudge: Once cooked, remove the saucepan from heat. Pour half of the fudge into the lined baking dish. Use a spatula to spread it evenly.
- Drizzling and Swirling Caramel: Drizzle half of the salted caramel sauce over the fudge layer. Use a butter knife to swirl the caramel into the fudge. This creates a beautiful marbled look.
Chilling and Cutting
- Cooling at Room Temperature: Let the fudge cool at room temperature for about 30 minutes. This helps it set a bit before chilling.
- Refrigeration Time and Cutting Guide: After cooling, place the fudge in the fridge. Chill for at least 2 hours. Once set, lift it out using the parchment. Cut into 16 squares for serving. Enjoy the sweet rewards!
Tips & Tricks
Perfecting the Fudge Texture
Avoiding Lumps To avoid lumps in your fudge, sift the cocoa powder before adding it. This step helps mix it smoothly with the other ingredients. Stir the mixture constantly while cooking. This keeps it creamy and lump-free.
Achieving Glossy Finish A glossy finish makes your fudge look great. To achieve this, mix in the chocolate chips after removing the pan from heat. Stir until the chocolate melts completely. This gives your fudge a shiny and rich look.
Presentation Ideas
Serving Suggestions for an Elegant Display For a beautiful display, use a decorative platter. Lay the fudge squares out nicely, showing off the caramel swirls. You can also stack the squares for a tall, eye-catching look.
Garnishing with Sea Salt Sprinkling a bit of sea salt on top enhances the flavor. It also adds a nice touch to the look. Use just a pinch for a balanced taste. This brings out the sweet and salty contrast in each bite.
Common Mistakes to Avoid
Overheating the Mixture Be careful not to overheat the fudge mixture. Cooking it too long can change the texture. Keep the heat low and stir often. This helps prevent burning and keeps it smooth.
Not Allowing Enough Cooling Time Cooling time is key for the fudge to set. Let it cool at room temperature first, then chill it in the fridge. If you cut it too soon, it may be too soft. Patience leads to perfect fudge!
Pro Tips
- Use Quality Chocolate: Select high-quality chocolate chips for a richer flavor in your fudge. The better the chocolate, the more decadent the fudge will taste.
- Don’t Rush Cooling: Allow the fudge to cool at room temperature before refrigerating. This helps prevent condensation from forming, which can affect the texture.
- Experiment with Flavors: Feel free to add nuts, dried fruits, or flavored extracts to customize your fudge. Just be sure they complement the salted caramel and chocolate.
- Storage Tips: Store the fudge in an airtight container in the fridge for up to two weeks. For longer storage, you can freeze it in portions, wrapped well.
Variations
Flavor Additions
You can make your salted caramel fudge even better with fun flavors. Here are two easy ideas:
- Nut Options: Add crunch with nuts. Chopped walnuts or pecans work great. Stir them into the fudge mix before pouring it into the dish.
- Additional Extracts: For a twist, try other extracts. Almond or hazelnut can bring a new taste. Just add a teaspoon to the mixture before pouring.
Dietary Modifications
You can change the recipe to fit different diets. Here are some ways to do that:
- Gluten-Free Options: This fudge is already gluten-free! Just check the cocoa powder and chocolate chips for gluten-free labels.
- Vegan Adaptations: You can make vegan fudge too! Swap the butter for coconut oil and use non-dairy milk. Check that the chocolate chips are dairy-free.
Unique Serving Suggestions
How you serve your fudge can make it special. Here are some ideas:
- Fudge in Dessert Trays: Cut the fudge into small squares. Place them on a dessert platter with other treats. This makes a colorful and tasty tray.
- Pairing with Ice Cream: Serve warm fudge over your favorite ice cream. The warm and cold mix is so good. You can drizzle more salted caramel on top for extra flavor.
Storage Info
Best Storage Practices
- Airtight Containers: Store your fudge in an airtight container. This keeps it soft and fresh. Avoid letting air in, as it can dry out the fudge.
- Ideal Temperature Conditions: Keep the fudge at room temperature. If your kitchen is warm, place it in the fridge. Just remember to let it sit out a bit before serving.
Shelf Life
- Duration for Maximum Freshness: Enjoy your salted caramel fudge within two weeks for the best taste. If stored properly, it can last up to a month.
- Signs of Spoilage: Check for any changes in texture or smell. If it feels hard or has a strange odor, it’s time to toss it.
Freezing Fudge
- Methods for Freezing: Wrap the fudge tightly in plastic wrap. Then, place it in a freezer bag. This prevents freezer burn and keeps it fresh.
- Thawing Tips: When ready to eat, take the fudge out and let it thaw in the fridge overnight. This helps maintain its soft and chewy texture.
FAQs
Can I use dark chocolate chips instead of semisweet?
Yes, you can use dark chocolate chips. They give a richer taste. However, dark chocolate is less sweet than semisweet. This change will affect the sweetness of your fudge. If you prefer a less sweet fudge, dark chocolate works well. If you want a sweeter taste, stick with semisweet chips.
What’s the best way to cut fudge?
To cut fudge well, use a sharp knife. A plastic knife works too. First, let the fudge cool completely. Then, lift it out using the parchment paper. Cut into squares. Clean your knife after each cut for neat edges. This will help keep your fudge looking great.
How do I make homemade salted caramel sauce?
Making homemade salted caramel sauce is easy. You need these basic ingredients:
- 1 cup granulated sugar
- 6 tablespoons unsalted butter
- 1/2 cup heavy cream
- 1 teaspoon sea salt
Here’s a simple step-by-step method:
1. In a saucepan, heat the sugar on medium. Stir until it melts and turns amber.
2. Once melted, add butter. Stir until melted and mixed well.
3. Carefully add cream. It will bubble, so be careful. Stir until smooth.
4. Remove from heat and add sea salt. Mix well.
Now you have a tasty salted caramel sauce!
You've learned how to make delicious salted caramel fudge. We covered the key ingredients, equipment, and steps to create the perfect texture. With tips for presentation and common mistakes to avoid, you can impress anyone with this treat. Don't forget about variations to customize your fudge for different diets. Store it well to keep it fresh. Enjoy your fudge-making journey, and share this sweet delight with friends and family!