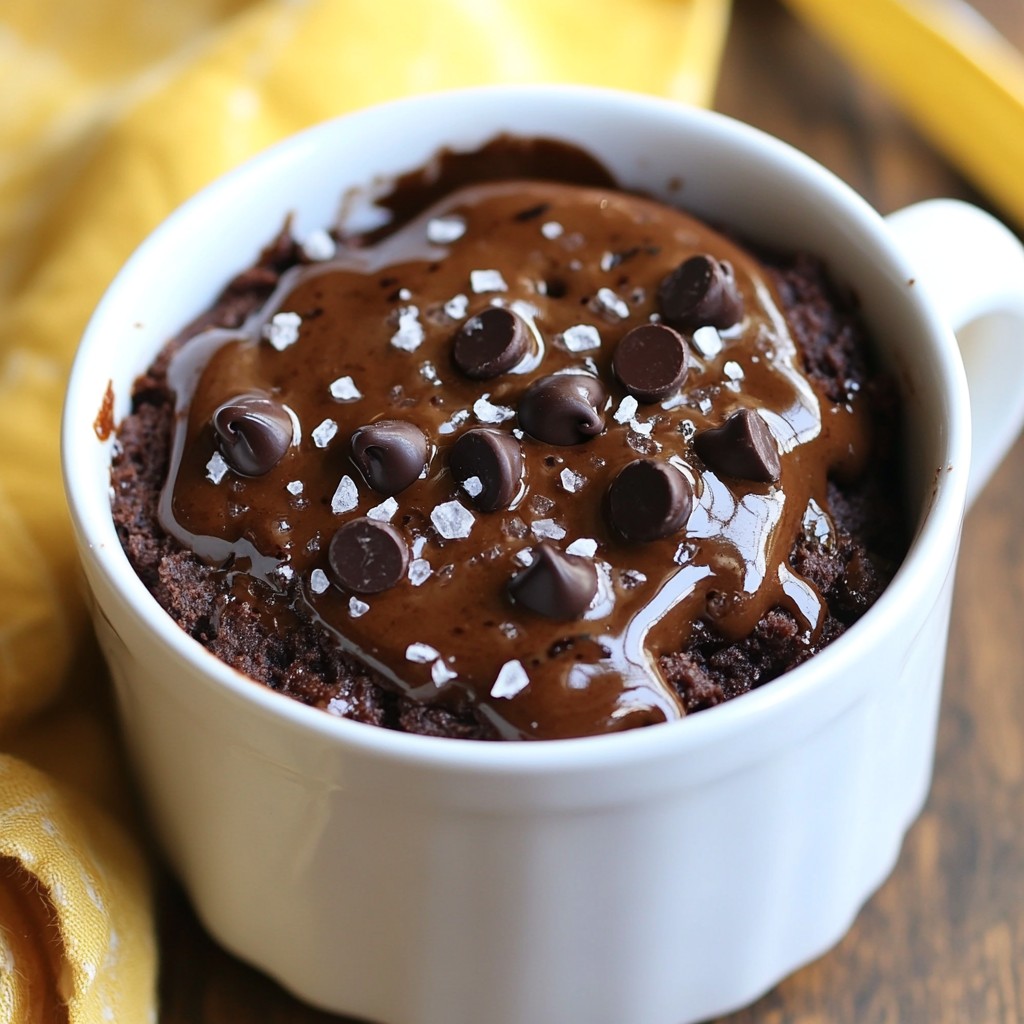
Craving something sweet but short on time? I've got you covered! This Minute Mug Brownie is a quick and simple dessert that takes just minutes to whip up. With easy-to-find ingredients and no complicated steps, you can enjoy a warm, fudgy brownie right in your favorite mug. Whether you're treating yourself or impressing a friend, this recipe is a delicious solution. Let's dive into the details!
Why I Love This Recipe
- Quick and Easy: This recipe takes just 5 minutes from start to finish, making it perfect for a last-minute dessert craving.
- Single Serving: The mug brownie is a great way to satisfy your sweet tooth without making a whole batch, ensuring no leftovers.
- Customizable: Feel free to add your favorite mix-ins like nuts or caramel for a personalized touch.
- Decadent Flavor: The combination of chocolate and a sprinkle of sea salt creates a rich and satisfying treat.
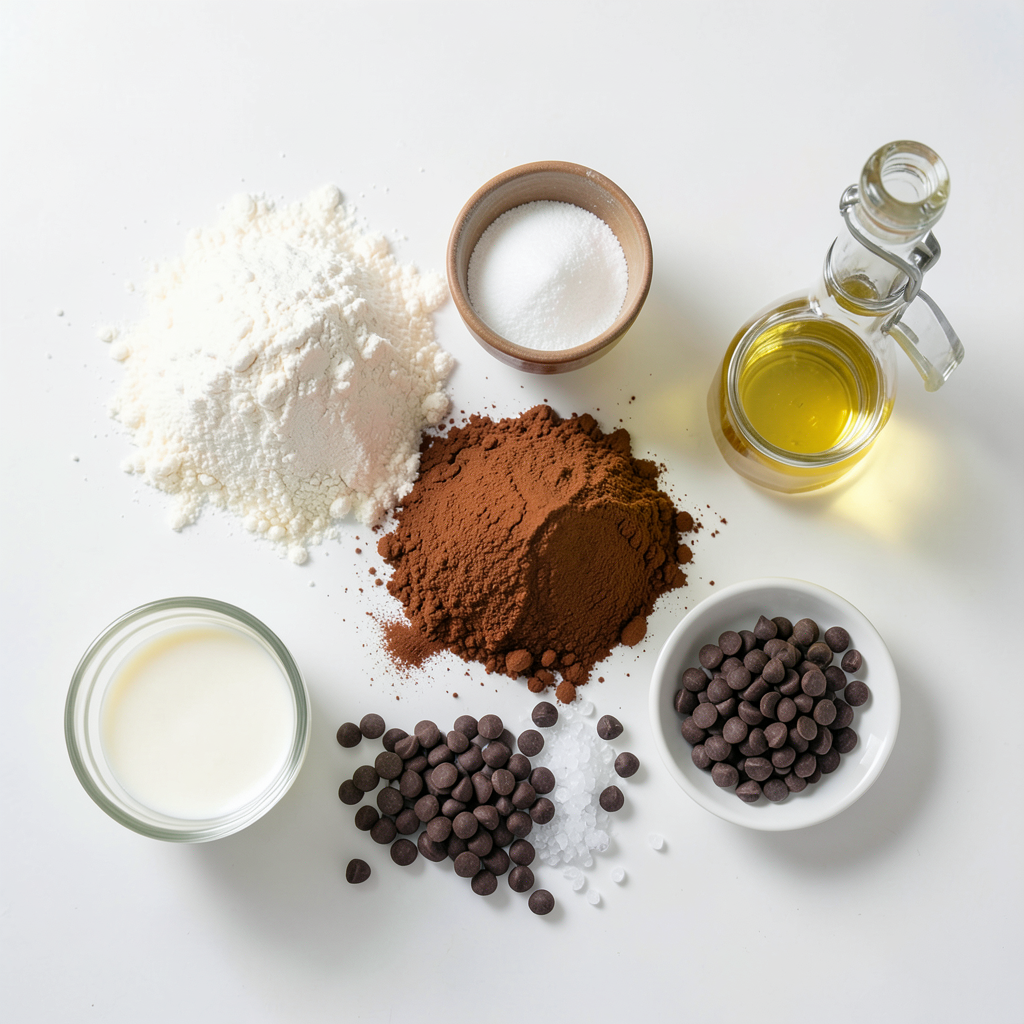
Ingredients
List of Required Ingredients
- 4 tablespoons all-purpose flour
- 4 tablespoons granulated sugar
- 2 tablespoons unsweetened cocoa powder
- 1/8 teaspoon baking powder
- 1/8 teaspoon salt
- 3 tablespoons milk (or almond milk)
- 2 tablespoons vegetable oil (or melted coconut oil)
- 1/4 teaspoon vanilla extract
- 2 tablespoons chocolate chips (optional)
- A sprinkle of sea salt for garnish
To make a Minute Mug Brownie, gather all your ingredients first. This will make the process easy. Start with 4 tablespoons of all-purpose flour. Then add 4 tablespoons of granulated sugar. Next, you need 2 tablespoons of unsweetened cocoa powder. This gives the brownie its rich chocolate taste.
After that, add a pinch of baking powder and salt. You only need 1/8 teaspoon of each. For moisture, include 3 tablespoons of milk. You can use almond milk if you want a dairy-free treat. Then, add 2 tablespoons of vegetable oil or melted coconut oil. This helps make the brownie moist and soft.
Add 1/4 teaspoon of vanilla extract for flavor. If you love chocolate, toss in 2 tablespoons of chocolate chips. Finally, a sprinkle of sea salt on top adds an amazing touch. This mix of sweet and salty makes every bite delicious. Now, you are ready to create your tasty dessert!
Step-by-Step Instructions
Preparing the Mug and Mixing Dry Ingredients
First, choose a microwave-safe mug that holds about 12 ounces. A larger mug gives the brownie room to puff up. Next, gather your dry ingredients. In your mug, mix together:
- 4 tablespoons all-purpose flour
- 4 tablespoons granulated sugar
- 2 tablespoons unsweetened cocoa powder
- 1/8 teaspoon baking powder
- 1/8 teaspoon salt
Use a spoon to mix these well. Make sure there are no dry lumps left.
Mixing Wet Ingredients and Combining
Now it's time for the wet ingredients. Pour in the following:
- 3 tablespoons milk (or almond milk)
- 2 tablespoons vegetable oil (or melted coconut oil)
- 1/4 teaspoon vanilla extract
Take a fork or a small whisk and stir until the mixture is smooth. Scrape the bottom to mix all the dry bits.
Cooking the Brownie
If you like chocolate, add 2 tablespoons of chocolate chips to the batter. Fold them in gently. Place your mug in the microwave. Cook on high for 40 to 60 seconds. Start with 40 seconds. The brownie should puff up and feel soft but not runny in the center.
When done, carefully take out the mug; it will be hot! Let it cool for about one minute. This helps you avoid burns. For a tasty finish, sprinkle a little sea salt on top. This makes the flavors pop, adding to the fun!
Tips & Tricks
Ensuring Perfect Texture
Adjust the cooking time based on your microwave's wattage. If your microwave is lower than 700 watts, cook for 60 seconds. For higher wattages, start at 40 seconds. The brownie is done when it puffs up and the center is soft but not runny. You can check by gently shaking the mug. If it jiggles, give it a few more seconds.
Enhancements for Better Flavor
Toppings can elevate your mug brownie. Try adding a scoop of ice cream or a dollop of whipped cream on top. You can also sprinkle crushed nuts or fresh berries for extra flavor. To customize, mix in peanut butter or use different chocolate types. Get creative with flavors like mint or orange zest.
Serving Suggestions
Serve your mug brownie straight from the mug for a cozy feel. If you want to impress, transfer it to a dessert plate. Pair it with vanilla ice cream or whipped cream for a delightful treat. Drizzle chocolate sauce or caramel on top for an extra touch of sweetness. Enjoy your easy dessert!
Pro Tips
- Choose the Right Mug: Ensure your mug holds at least 12 ounces to prevent overflow during cooking. A larger mug allows enough space for the brownie to rise without spilling.
- Customize Your Flavor: Experiment with different extracts, like almond or hazelnut, to add a unique twist to your brownie. You could also add a pinch of espresso powder for a mocha flavor.
- Microwave Variations: Microwave wattages differ, so adjust cooking time accordingly. If your brownie isn’t set after the initial 60 seconds, add 10-second increments until it’s perfectly cooked.
- Perfect Pairings: Enhance your mug brownie by serving it with ice cream, whipped cream, or fresh berries. The contrast of hot and cold creates a delightful dessert experience.
Variations
Dietary Alternatives
You can easily adjust this recipe for different diets. For gluten-free options, swap all-purpose flour with gluten-free flour. This works well and keeps the brownie soft. For dairy-free, use almond milk instead of regular milk. You can also replace vegetable oil with coconut oil for added depth. These swaps let everyone enjoy a tasty treat.
Flavor Variations
Want to spice things up? Add nuts like walnuts or pecans for crunch. You can also stir in a pinch of cinnamon or espresso powder for warmth. Feeling adventurous? Try different types of chocolate. Use dark chocolate chips for a rich taste or white chocolate for sweetness. Each choice brings a new twist to your brownie.
Serving Size Adjustments
If you need more than one brownie, double or triple the recipe. Just mix the ingredients in a larger bowl and pour into multiple mugs. When cooking, keep an eye on the time. Larger mugs may need a bit more time in the microwave. Start with 60 seconds and check until they are just right. Enjoying brownies with friends is always better!
Storage Info
Storing Leftovers
If you have any leftover brownie, store it in an airtight container. This keeps it fresh and moist. You can also cover the mug with plastic wrap if you prefer. The brownie lasts about 2 to 3 days in the fridge. Make sure it cools completely before storing. This will help maintain its texture and taste.
Reheating Tips
To reheat your brownie, the microwave works best. Place it in the microwave for about 10 to 15 seconds. Check it to ensure it does not overcook. If you have a toaster oven, you can use that too. Preheat it to 350°F and heat for about 5 minutes. This method helps keep the brownie soft and chewy. Enjoy your warm brownie with a scoop of ice cream or a drizzle of chocolate sauce!
FAQs
Can I make Minute Mug Brownie without eggs?
Yes, you can make this brownie without eggs. The milk and oil keep it moist. Just follow the recipe as is, and you will still enjoy a tasty treat!
What is the best way to ensure my brownie isn’t dry?
To keep your brownie moist, avoid cooking it too long. Start with 40 seconds in the microwave. If it looks soft in the center, it’s ready. Remember, it will continue to cook a bit after you take it out.
Can I use a different type of flour for this recipe?
Yes, you can use other flours, like almond or oat flour. Just know that the texture may change a little. These flours can make your brownie gluten-free and still delicious!
How can I make a vegan version of this brownie?
To make a vegan brownie, use almond milk instead of regular milk. You can also use coconut oil instead of vegetable oil. This keeps it tasty and plant-based!
What are some quick toppings for my mug brownie?
You can add many fun toppings! Here are some quick ideas:
- A scoop of vanilla ice cream
- Whipped cream
- Fresh berries
- A drizzle of chocolate sauce
- Crushed nuts
- A sprinkle of sea salt
This blog showed you how to make a quick and easy mug brownie. We covered the needed ingredients, step-by-step mixing, and cooking tips. You can customize the recipe to fit your taste and dietary needs. Remember to store leftovers properly for later enjoyment. This simple treat is perfect for satisfying chocolate cravings fast. Enjoy your mug brownie and all the fun of personalizing it! Happy cooking!