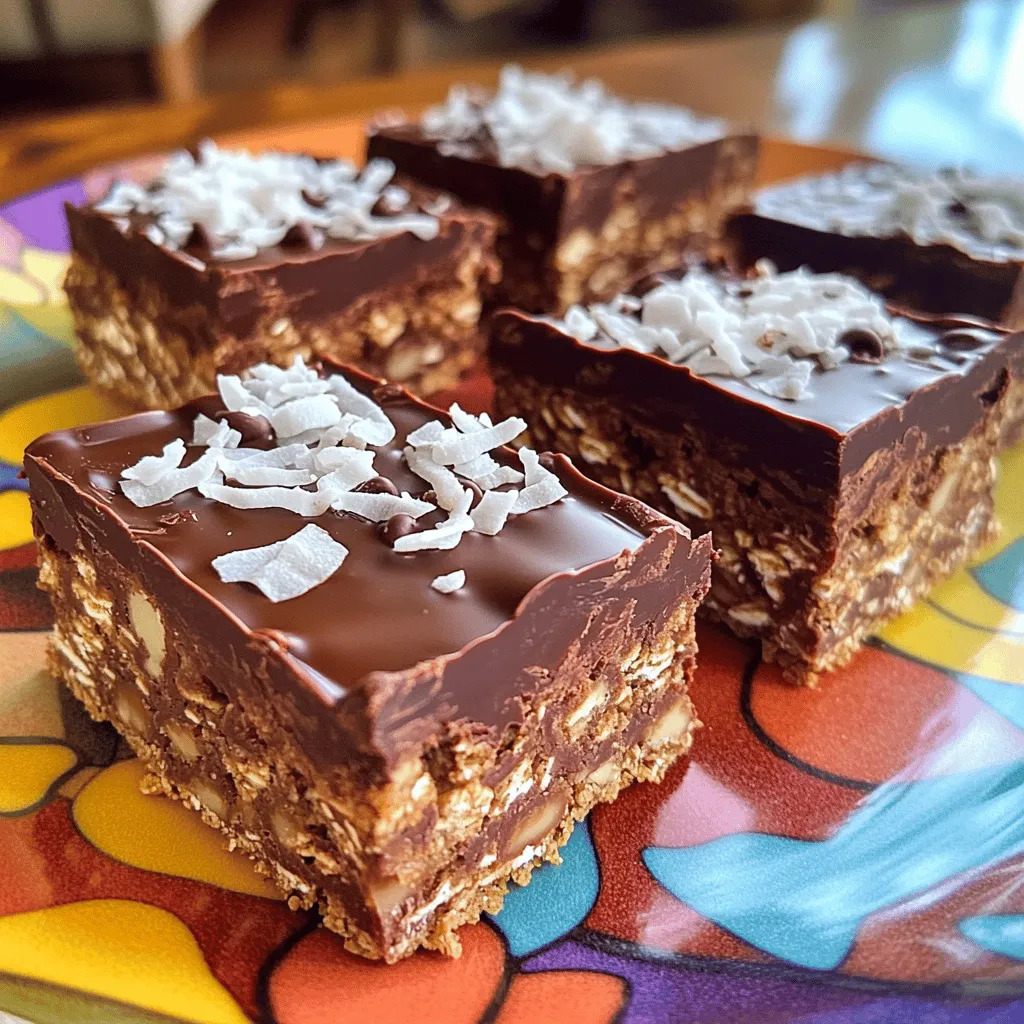
Craving a quick, tasty treat? Let me show you how to make No Bake Chocolate Oat Bars! This easy recipe uses simple ingredients like oats, almond butter, and cocoa powder. Perfect for satisfying your sweet tooth, these bars are also great for meal prep. In just a few steps, you can whip up a batch that’s customizable and packed with flavor. Ready to indulge? Let’s get started!
Ingredients
To make your no bake chocolate oat bars, you will need the following ingredients:
– 2 cups rolled oats
– 1 cup almond butter (or creamy peanut butter alternative)
– 1/2 cup honey or pure maple syrup
– 1/2 cup unsweetened cocoa powder
– 1/4 cup chia seeds
– 1/4 teaspoon fine sea salt
– 1/2 teaspoon pure vanilla extract
– 1/2 cup dark chocolate chips (dairy-free option)
– 1/4 cup shredded coconut (optional garnish)
These ingredients create a rich and chewy treat. The rolled oats give great texture. Almond butter adds a nutty taste while honey or maple syrup sweetens the mix. Cocoa powder brings the chocolate flavor that we all love. Chia seeds pack in extra nutrition, and the sea salt balances the sweetness. Vanilla extract adds warmth, while dark chocolate chips make each bite delightful. If you want, sprinkle some coconut on top for extra flair.
Step-by-Step Instructions
Mixing the Dry Ingredients
In a large bowl, start with the rolled oats. Add the chia seeds, cocoa powder, and salt. Mix these dry ingredients well. Make sure they are evenly combined. This step is key for flavor.
Adding Nut Butter and Sweetener
Next, pour in the almond butter. If you prefer, you can use creamy peanut butter. Then add the honey or maple syrup. Use a sturdy spatula to blend everything together. You want a sticky mixture that holds together well.
Folding in Flavorings
Now, gently fold in the vanilla extract. Add the dark chocolate chips next. If you like, toss in the shredded coconut too. Make sure these flavorings are mixed in evenly. This will enhance the taste of the bars.
Preparing the Baking Dish
Get an 8×8-inch baking dish ready. Line it with parchment paper. Leave some overhang on the sides. This helps later when you remove the bars easily.
Pressing the Mixture into the Dish
Scoop the chocolate oat mixture into your lined dish. Use a spatula to press it down firmly. Make it even across the top. This step is important for shape and texture.
Chilling to Set and Serving
Place the dish in the refrigerator. Let it chill for at least 2 hours. This helps the bars set. Once firm, lift them out using the parchment paper. Cut into squares or rectangles. Enjoy your tasty no-bake chocolate oat bars!
Tips & Tricks
Storing Leftover Bars
To keep your no-bake chocolate oat bars fresh, wrap them well. Use plastic wrap or place them in an airtight container. Store them in the refrigerator. They will stay good for about a week. If you want to keep them longer, consider freezing them.
Perfecting Texture
For the best texture, use your hands when mixing. This helps all the ingredients blend well. Once mixed, press the mixture firmly into the dish. This helps the bars hold their shape. A good press is key for keeping them together.
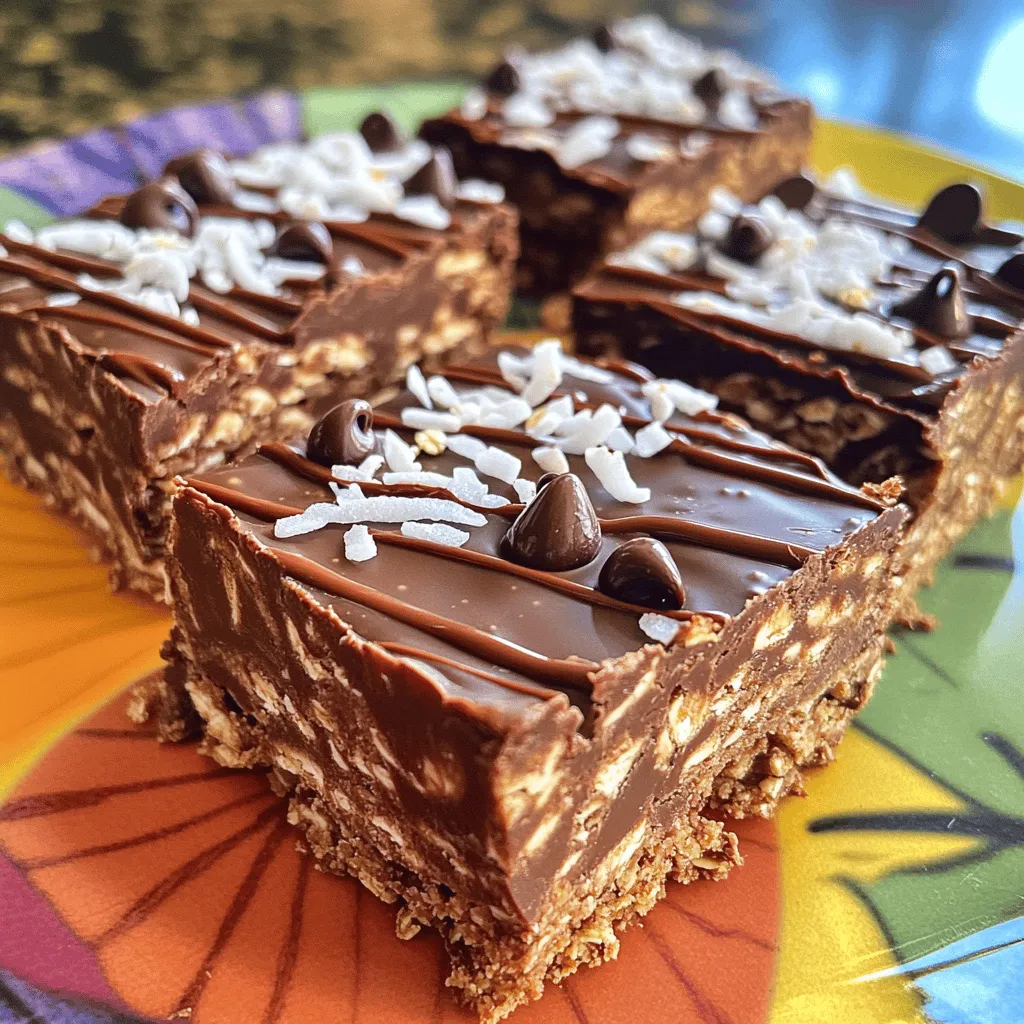
Presentation Ideas
Serving your bars in a fun way can make them even better. Use a bright plate to add color. You can top them with a drizzle of melted chocolate. Sprinkling some shredded coconut on top also adds a nice touch. These small changes can make your bars look fancy and inviting. Enjoy your tasty treats!
Variations
Substitutions for Ingredients
You can swap out almond butter for peanut butter or sunflower seed butter. Each nut butter gives a different taste and texture. If you prefer a sweeter touch, use agave syrup instead of honey or maple syrup. These changes help you find the flavor that suits you best.
Add-Ins for Extra Flavor
Adding nuts like walnuts or almonds can boost the crunch factor. You can also mix in dried fruits such as raisins or cranberries for a sweet pop. Seeds, like pumpkin or sesame seeds, bring extra nutrients and flavor. Customize your bars to suit your tastes!
Dietary Adjustments
To make these bars vegan, use maple syrup and dairy-free chocolate chips. For gluten-free bars, ensure that your oats are labeled gluten-free. These simple swaps let everyone enjoy this tasty treat without worries.
Storage Info
Recommended Storage Conditions
To keep your no-bake chocolate oat bars fresh, store them in an airtight container. This prevents moisture and air from getting in. Place a piece of parchment paper between layers if you stack them. This way, they won’t stick together.
Freezing Options
You can freeze these bars for longer storage. Wrap each bar in plastic wrap, then place them in a freezer-safe bag. When ready to eat, thaw them in the fridge overnight. You can also microwave them for a few seconds if you want them warm.
Shelf Life
When stored properly, these bars last about a week in the fridge. If you freeze them, they can last up to three months. Keep an eye out for any off smells or colors, as these are signs they may be spoiled.
FAQs
Can I use quick oats instead of rolled oats?
Yes, you can use quick oats. Quick oats are more processed, so they cook faster. They will make the bars softer and less chewy. Rolled oats give a heartier texture.
How long do no-bake oatmeal bars last?
These bars last about one week in the fridge. Watch for changes in smell or texture. If they feel sticky or smell off, it’s time to toss them.
What can I substitute for almond butter?
You can use creamy peanut butter or sunflower seed butter. Both work well and add great flavor. Just ensure they are smooth and creamy for best results.
Is it necessary to refrigerate the bars?
Yes, refrigeration helps the bars set properly. It keeps them firm and prevents spoilage. Without refrigeration, they may become too soft or go bad faster.
Can I make these bars nut-free?
Absolutely! Try using sunflower seed butter or soy nut butter. These are great options for nut-free diets. They keep the bars tasty without using nuts.
This post covers how to make tasty no-bake oatmeal bars. We looked at the right ingredients, step-by-step instructions, and helpful tips. You can customize the flavor and adjust for diet needs. Proper storage helps keep them fresh longer. Think of all the fun variations and add-ins you can try.
With this guide, you can enjoy a healthy snack that fits your taste. Now, it’s time to get mixing and create your own delicious bars!


