Craving a sweet treat that’s both easy to make and delicious? Look no further! My No-Bake Chocolate Oatmeal Bars are simple, tasty, and perfect for a quick snack or dessert. You’ll find a mix of wholesome oats, nut butter, and chocolate that is sure to satisfy your cravings without turning on the oven. Join me as I guide you through each step to create these delightful bars!
Ingredients
When making No-Bake Chocolate Oatmeal Bars, you’ll need simple and wholesome ingredients. These ingredients blend together to create a treat that is both tasty and nutritious. Here’s what you’ll need:
– 2 cups rolled oats
– 1/2 cup creamy peanut butter (or almond butter for a nut-free option)
– 1/2 cup honey or maple syrup
– 1/4 cup unsweetened cocoa powder
– 1/2 teaspoon vanilla extract
– 1/4 teaspoon salt
– 1/2 cup dark chocolate chips (opt for dairy-free if desired)
– 1/4 cup chopped nuts (walnuts, almonds, or your favorite variety)
– 1/4 cup shredded coconut (optional for added texture)
These ingredients work together to give you chewy, chocolatey bars. Each item plays a role. The oats provide a great base, while the peanut butter adds creaminess. Honey or maple syrup gives sweetness, and cocoa powder adds rich chocolate flavor.
Don’t forget, you can make this recipe your own. Substitute the nuts or add dried fruits if you like.
Step-by-Step Instructions
Detailed Instructions
Mixing the Dry Ingredients
Start by grabbing a large mixing bowl. Measure out 2 cups of rolled oats, 1/4 cup of unsweetened cocoa powder, and 1/4 teaspoon of salt. Pour them into the bowl. Use a spoon to stir these dry ingredients together. Mix until they are evenly combined. This step builds the base for your bars.
Preparing the Wet Mixture
Next, take a microwave-safe bowl. Add 1/2 cup of creamy peanut butter and 1/2 cup of honey or maple syrup. Heat this mix in the microwave for about 30 seconds. When it’s warm, take it out and stir until smooth. Then, add 1/2 teaspoon of vanilla extract. Blend it well. This mixture will add sweetness and creaminess to your bars.
Combining Both Mixtures
Now, pour the warm peanut butter mixture over the dry oats. Use a spatula or wooden spoon to mix everything together. Make sure the oats are fully coated. Then, gently fold in 1/2 cup of dark chocolate chips, 1/4 cup of chopped nuts, and 1/4 cup of shredded coconut if you want extra texture. Mix until these ingredients are evenly spread throughout.
Transferring and Pressing
Preparing the Baking Dish
Grab an 8×8 inch baking dish. Line it with parchment paper. Make sure to leave some parchment hanging over the sides. This overhang will help you lift the bars out later.
Packing the Mixture
Now, transfer the oat mixture into the lined dish. Use your spatula or hands to press it down firmly. Make sure to pack it tightly. This helps the bars hold their shape when cut.
Chilling Process
Refrigeration Guidelines
Place the baking dish in the refrigerator. Let it chill for at least 2 hours. This step firms up the mixture.
Cutting the Bars
Once chilled, lift the mixture out using the parchment overhang. Cut it into squares or rectangles. Enjoy your tasty no-bake chocolate oatmeal bars!
Tips & Tricks
Perfecting the Recipe
Key Tips for Texture and Flavor
To get the best texture, use rolled oats instead of quick oats. Rolled oats give a chewier bite. If you want a richer chocolate flavor, add a little more cocoa powder. When mixing, make sure to press the mixture firmly into the dish. This helps the bars hold together well.
Common Mistakes to Avoid
A common mistake is not letting the mixture chill long enough. If you skip this step, the bars may fall apart. Be sure to use a microwave-safe bowl for heating the peanut butter and honey. If you heat them too long, they can burn or become too runny. Lastly, don’t rush mixing the ingredients. Ensure everything is well combined for the best flavor.
Serving Suggestions
Presentation Tips for Serving
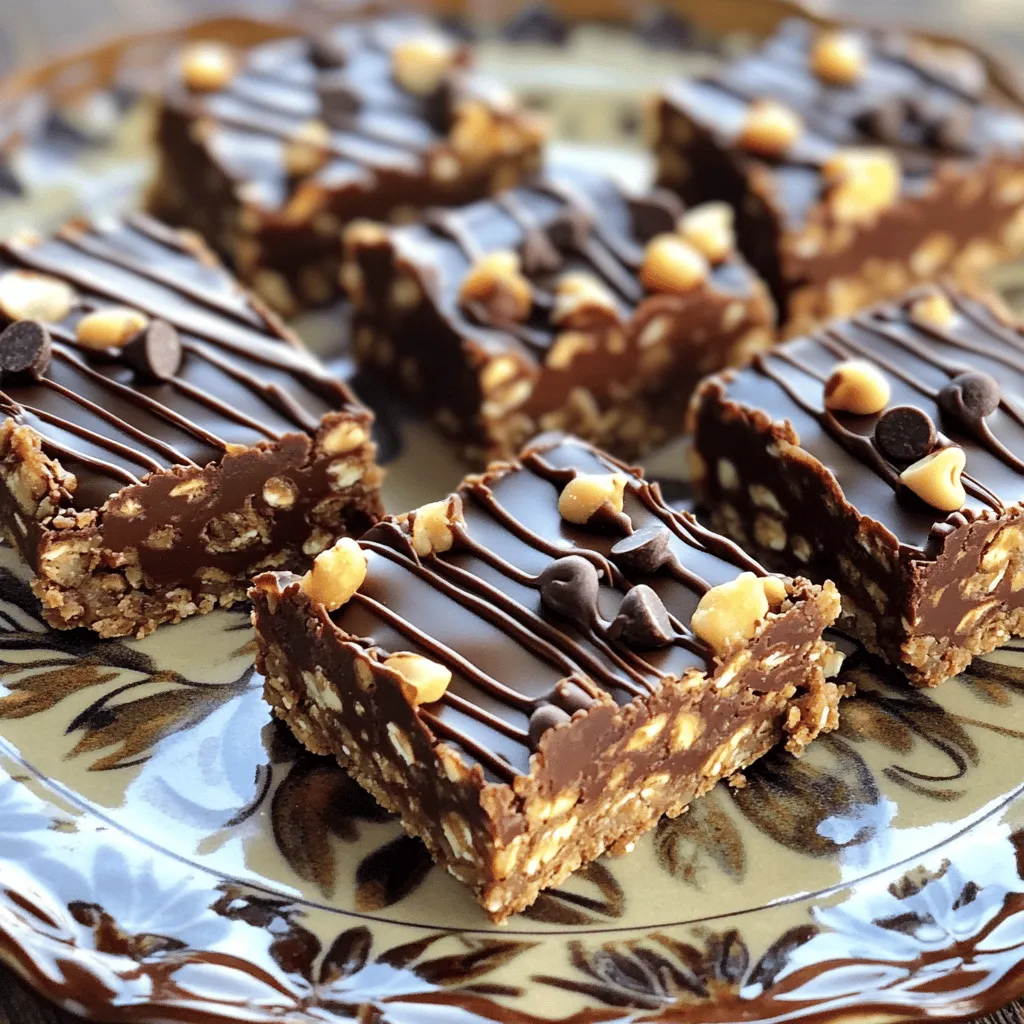
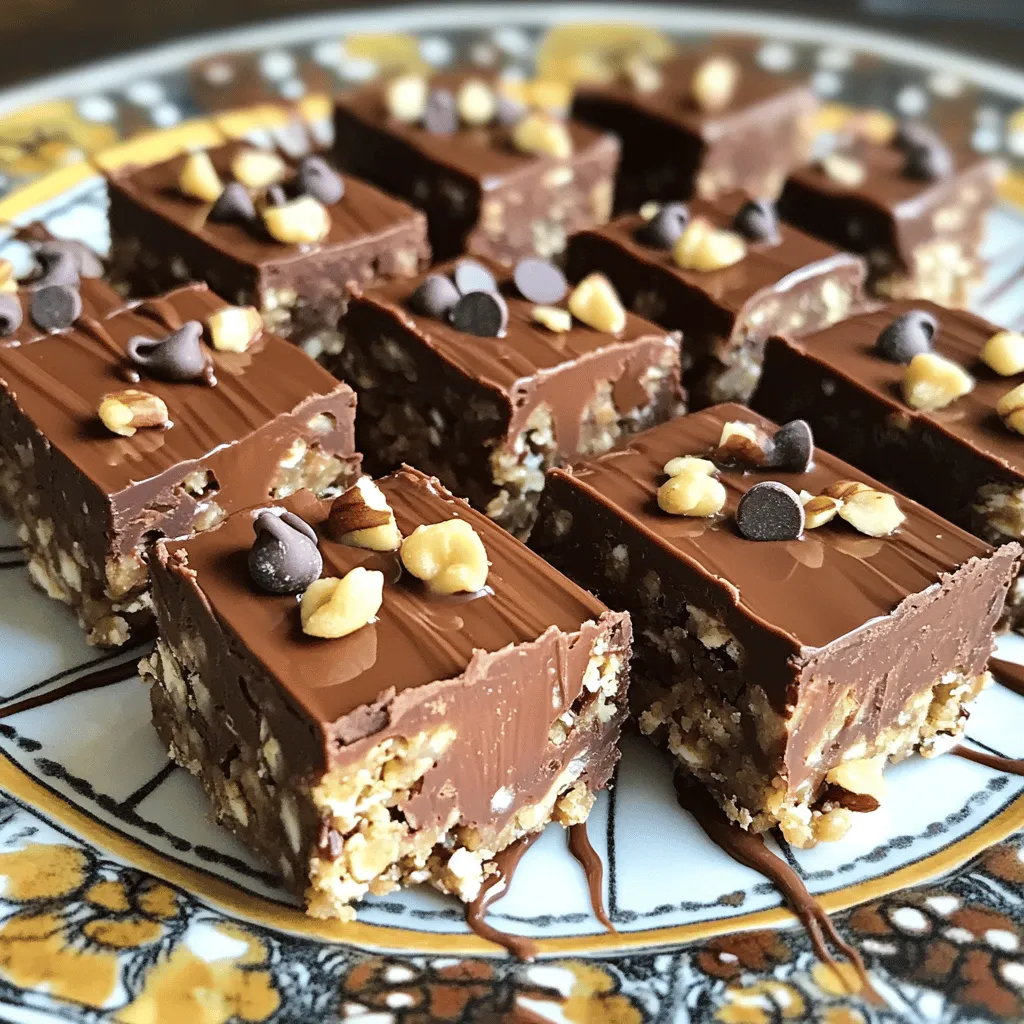
For a nice presentation, cut the bars into neat squares. Place them on a pretty plate. You can drizzle some melted chocolate over the top for extra flair. A sprinkle of nuts or a dusting of cocoa powder adds a nice touch, too.
Pairing Options with the Bars
These bars pair well with a glass of cold milk, almond milk, or a hot cup of coffee. You can also serve them with fresh fruit like strawberries or bananas. If you want a fun twist, try them with a scoop of vanilla ice cream on the side. Enjoy these tasty treats any time!
Variations
Nut-free and Dairy-free Options
You can easily make these bars nut-free. Swap out peanut butter for sunflower seed butter. This keeps the taste rich and smooth without nuts. If you want a creamy spread, almond butter is also a great choice.
For a dairy-free version, use dairy-free chocolate chips. They melt beautifully and taste just as good. This way, everyone can enjoy the bars without worry.
Customizing Flavor
Get creative with your flavors! You can add dried fruits like raisins or cranberries. They give a sweet bite and chewy texture. Chopped nuts like pecans or cashews also add nice crunch.
If you want to switch it up further, try flavoring the bars. A dash of mint extract gives a fresh twist. For coffee lovers, adding instant coffee granules works wonders. You can make these bars fit your taste and mood!
Storage Info
Best Practices for Storage
To keep your no-bake chocolate oatmeal bars fresh, use airtight containers. Choose containers that fit your bars without much extra space. This helps prevent air from getting in and making them stale. Store the bars in the fridge to maintain their firm texture. The cool temperature will help hold their shape and keep them tasty.
It’s best to keep them away from heat and sunlight. These elements can cause the chocolate to melt and make the bars sticky. Avoid places with high humidity, as moisture can ruin the texture. A simple kitchen cabinet is not a great choice for storage.
Shelf Life
These bars can last up to one week in the fridge. They stay fresh and delicious if stored properly. Check for any signs of spoilage, like an off smell or change in texture.
If you want to keep them longer, consider freezing. Wrap the bars tightly in plastic wrap or foil. Place them in a freezer-safe bag. They can last for up to three months in the freezer. To enjoy them later, just thaw them in the fridge overnight before serving.
FAQs
Common Questions
Can I use quick oats instead of rolled oats?
Yes, you can use quick oats. They will change the texture a bit. The bars may be softer but still tasty. If you prefer a chewier bite, stick with rolled oats.
How can I make these bars vegan?
To make these bars vegan, swap honey for maple syrup. Use dairy-free chocolate chips too. The rest of the ingredients are already vegan-friendly.
What can I substitute for honey?
Maple syrup works well as a honey substitute. Agave syrup is another great option. Both will keep the bars sweet and delicious.
Additional User Queries
Can I add protein powder to the recipe?
Yes, you can add protein powder to boost nutrition. Start with a quarter cup and mix it in with the dry ingredients. Adjust the sweetener if needed.
Are there gluten-free options for this recipe?
Absolutely! Just use gluten-free rolled oats. Make sure your chocolate chips and any added nuts are also gluten-free. This way, everyone can enjoy these bars!
You now have a complete guide on making delicious and healthy snack bars. We covered all the key ingredients and step-by-step instructions. Plus, I shared tips to perfect your bars and tasty variations to try. Remember to store them properly for the best shelf life. Feel free to explore different flavors and adjust based on your taste. Making these bars can be fun, and you’ll love the results! Enjoy your cooking!


