Craving a quick and easy treat? No-Bake Chocolate Oatmeal Cookies are your answer! They are simple, delicious, and perfect for all ages. You only need a few ingredients, like oats and peanut butter, to whip these up in minutes. No baking means zero fuss! So, roll up your sleeves and get ready to satisfy your sweet tooth with these delightful cookies. Let’s dive into the world of no-bake treats!
Ingredients
List of Ingredients
– 1 cup rolled oats
– 1/2 cup creamy peanut butter
– 1/2 cup honey or maple syrup
– 1/4 cup unsweetened cocoa powder
– 1/4 cup coconut oil, melted
– 1 teaspoon vanilla extract
– 1/4 cup mini chocolate chips (optional)
– Pinch of salt
To make these no-bake chocolate oatmeal cookies, you need simple ingredients. Each one plays a key role in creating flavor and texture.
Recommended Ingredients for Variations
– Suggested nut butters: Try almond or cashew butter for a twist.
– Alternative sweeteners: Maple syrup works well if you want a different flavor.
– Gluten-free options: Use certified gluten-free oats to keep it safe for all.
Using these ingredients can help you make a cookie that fits your taste. Feel free to switch things up! If you want to go beyond the basic recipe, these variations can give you new ideas.
Step-by-Step Instructions
Preparation Overview
Making no-bake chocolate oatmeal cookies is quick and fun. The prep time is just 10 minutes. The total time is about 40 minutes, including chilling. Each step is important for making tasty cookies. Following these steps ensures you get the right texture and flavor.
Detailed Instructions
Step 1: Combine ingredients in the saucepan
Start by taking a medium saucepan. Add the melted coconut oil, honey (or maple syrup), unsweetened cocoa powder, and creamy peanut butter. Heat this mixture over low heat. Stir it continuously until smooth. Make sure there are no lumps, as this makes the cookies nice and creamy.
Step 2: Stir in vanilla and salt
Once the mixture is smooth, remove the saucepan from the heat. Stir in the vanilla extract and add a pinch of salt. This salt enhances the sweet flavors and balances the cocoa. It makes a big difference in taste!
Step 3: Mix oats with chocolate mixture
In a large bowl, place the rolled oats. Pour the warm chocolate mixture over them. Use a spatula or wooden spoon to mix it well. Make sure all the oats are coated in the chocolate. This chocolatey goodness is what makes these cookies special.
Final Touches
Now it’s time to shape the cookies. Use a tablespoon or cookie scoop to portion out heaping spoonfuls. Place them onto a parchment-lined baking sheet. Gently flatten each mound to form cookie shapes.
Once shaped, move the baking sheet to the refrigerator. Let the cookies set for at least 30 minutes. This helps them firm up and hold their shape. After they set, they are ready to enjoy! You can store any leftovers in an airtight container in the fridge.
Tips & Tricks
Common Mistakes to Avoid
1. Overheating the mixture
When you heat the chocolate mixture, keep the heat low. If it gets too hot, the mixture can burn. This ruins the flavor and texture. Stir it gently until smooth and remove it from heat.
2. Not allowing enough time to set
After you shape the cookies, let them chill. I recommend at least 30 minutes in the fridge. If you skip this step, they may fall apart when you try to eat them.
Best Practices for Resulting Cookies
– Storing methods for desired texture
For a chewy texture, keep the cookies in an airtight container in the fridge. If you want them firmer, use a freezer-safe bag and freeze them. They can last for up to three months frozen.
– Using parchment paper vs. greasing the pan
Parchment paper works best for these cookies. It keeps them from sticking and makes cleanup easy. Greasing can leave a greasy residue that affects the taste.
Presentation Tips
– Serving suggestions
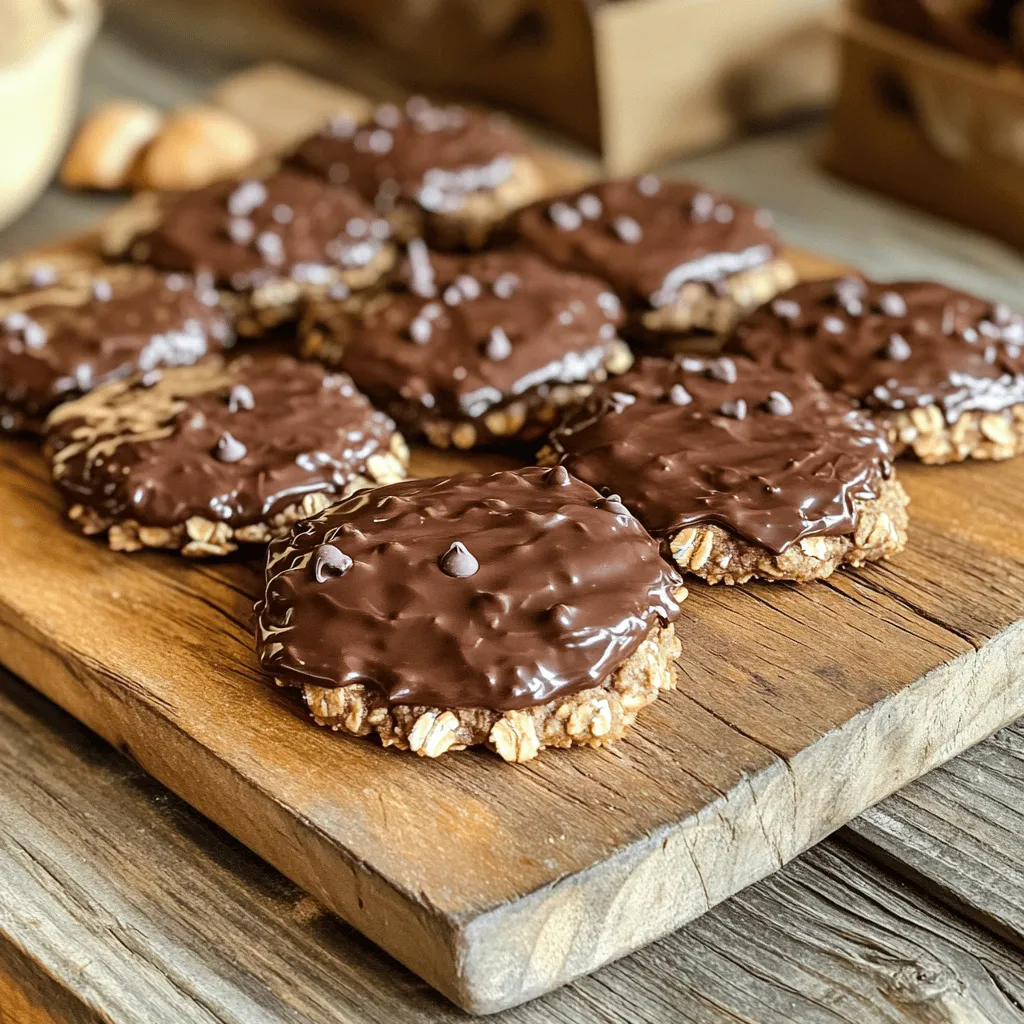
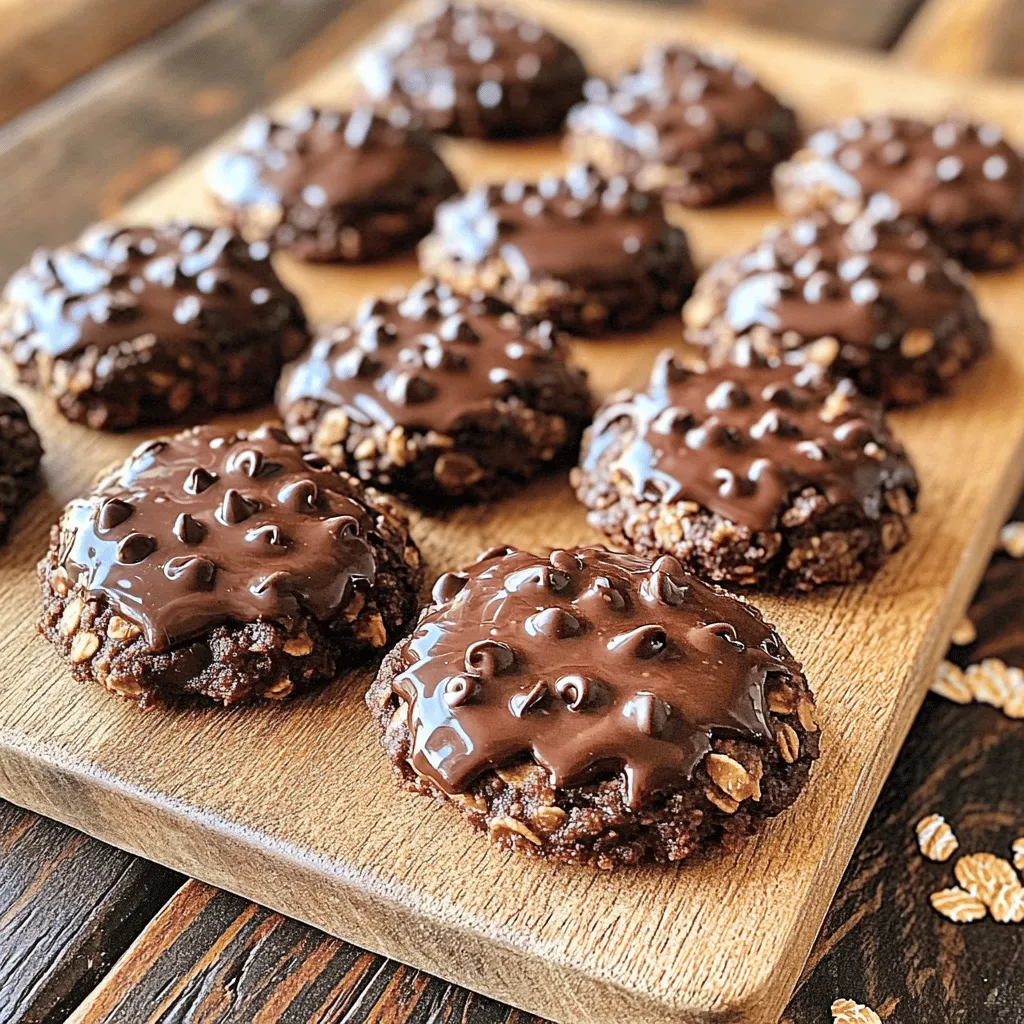
Serve the cookies on a rustic wooden board or a colorful plate. They look great and taste even better! Pair them with a cold glass of milk or a warm cup of coffee for a delightful treat.
– Garnishing ideas
You can drizzle some melted chocolate over the top for extra flair. Add some colorful sprinkles or chopped nuts for a fun twist. This makes your treats not only tasty but also pretty to look at.
Variations
Flavor Enhancements
You can easily change the taste of these cookies. Adding nuts or dried fruits gives them extra crunch and flavor. Try walnuts, almonds, or even raisins for a sweet burst. You can also use flavored protein powders. This adds a unique twist and boosts the health factor. Chocolate or vanilla protein powder works well.
Dietary Modifications
If you want vegan options, swap honey for maple syrup. This keeps the cookies plant-based. You can also use almond butter instead of peanut butter. For keto adaptations, use a low-carb sweetener like erythritol. This change helps keep the cookie sweet without the carbs.
Seasonal Variations
Make these cookies festive by adding holiday flavors. Think of cinnamon for fall or peppermint for winter. Changing the type of chocolate can also impact taste. Use dark chocolate for a rich flavor, white chocolate for sweetness, or milk chocolate for a classic taste. Each variation brings something new to the table.
Storage Info
How to Store No-Bake Cookies
To keep your no-bake cookies fresh, use airtight containers. They keep moisture out and flavor in. You can also use plastic baggies for short-term storage. If you have extra cookies, refrigerate them. This helps maintain their chewy texture. For longer storage, freeze the cookies. Just make sure they are in a freezer-safe container.
Shelf Life
No-bake chocolate oatmeal cookies stay fresh for about one week in the fridge. In the freezer, they can last up to three months. Check for signs of spoilage, like an off smell or a change in texture. If they feel sticky or hard, it’s time to toss them.
Reheating Techniques
To serve leftovers, you can enjoy the cookies cold right from the fridge. If you prefer them warm, place them in the microwave for a few seconds. This warms them up without drying them out. Both ways are delicious!
FAQs
Can I substitute ingredients easily?
Yes, you can swap peanut butter for other nut butters. Almond butter works well too. Sunflower seed butter is great for nut-free options. Each swap adds its own flavor. Just make sure the substitute is creamy. If you use a thicker butter, it may change the texture.
What can I do if the mixture is too runny?
If the mixture feels too runny, add more oats. Start with a few tablespoons at a time. Stir well after each addition. If it is still too wet, you might try adding a bit more cocoa powder. This helps thicken the mix without changing the taste much.
Are no-bake chocolate oatmeal cookies healthy?
These cookies have some healthy benefits. Oats provide fiber, which is good for digestion. Peanut butter adds protein, which helps you feel full. Honey or maple syrup gives natural sweetness. However, keep portion sizes in mind. They are still a treat and should be enjoyed in moderation.
How do I make these cookies gluten-free?
To make these cookies gluten-free, use certified gluten-free oats. Regular oats often have gluten. You can also check labels on peanut butter and sweeteners. This way, you know everything is safe to eat. Enjoy your gluten-free treats without worry!
This blog post walked you through the easy steps to make no-bake chocolate oatmeal cookies. You learned about the key ingredients and how to mix them. We covered tips to avoid common mistakes and ideas for variations. Remember, you can swap ingredients based on your taste.
Enjoy these cookies as a quick snack or treat. With simple prep and fun options, you’ll love making them. Happy baking!


