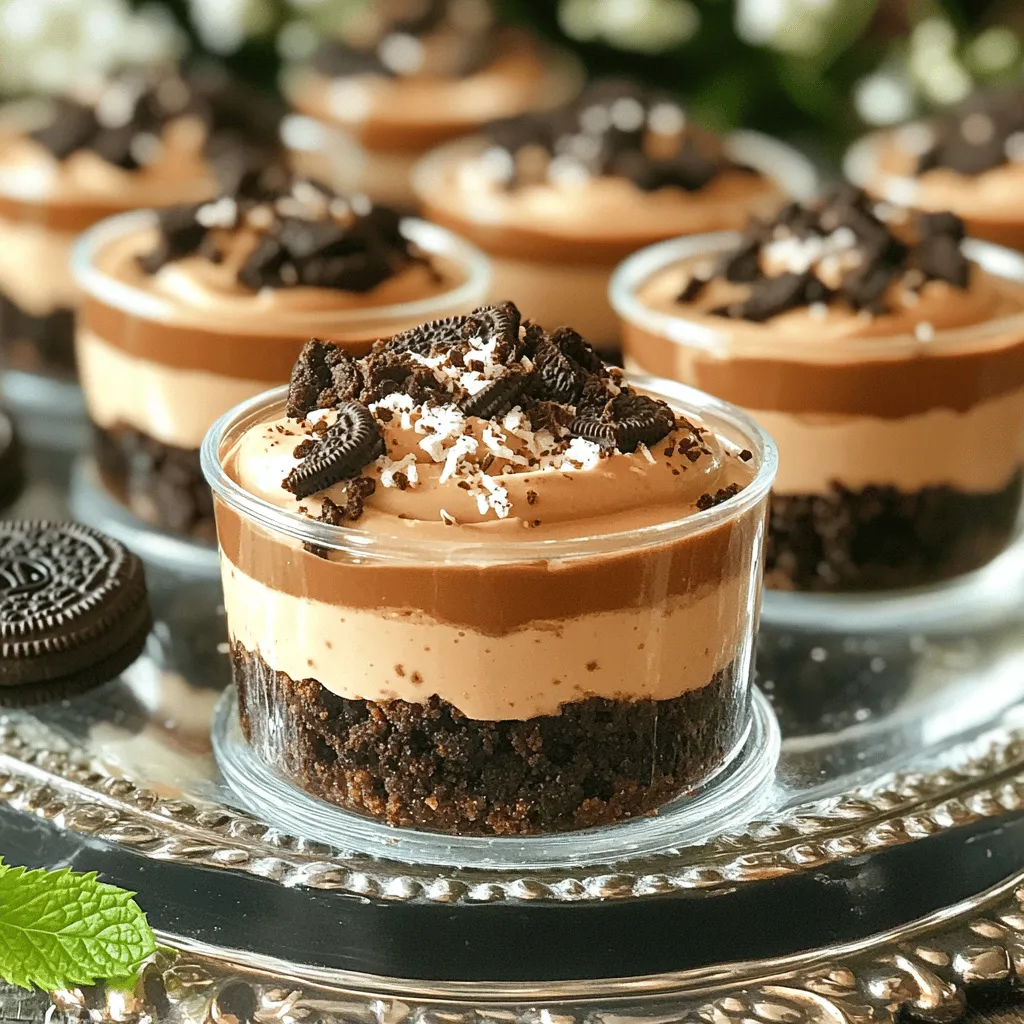
Looking for a sweet treat that’s quick and easy? Look no further! My No Bake Nutella Oreo Cheesecake Cups are perfect for any occasion. With rich Nutella and crispy Oreos, these little cups will impress your family and friends. Plus, they require no baking! In this post, I’ll share the simple steps, ingredient tips, and fun variations. Get ready to dive into a delightful dessert that everyone will love!
Ingredients
List of Ingredients for No Bake Nutella Oreo Cheesecake Cups
To make these delightful cheesecake cups, you’ll need the following ingredients:
– 1 cup Oreo cookie crumbs
– 2 tablespoons unsalted butter, melted
– 8 oz cream cheese, softened to room temperature
– 1/2 cup Nutella chocolate hazelnut spread
– 1/2 cup powdered sugar
– 1 teaspoon pure vanilla extract
– 1 cup heavy whipping cream
– Additional Oreo cookies, crumbled, for topping
– Shaved chocolate (optional) for an elegant garnish
Measurement Tips for Accurate Results
For the best results, use measuring cups and spoons. Always level off dry ingredients with a straight edge. This way, you avoid adding too much or too little. When measuring sticky items like Nutella, spray the cup with cooking spray first. This helps it slide out easily. For cream cheese, make sure it is soft. This leads to a smooth texture.
Ingredient Substitutes for Dietary Needs
You can easily swap some ingredients to fit different diets:
– Use gluten-free cookies instead of Oreos for a gluten-free option.
– Choose dairy-free cream cheese and whipped cream for a vegan treat.
– If you’re watching sugar, select a sugar-free Nutella spread.
These swaps help everyone enjoy this dessert without worry.
Step-by-Step Instructions
Preparing the Oreo Crust
To start, grab a medium bowl. Combine 1 cup of Oreo cookie crumbs with 2 tablespoons of melted butter. Mix them well. You want the crumbs to look like wet sand. Once mixed, divide the crumb mixture into about 6 cups or jars. Press the mixture firmly at the bottom of each cup. This creates a solid base for the cheesecake.
Making the Nutella Cheesecake Filling
Next, take a clean bowl. Beat 8 oz of softened cream cheese with 1/2 cup of Nutella, 1/2 cup of powdered sugar, and 1 teaspoon of vanilla extract. Use an electric mixer on medium speed. Mix until smooth with no lumps. In another bowl, whip 1 cup of heavy cream until stiff peaks form, about 3-5 minutes. Gently fold the whipped cream into the Nutella mixture in two additions. This keeps it light and fluffy.
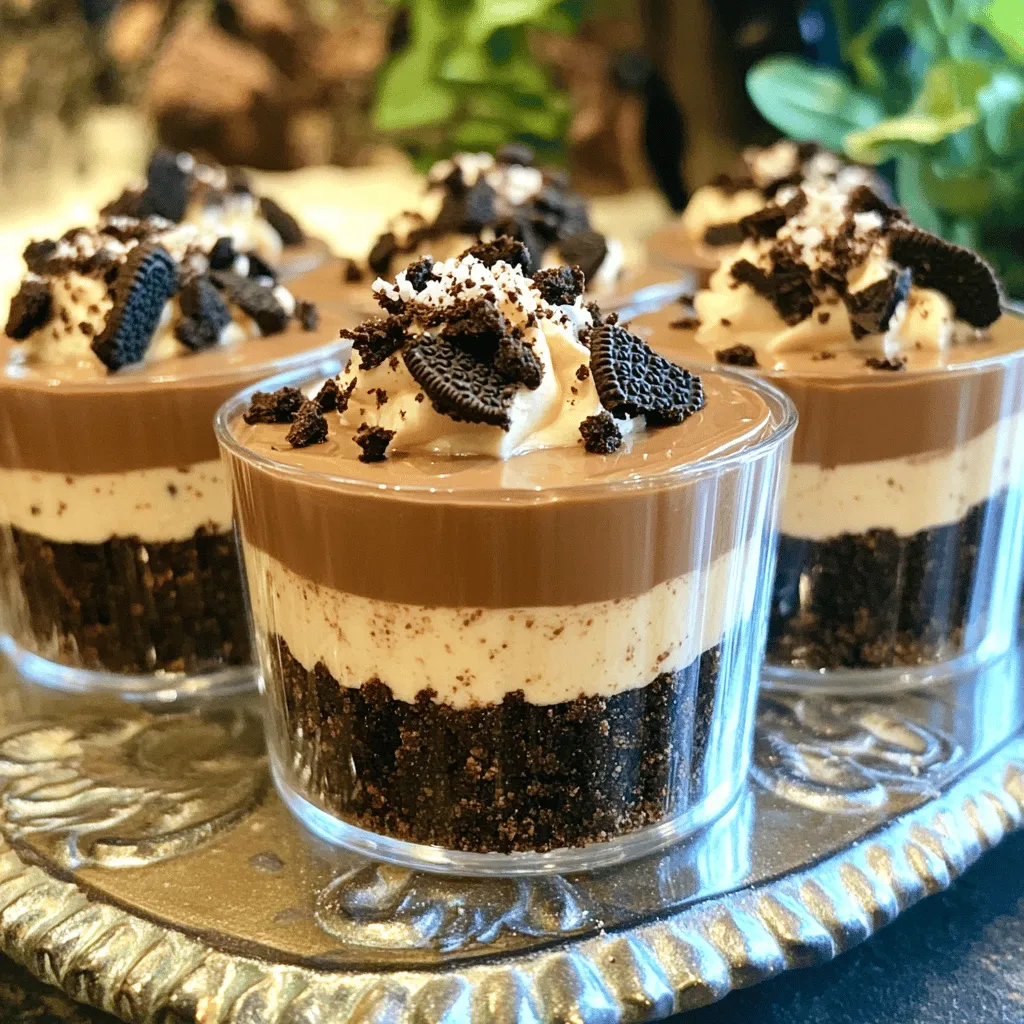
Assembling the Cheesecake Cups
Now it’s time to fill the cups. Use a spoon or piping bag to add the Nutella cheesecake mixture. Leave a little space at the top. Sprinkle the extra crumbled Oreo cookies over the cheesecake layer. This adds a nice crunch. Cover the cups with plastic wrap and place them in the refrigerator. Chill for at least 4 hours or overnight for the best taste. If you like, add shaved chocolate on top just before serving. Enjoy this delightful treat!
Tips & Tricks
How to Achieve a Smooth Cheesecake Mixture
To get a smooth cheesecake, start with soft cream cheese. Let it sit at room temperature for about 30 minutes. This helps it blend well. Mix the cream cheese with Nutella, powdered sugar, and vanilla extract. Beat them together until there are no lumps. Use a hand mixer for the best results. If you notice lumps, keep mixing until the texture is even.
Best Practices for Whipping Cream
Whipping cream is key to a light texture. Begin with cold heavy cream for the best results. Use a clean bowl and beaters to avoid any residue. Start mixing on low speed to avoid splatter. Gradually increase to high speed until stiff peaks form. This usually takes about 3 to 5 minutes. Be careful not to over-whip, as it can turn grainy.
Presentation Suggestions to Wow Guests
Presentation makes a big difference! Use clear cups to show off the layers of your cheesecake. This adds fun to your dessert. Sprinkle crumbled Oreos on top for a nice crunch. For an extra touch, add shaved chocolate before serving. A fresh mint sprig can also brighten the look. Serve the cups on a decorative platter for a stunning display.
Variations
Different Flavor Combinations (e.g., Peanut Butter, Coconut)
You can change up the flavor of your cheesecake cups. Mix in peanut butter for a nutty twist. Just add 1/4 cup of creamy peanut butter to the Nutella mix. For a tropical vibe, try coconut. Swap out some cream cheese with coconut cream. This adds rich flavor and creamy texture.
Alternative Topping Ideas
Toppings can take your dessert to the next level. Use crushed nuts for crunch. Chopped hazelnuts or almonds work well. You can also add fresh berries for a burst of color and flavor. Strawberries or raspberries add a nice tartness. A drizzle of caramel or chocolate sauce can make it extra sweet and rich.
Serving Suggestions for Different Occasions
These cheesecake cups fit many events. For a birthday party, add colorful sprinkles on top. If you’re hosting a dinner, use clear cups for a fancy touch. For casual get-togethers, serve them in fun, colorful jars. They look great and taste even better. Each cup offers a personal treat for your guests.
Storage Info
How to Properly Store No Bake Cheesecake Cups
To keep your cheesecake cups fresh, cover them tightly. Use plastic wrap or a lid. This prevents them from absorbing other flavors in the fridge. Store them in the refrigerator for best results. They taste great cold and firm.
Freezing Instructions and Tips
You can freeze these cheesecake cups! First, cover them with plastic wrap. Then, place them in an airtight container. This stops ice crystals from forming. They will last in the freezer for about three months. When ready to eat, thaw them in the fridge overnight.
Shelf Life and Best Practices for Freshness
These cheesecake cups will stay fresh in the fridge for about four days. To enjoy them at their best, eat them within this time frame. Always check for any changes in smell or color before enjoying. Freshness is key for the best taste!
FAQs
Can I use reduced-fat cream cheese?
Yes, you can use reduced-fat cream cheese. It works well in this recipe. The texture may be slightly different, but the taste will still be great. Just make sure it’s softened before mixing. This will help create a smooth filling.
How long do these cheesecake cups last in the fridge?
These cheesecake cups last about 3-4 days in the fridge. Store them in an airtight container. Keep the extra Oreo crumbs separate until serving for the best crunch. Enjoy them cold for a refreshing treat on warm days.
Can I make this recipe in advance for a party?
Absolutely! You can make these cups a day ahead. This allows the flavors to meld together nicely. Just remember to cover them well before chilling. They will taste even better after a night in the fridge.
This blog post covered how to make No Bake Nutella Oreo Cheesecake Cups. We detailed the ingredients, alternative options, and the step-by-step instructions. You learned tips for a smooth mixture and presentation ideas. We shared variations to suit your taste and discussed storage for freshness.
These cheesecake cups are easy and fun to make. I hope you feel inspired to try this recipe and enjoy the process!


