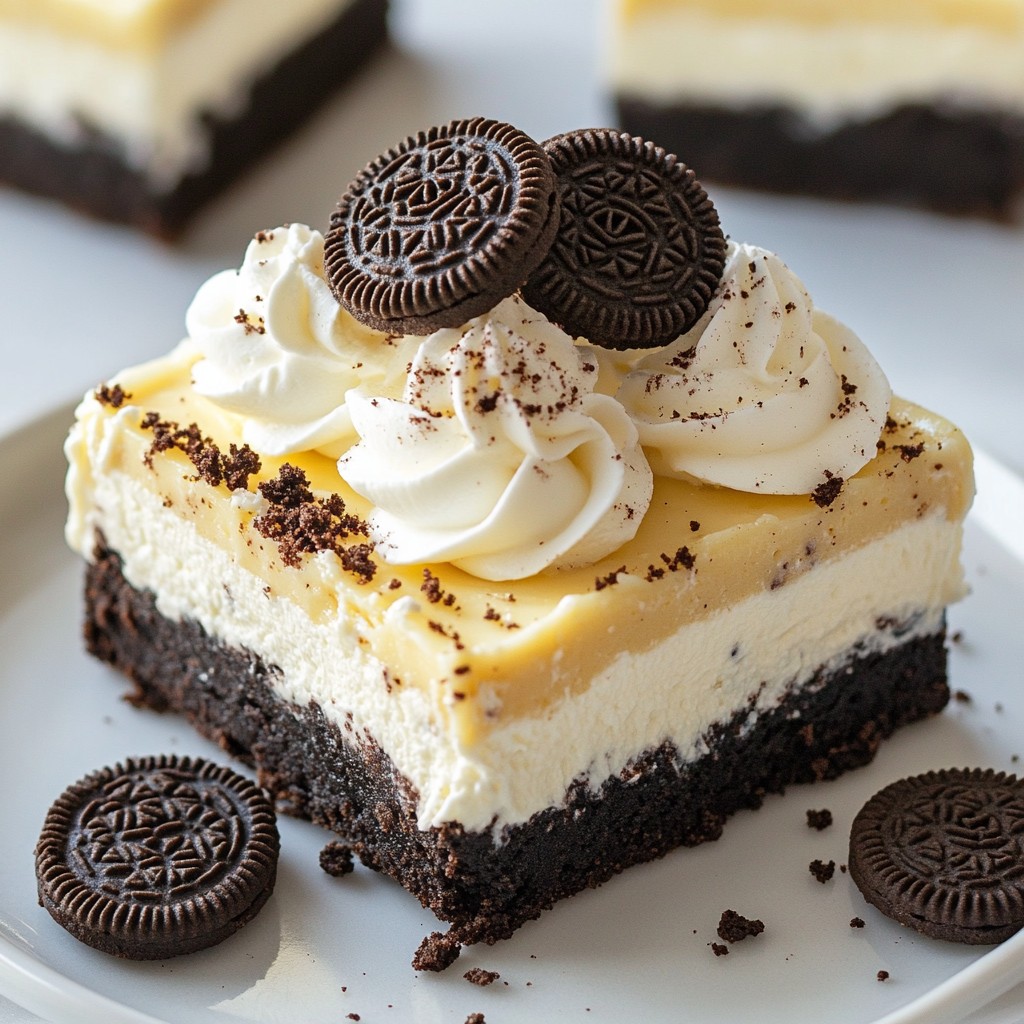
Ready to indulge in a sweet treat without turning on the oven? You're in for a delightful surprise with No Bake Oreo Cheesecake Bars! This easy recipe makes a creamy, dreamy dessert that’s perfect for any occasion. With a rich Oreo crust and a luscious cheesecake filling, these bars are sure to impress. Let’s dive into the simple steps to create this mouthwatering dessert that will have everyone asking for seconds!
Why I Love This Recipe
- Decadent Flavor: The combination of cream cheese and crushed Oreos creates a rich and indulgent flavor that satisfies any sweet tooth.
- No-Bake Convenience: This cheesecake bars recipe requires no baking, making it a stress-free dessert option for any occasion.
- Perfect for Sharing: These bars are easy to slice into portions, making them ideal for parties, gatherings, or just a sweet treat at home.
- Customizable Toppings: Feel free to get creative with toppings! From extra Oreos to chocolate drizzle, the possibilities are endless.
Ingredients
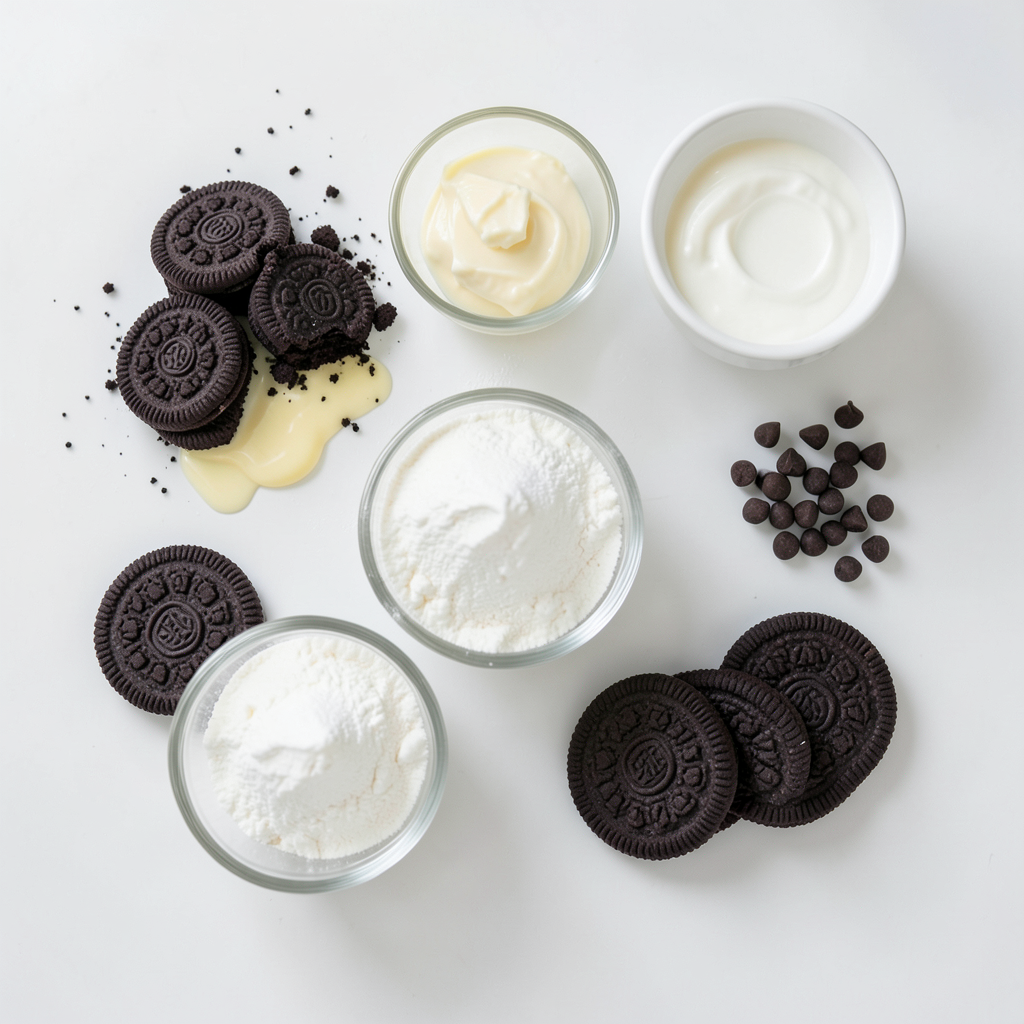
To create these No Bake Oreo Cheesecake Bars, you will need a few simple ingredients. Here’s what you’ll need:
- 24 Oreo cookies, finely crushed
- 1/4 cup unsalted butter, melted
- 16 oz cream cheese, softened to room temperature
- 1/2 cup powdered sugar
- 1 cup heavy whipping cream
- 1 teaspoon vanilla extract
- 1/2 cup mini chocolate chips (optional)
- 6 whole Oreo cookies, for garnishing
These ingredients come together to form a creamy, rich dessert. The crushed Oreos create a tasty base, while the cream cheese gives the filling its delightful creaminess. The heavy whipping cream adds lightness to the mix. If you like a bit of extra sweetness, the mini chocolate chips are a fun option! You can also use whole Oreos as a garnish to make your bars look extra special.
Step-by-Step Instructions
Preparation of Crust
- Combine 24 finely crushed Oreo cookies and 1/4 cup melted butter in a bowl.
- Press the mix into the bottom of a 9x9 inch baking pan. Use the back of a cup to make it firm.
Making Cheesecake Filling
- Beat 16 oz of softened cream cheese and 1/2 cup powdered sugar until smooth.
- In a separate bowl, whip 1 cup of heavy cream to stiff peaks.
- Gently fold the whipped cream into the cream cheese mix. This keeps it fluffy.
Assembling and Setting
- Pour the cheesecake filling over the crust in the baking pan.
- Garnish with 6 whole Oreo cookies on top for decoration.
- Cover with plastic wrap and refrigerate for at least 4 hours until set.
Tips & Tricks
Tips for a Perfect Crust
- Use finely crushed Oreo cookies. This helps the crust hold together.
- Press the crust evenly into the baking pan. A flat base gives stability.
Achieving the Best Cheesecake Texture
- Make sure your cream cheese is at room temperature. This makes it easier to mix.
- Avoid over-mixing the whipped cream. You want it light and fluffy, not runny.
Presentation Suggestions
- Serve on decorative plates to impress your guests.
- Drizzle with chocolate syrup or add a dollop of whipped cream. It makes each slice look special.
Pro Tips
- Use Room Temperature Cream Cheese: Ensure your cream cheese is softened to room temperature for a smoother mixture, which will help prevent lumps in your cheesecake filling.
- Don't Overmix the Whipped Cream: When folding the whipped cream into the cream cheese mixture, do so gently to maintain the airiness and fluffy texture of the filling.
- Chill Time is Key: Allow the cheesecake bars to chill for at least 4 hours. This helps them set properly and enhances the flavors, making for a better-tasting dessert.
- Customize Your Toppings: Feel free to get creative with toppings! You can add fruits, chocolate syrup, or even a sprinkle of crushed nuts for added texture and flavor.
Variations
Different Flavor Options
You can play with flavors in your No Bake Oreo Cheesecake Bars. One fun idea is to add fruit purees. Try raspberry or strawberry for a fresh twist. You can also swap regular Oreos for flavored ones. Think mint or peanut butter. These small changes can make a big difference.
Gluten-Free Alternative
If you or someone you know is gluten-free, there is a simple fix. Use gluten-free cookies for the crust. This way, everyone can enjoy these tasty bars. Just check the labels to ensure they meet gluten-free standards.
Vegan Version
For those who follow a vegan diet, you can make this dessert too. Substitute cream cheese with vegan cream cheese. It works really well and keeps the taste creamy. Instead of heavy whipping cream, use coconut cream. This gives the bars a nice richness without dairy. These swaps let anyone enjoy the delight of Oreo cheesecake.
Storage Info
How to Store Leftover Cheesecake Bars
To keep your Oreo cheesecake bars fresh, place them in an airtight container. This helps keep the flavors intact. They taste best when eaten within 3-5 days. After that, they may lose their creamy texture. So, enjoy them soon!
Freezing Instructions
Want to save some for later? You can freeze these bars! First, wrap them tightly in plastic wrap. This keeps them from getting freezer burn. Then, put them in a freezer-safe container. They can last up to 2 months in the freezer. When you’re ready to eat, just thaw them in the fridge overnight.
FAQs
Can I make No Bake Oreo Cheesecake Bars ahead of time?
Yes, you can make these bars a day in advance for better flavor. The longer they chill, the more the flavors blend. This makes for a richer taste. Plus, it saves time on the day you want to serve them.
How long do No Bake Oreo Cheesecake Bars need to set?
A minimum of 4 hours is recommended for a full set. If you want them firmer, leaving them overnight works well. The key is patience. Letting them chill allows the filling to firm up perfectly.
Can I use other cookies for the crust?
Yes, feel free to experiment with different cookie types. Chocolate cookies work great, but you can also try vanilla or even gingersnaps. Each choice gives a unique twist to your cheesecake bars. Don’t be shy—get creative!
You learned how to make delicious No Bake Oreo Cheesecake Bars. With just a few easy steps, you can create a tasty dessert everyone loves. Remember to use fine crumbs for the crust and room-temperature cream cheese for the best texture. Whether you stick to the classic recipe or try fun variations, this treat is sure to impress. Store leftovers in the fridge or freeze them for later. Now, it's time to gather your ingredients and start making this creamy delight! Enjoy every bite!


