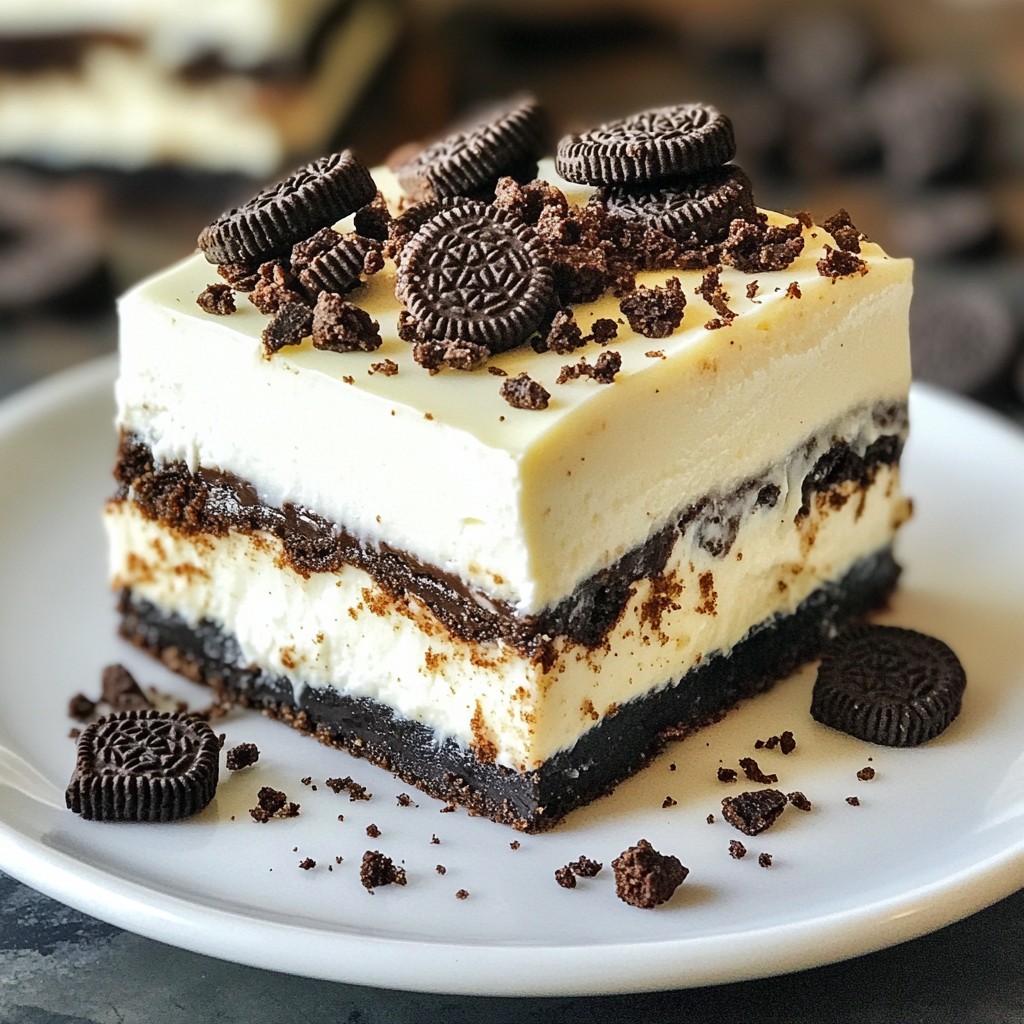
Craving a sweet treat that’s easy to make? Look no further than these No-Bake Oreo Cheesecake Bars! With just a handful of simple ingredients, you can whip up a creamy dessert that’s perfect for any occasion. No oven needed and no fuss—these bars deliver rich flavor and delightful texture in every bite. Let me guide you through this simple recipe that will impress your friends and satisfy your sweet tooth!
Why I Love This Recipe
- Deliciously Indulgent: This no-bake Oreo cheesecake bars offer a rich and creamy texture that melts in your mouth, making it an irresistible treat for any dessert lover.
- Easy to Make: With simple ingredients and straightforward steps, this recipe is perfect for both novice and experienced bakers wanting a quick dessert solution.
- No Baking Required: Skip the oven! These bars chill in the refrigerator, saving you time and effort while still delivering a delicious homemade dessert.
- Perfect for Sharing: Cut into 16 bars, this dessert is ideal for parties, gatherings, or simply to enjoy with family and friends without any fuss.
Ingredients
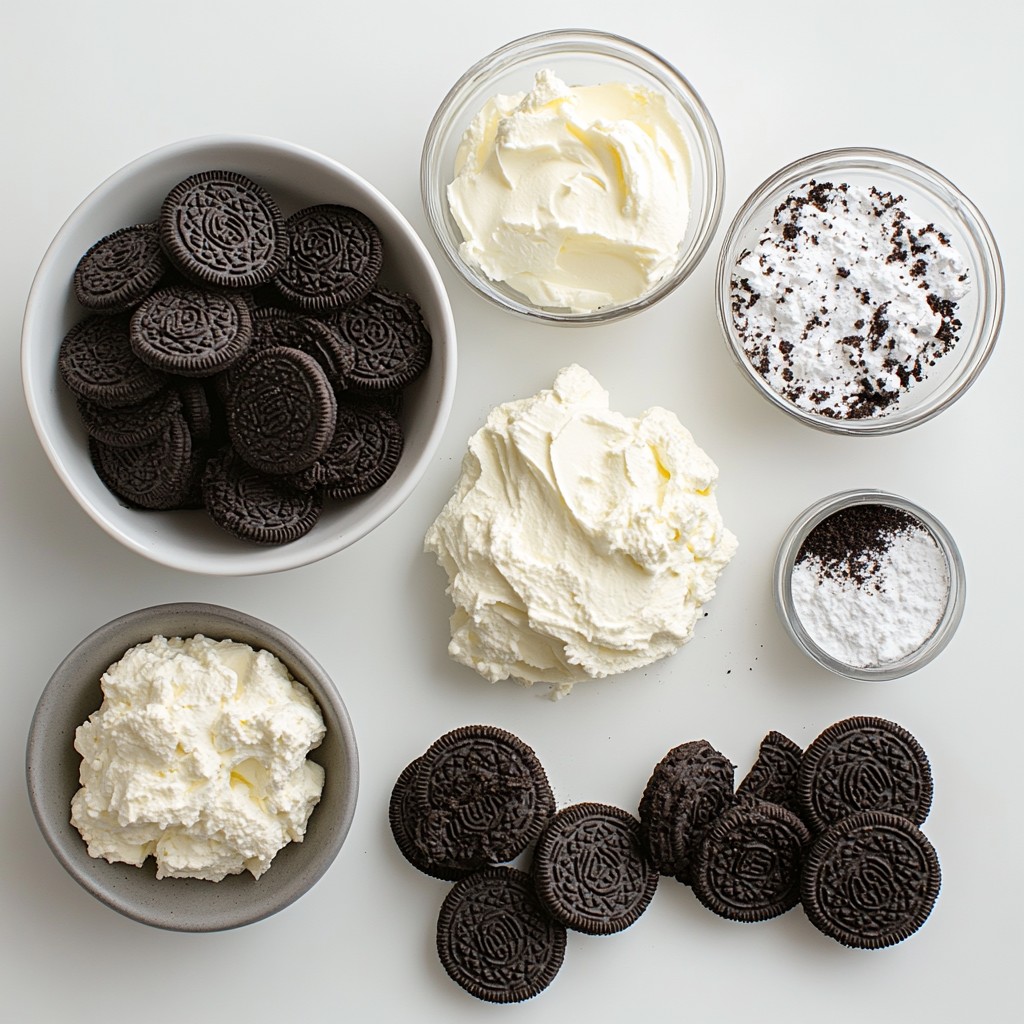
To make No-Bake Oreo Cheesecake Bars, you need simple, tasty ingredients. Here is what you will need:
- 24 Oreo cookies, finely crushed
- 4 tablespoons unsalted butter, melted
- 16 oz cream cheese, softened
- 1 cup powdered sugar
- 1 teaspoon pure vanilla extract
- 2 cups whipped topping
- 10 Oreo cookies, roughly chopped
- Additional Oreo crumbs for garnish
Each ingredient plays a key role. The crushed Oreos form a tasty crust. Butter helps hold it all together. Cream cheese gives the bars their rich, creamy texture. Powdered sugar adds sweetness, while vanilla enhances the flavor.
Whipped topping keeps the filling light and fluffy. Chopped Oreos mixed in provide a fun crunch. The extra crumbs on top make for a pretty finish. This mix of flavors and textures makes these bars a hit with everyone. When you gather these ingredients, you set the stage for a delicious treat!
Step-by-Step Instructions
Prepare the Crust
Start by crushing 24 Oreo cookies into fine crumbs. You can use a food processor or a rolling pin. Next, mix these crumbs with 4 tablespoons of melted butter. Stir until the crumbs feel moist and look like wet sand. Now, take a 9x9 inch baking dish. Firmly press this mixture into the bottom of the dish. Make sure it is even and compact. Place the dish in the refrigerator while you make the filling.
Make the Cheesecake Filling
In a large bowl, take 16 ounces of softened cream cheese. Use an electric mixer to beat it until it is smooth and fluffy. Next, add 1 cup of powdered sugar. Mix this in slowly to avoid a cloud of sugar. Then, add 1 teaspoon of pure vanilla extract. Blend until everything is creamy and well combined.
Fold in Whipped Topping
Now, you need to add 2 cups of whipped topping. Use a spatula for this step. Gently fold the whipped topping into the cream cheese mixture. This helps keep the filling light and airy. Make sure to mix until you no longer see white streaks.
Incorporate Chopped Oreos
Take 10 Oreo cookies and chop them roughly. Gently add these chopped cookies to the filling. Stir carefully to ensure that the cookie pieces are spread evenly throughout the mixture. This adds a nice crunch to each bite.
Assemble the Bars
Now, it’s time to pour the cheesecake filling over the crust. Use a spatula to spread it evenly. Smooth the top to make it look nice.
Chill
Cover the baking dish with plastic wrap. Place it in the refrigerator for at least 4 hours. If you can wait, chilling overnight is best. This will help the cheesecake set properly.
Serve
Once the cheesecake is firm, take it out of the fridge. Use a sharp knife to cut it into 16 equal bars. For a fun touch, sprinkle some extra Oreo crumbs on top before serving. Enjoy your delicious no-bake Oreo cheesecake bars!
Tips & Tricks
Achieving the best texture
To get the best texture, start with softened cream cheese. This step is key. Soft cream cheese blends well and prevents lumps. Leave it out for 30 minutes before you begin.
When folding whipped topping, use a spatula. Gently combine it into the cream cheese mix. This keeps the airiness. Don't stir too hard. You want a light and fluffy texture.
Serving Suggestions
Pair these bars with coffee or cold milk. The flavors match perfectly. For a fun twist, serve with a scoop of ice cream. It adds a nice touch!
For special occasions, cut the bars into fun shapes. Use cookie cutters for a festive look. You can also add fresh fruit on top for color.
Common Mistakes to Avoid
One mistake is over-mixing the filling. This can make the bars dense and heavy. Mix just enough to combine ingredients.
Another mistake is not chilling the bars long enough. They need at least four hours in the fridge. For best results, chill overnight for a firmer texture.
Pro Tips
- Tip for Cream Cheese: Ensure your cream cheese is at room temperature for a smoother and creamier filling. Cold cream cheese can lead to lumps in your mixture.
- Tip for Whipped Topping: When folding in the whipped topping, use a gentle hand to maintain its airy texture. This will keep the cheesecake light and fluffy.
- Tip for Chilling: For best results, let your cheesecake bars chill overnight. This extra time helps the flavors meld and results in a firmer texture.
- Tip for Garnishing: Use a food processor to finely crush additional Oreos for garnishing. This will give you a beautiful presentation and added crunch on top.
Variations
Chocolate Drizzle
To add a chocolate topping, melt some chocolate chips in a bowl. Use a microwave or a double boiler for this. Once melted, let it cool for a minute. Then, drizzle the chocolate over the chilled cheesecake bars before serving. This adds a rich layer of flavor that pairs well with the creamy filling.
Different Flavor Versions
You can switch up the whipped topping to create new flavors. Try using chocolate whipped topping for a richer taste. Strawberry whipped topping gives a fruity twist. You can even mix in peppermint extract for a minty touch during the holidays. These options let you customize the bars to match your taste.
Adding Fruit
Incorporating fresh fruit can brighten up the cheesecake bars. Berries like strawberries, raspberries, or blueberries work well. You can fold them into the cheesecake mixture or layer them on top. This not only adds flavor but also a pop of color. For a tropical touch, consider adding diced mango or pineapple.
Storage Info
Short-Term Storage
To keep your No-Bake Oreo Cheesecake Bars fresh, store them in the fridge. Place the bars in an airtight container. If you don't have one, cover the baking dish tightly with plastic wrap. This method will keep them from drying out and absorbing any other smells in the fridge.
Long-Term Storage
You can freeze these bars for longer storage. First, cut them into individual bars. Wrap each bar in plastic wrap, then place them in a freezer-safe bag or container. This extra layer helps prevent freezer burn. When you're ready to eat, thaw them in the fridge for a few hours.
Shelf Life
These cheesecake bars will stay fresh for about 4 to 5 days in the fridge. If frozen, they can last up to 3 months. However, for the best taste and texture, enjoy them within a month.
FAQs
Can I use low-fat cream cheese?
Yes, you can use low-fat cream cheese. However, it may change the texture and taste. Low-fat cream cheese often has more moisture. This can make your cheesecake filling a bit softer. The flavor may also be less rich compared to full-fat cream cheese. For the best results, stick with full-fat cream cheese when you can.
How long do these bars need to chill?
These bars need to chill for at least 4 hours. This time helps the cheesecake set properly. For the best texture, I suggest chilling them overnight. The longer they chill, the firmer they become. Just cover the dish well to keep them fresh.
Can I make these bars a day ahead of serving?
Yes, making these bars a day ahead is a great idea. It allows the flavors to blend better. The cheesecake will taste richer and creamier after sitting. Plus, it saves you time on the day you serve. Just remember to keep them in the fridge.
What can I substitute for Cool Whip?
If you want a substitute for Cool Whip, you have options. You can make your own whipped topping. To do this, whip heavy cream with sugar and vanilla. This will give you a fresh taste and a nice texture. You can also use store-bought whipped cream if you prefer.
Can I use other types of cookies for the crust?
Absolutely! You can use other cookies for the crust. Try chocolate sandwich cookies for a twist. Graham crackers work well too, giving a different flavor. Even vanilla cookies can create a light base. Get creative and use what you have on hand!
This blog post laid out a simple path to delicious Oreo cheesecake bars. You learned about the key ingredients, step-by-step instructions, and helpful tips for perfect results. Remember to soften your cream cheese for the best texture and avoid over-mixing. You can also play with flavors and toppings to make these bars your own. With easy storage tips, you can enjoy these treats longer. Now, gather your ingredients and start creating a dessert that everyone will love! Enjoy the process and share it with friends.