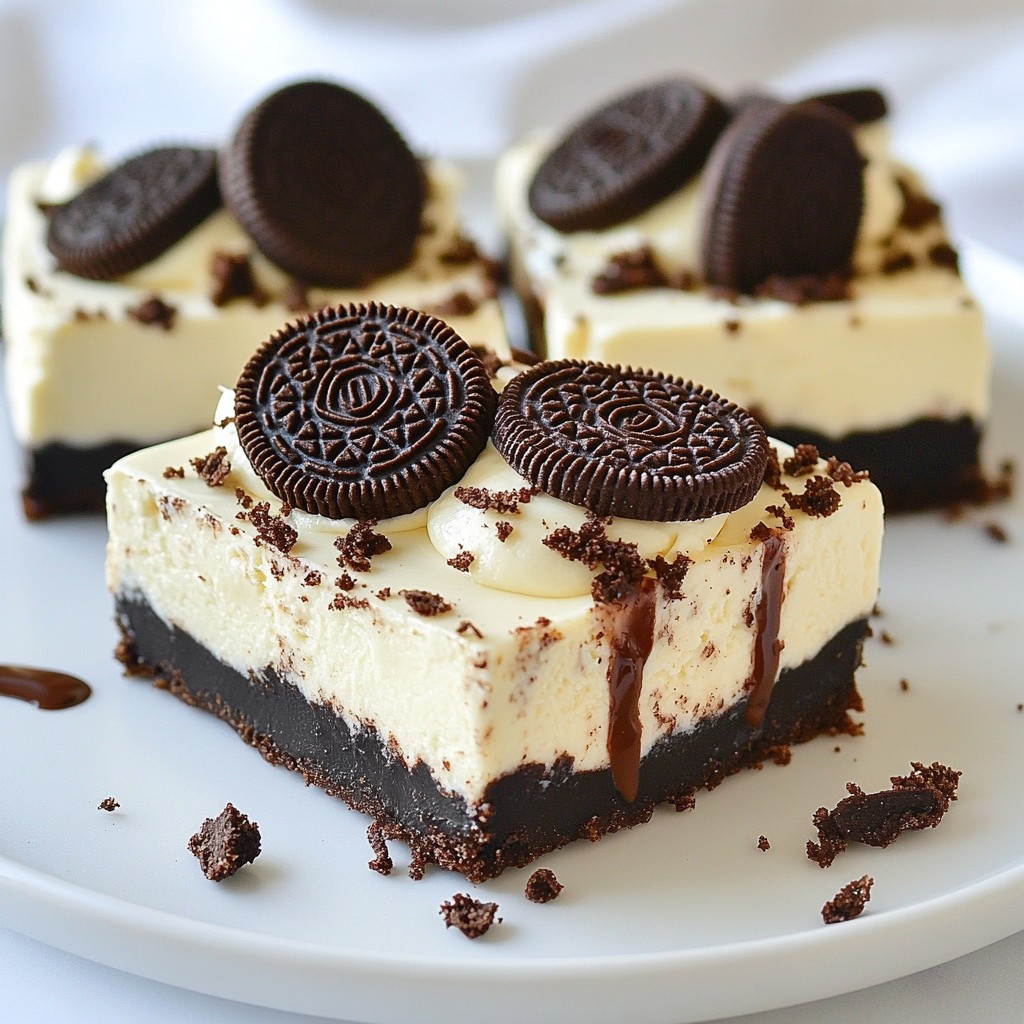
Are you ready to impress family and friends with an easy dessert? I’m excited to share my No Bake Oreo Cheesecake Bars recipe! This simple treat combines creamy cheesecake and crunchy Oreos for a delightful bite. With no oven needed, you can whip this up in no time. Let’s dive into the ingredients and create this tasty dessert together! You won’t want to miss a step.
Why I Love This Recipe
- Decadent Flavor: This cheesecake bars combine the rich taste of Oreos with a creamy cheesecake filling, creating an indulgent treat that’s hard to resist.
- No-Bake Convenience: Perfect for hot days or when you’re short on time, these bars require no baking, making them easy to prepare and enjoy.
- Customizable Toppings: Whether you like extra Oreos, a chocolate drizzle, or fresh fruit, these bars can be dressed up to suit your cravings!
- Perfect for Sharing: With 12 servings, these cheesecake bars are ideal for parties, gatherings, or simply to share with family and friends.
Ingredients
List of Essential Ingredients
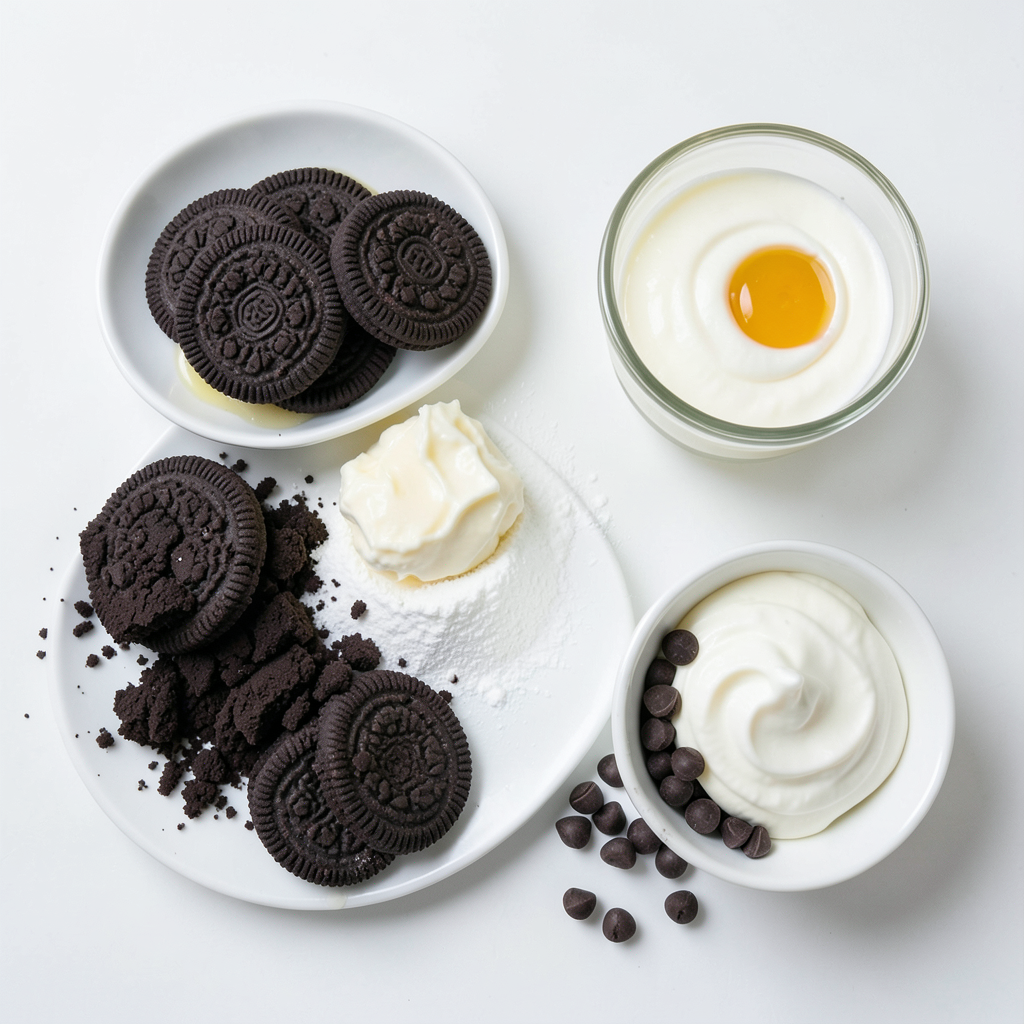
To make these No Bake Oreo Cheesecake Bars, you need a few simple items:
- 24 Oreo cookies, finely crushed (plus extra for topping)
- 1/4 cup unsalted butter, melted
- 16 oz cream cheese, softened at room temperature
- 1/2 cup powdered sugar
- 1 teaspoon vanilla extract
- 1 1/2 cups heavy whipping cream
- 1/4 cup chocolate chips (optional for drizzling)
These ingredients work together to create a rich and creamy treat that everyone loves.
Ingredient Substitutions
You can easily swap some ingredients for different ones:
- Cream Cheese: Use mascarpone cheese for a lighter flavor.
- Powdered Sugar: Granulated sugar works, but you may need to blend it finer.
- Heavy Whipping Cream: Try coconut cream for a dairy-free option.
- Oreo Cookies: Any chocolate sandwich cookie will do if you want a change.
These swaps keep the recipe flexible while still tasting great.
Optional Toppings and Variations
You can customize these bars with fun toppings:
- Crushed Oreo cookies for extra crunch.
- Whipped cream for a light finish.
- Fresh berries like raspberries or strawberries for a fruity touch.
- A drizzle of melted chocolate or caramel for extra sweetness.
These additions make your cheesecake bars even more special and eye-catching.
Step-by-Step Instructions
Preparation of the Oreo Crust
To start, gather your ingredients for the crust. You need 24 Oreo cookies and 1/4 cup of melted butter. Take the Oreo cookies and crush them into fine crumbs. You can use a food processor or place them in a ziplock bag and crush them with a rolling pin. Mix the crumbs with the melted butter in a medium bowl. Stir until the mixture looks like wet sand.
Next, take a greased 9x9 inch baking dish. Firmly press the Oreo mixture into the bottom of the dish. Use the back of a measuring cup to create a smooth, even layer. Make sure it is packed tightly for the best base.
Making the Cheesecake Filling
Now, let’s make the creamy filling. In a large bowl, beat 16 oz of softened cream cheese with an electric mixer. Mix on medium speed until smooth and creamy. Next, add 1/2 cup of powdered sugar and 1 teaspoon of vanilla extract. Keep mixing on low speed until fully combined. This will give the filling a sweet flavor.
In a separate bowl, whip 1 1/2 cups of heavy whipping cream. Use the electric mixer again, but this time on high speed. Whip until soft peaks form, which takes about 2-3 minutes. Then, gently fold the whipped cream into the cream cheese mixture. Use a spatula and combine carefully to keep the airiness.
Final Assembly and Setting
Now it's time to combine everything. Pour the cheesecake filling over the prepared Oreo crust. Use a spatula to spread it evenly across the crust. For a pretty touch, crumble some extra Oreo cookies on top.
Once done, cover your baking dish tightly with plastic wrap or foil. Place it in the fridge for at least 4 hours. This helps the cheesecake set and firm up. After chilling, cut into bars with a sharp knife. If you want to add a little more fun, drizzle some melted chocolate on top. Enjoy your tasty treat!
Tips & Tricks
Achieving the Perfect Texture
To get a creamy cheesecake, use softened cream cheese. Let it sit out for 30 minutes before mixing. When you whip the heavy cream, stop when you see soft peaks. This keeps the filling light and fluffy. Fold the whipped cream into the cream cheese gently. Make sure you don’t deflate the whipped cream. This step is key for a smooth texture.
Common Mistakes to Avoid
One common mistake is not grinding the Oreos finely enough. You want a sand-like texture for the crust. If it’s too chunky, the crust won’t hold together. Another mistake is over-mixing the cream cheese. Only mix until smooth. Over-mixing can make it too airy. Also, remember to chill the bars for at least 4 hours. Rushing this step will lead to a messy cut.
How to Decorate the Cheesecake Bars
For a fun look, crumble extra Oreos on top. You can also drizzle melted chocolate over the bars. This adds flavor and makes them look fancy. Use a dollop of whipped cream on each bar for extra flair. For an elegant touch, place half an Oreo on each slice. This makes serving a treat for both the eyes and the taste buds.
Pro Tips
- Use Cold Ingredients: Ensure your cream cheese and heavy whipping cream are at room temperature before mixing. This helps achieve a smoother filling without lumps.
- Don't Overmix: When folding the whipped cream into the cream cheese mixture, be gentle. Overmixing can deflate the whipped cream, resulting in a denser cheesecake.
- Chill Thoroughly: Allow the cheesecake bars to chill for at least 4 hours, or overnight if possible. This ensures they set properly and makes cutting easier.
- Experiment with Toppings: Feel free to customize the toppings! Drizzle with caramel, add sprinkles, or mix in other crushed cookies for a unique twist.
Variations
Adding Different Flavors to the Cheesecake
You can easily change the taste of these bars. Try adding fruit flavors. Use pureed strawberries or raspberries to mix in the filling. This gives a fruity twist to the rich cream cheese. You can also add peanut butter for a nutty flavor. Just mix in half a cup of peanut butter with the cream cheese. If you like chocolate, add cocoa powder to the filling. This will deepen the chocolate taste of the bars.
Gluten-Free Options
For a gluten-free version, use gluten-free Oreo cookies. They taste just as good as regular Oreos. Be sure to check the label to make sure they are safe for your diet. You can also use crushed gluten-free cookies for the crust. Just follow the same steps as in the recipe. This way, you still enjoy the same creamy and crunchy texture without gluten.
Vegan Alternatives for Ingredients
Want to make this recipe vegan? You can replace the cream cheese with a vegan cream cheese. Look for brands made from nuts or soy. Use coconut cream instead of heavy whipping cream. Just chill a can of coconut milk overnight, then scoop out the cream. For sweetening, use maple syrup instead of powdered sugar. These swaps will keep the bars tasty while making them vegan-friendly.
Storage Info
Best Storage Practices
To keep your No Bake Oreo Cheesecake Bars fresh, wrap them well. Use plastic wrap or aluminum foil. This keeps them safe from air and moisture. Store them in the fridge. A tight seal keeps them tasty and firm.
How Long Do They Last?
If stored properly, these bars can last up to five days in the fridge. Check for any signs of spoilage before serving. If they seem off, it’s best to toss them. Always trust your senses.
Freezing Instructions
You can also freeze these cheesecake bars. Cut them into squares before freezing. Wrap each piece in plastic wrap, then place them in a freezer bag. They can stay in the freezer for up to three months. When ready to eat, let them thaw in the fridge overnight.
FAQs
Can I make this recipe ahead of time?
Yes, you can make these cheesecake bars a day in advance. It actually helps the flavors blend well. Just make sure to cover them tightly with plastic wrap. Store them in the fridge until you are ready to serve. This will keep them fresh and tasty.
How do I cut the bars cleanly?
To cut these bars neatly, first chill them well. Use a sharp knife for clean cuts. Dip the knife in hot water, then wipe it dry before slicing. This method helps reduce sticking. Cut slowly and gently for the best results. You will get perfect, clean edges.
Can I use other cookies instead of Oreos?
Absolutely! You can use other cookies like chocolate sandwich cookies or graham crackers. Just remember to adjust the amount of sugar based on the cookie sweetness. Each type of cookie will change the flavor, so feel free to get creative. Enjoy experimenting with different cookie flavors!
In this blog post, I shared how to create delicious cheesecake bars. We explored essential ingredients and tasty variations, including gluten-free and vegan options. Step-by-step, I guided you through making the Oreo crust, filling, and assembly. I also highlighted tips for perfect texture and decoration.
You now have the tools to impress friends and family with this treat. Remember, cooking can be fun and creative, so don’t be afraid to experiment! Enjoy your cheesecake bars and share your baking journey with others.


