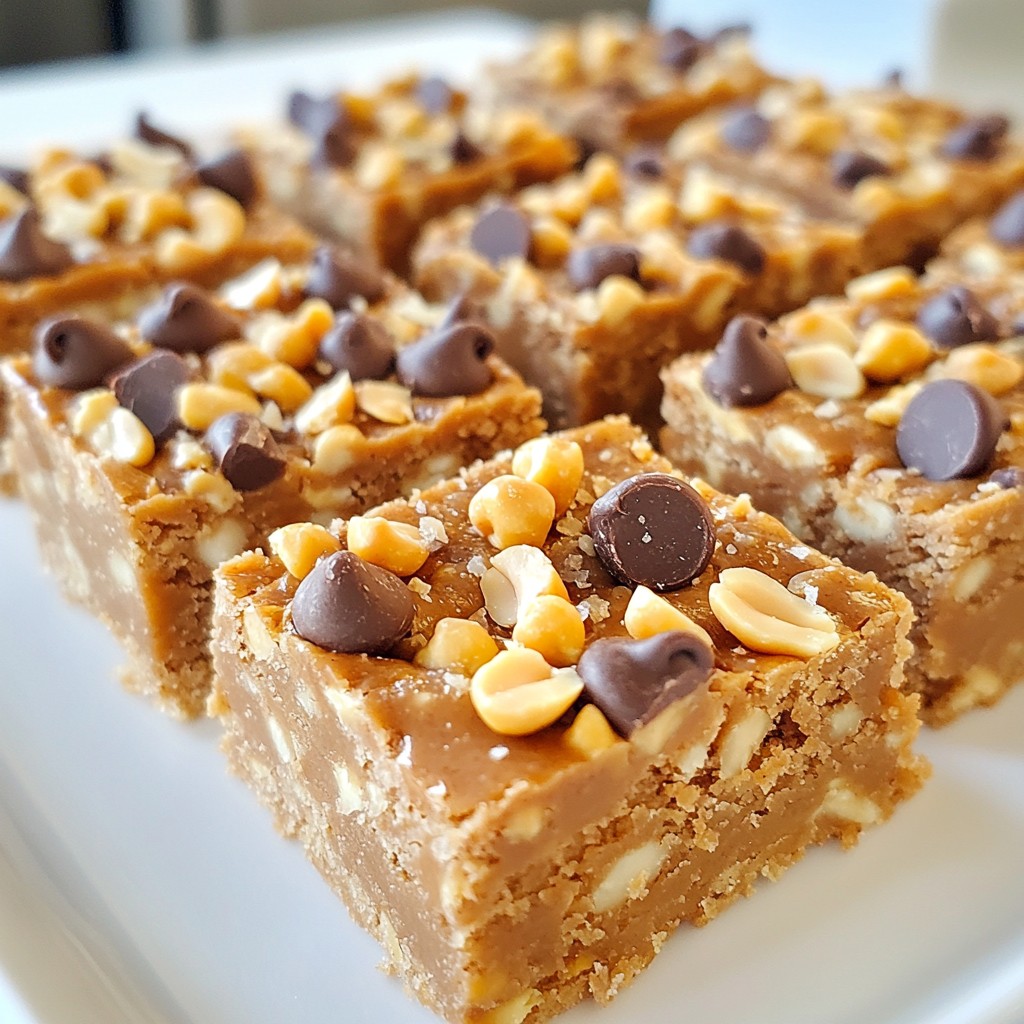
Looking for a quick, tasty treat? These No-Bake Peanut Butter Bars are perfect! You’ll whip them up in minutes with just a few ingredients. Natural peanut butter, honey, and oats combine for a delicious snack you can feel good about. No baking is required. Just mix, chill, and enjoy! Ready to make a batch? Let’s dive into this easy recipe!
Why I Love This Recipe
- Quick to Make: This recipe only takes 15 minutes of prep time, making it perfect for a last-minute treat.
- No Baking Required: Enjoy the ease of a no-bake dessert, which means less mess and hassle.
- Customizable Ingredients: Feel free to modify the recipe by adding your favorite nuts or dried fruits for a personal touch.
- Healthy Indulgence: With wholesome ingredients like oats and peanut butter, these bars are a healthier option for satisfying your sweet tooth.
Ingredients
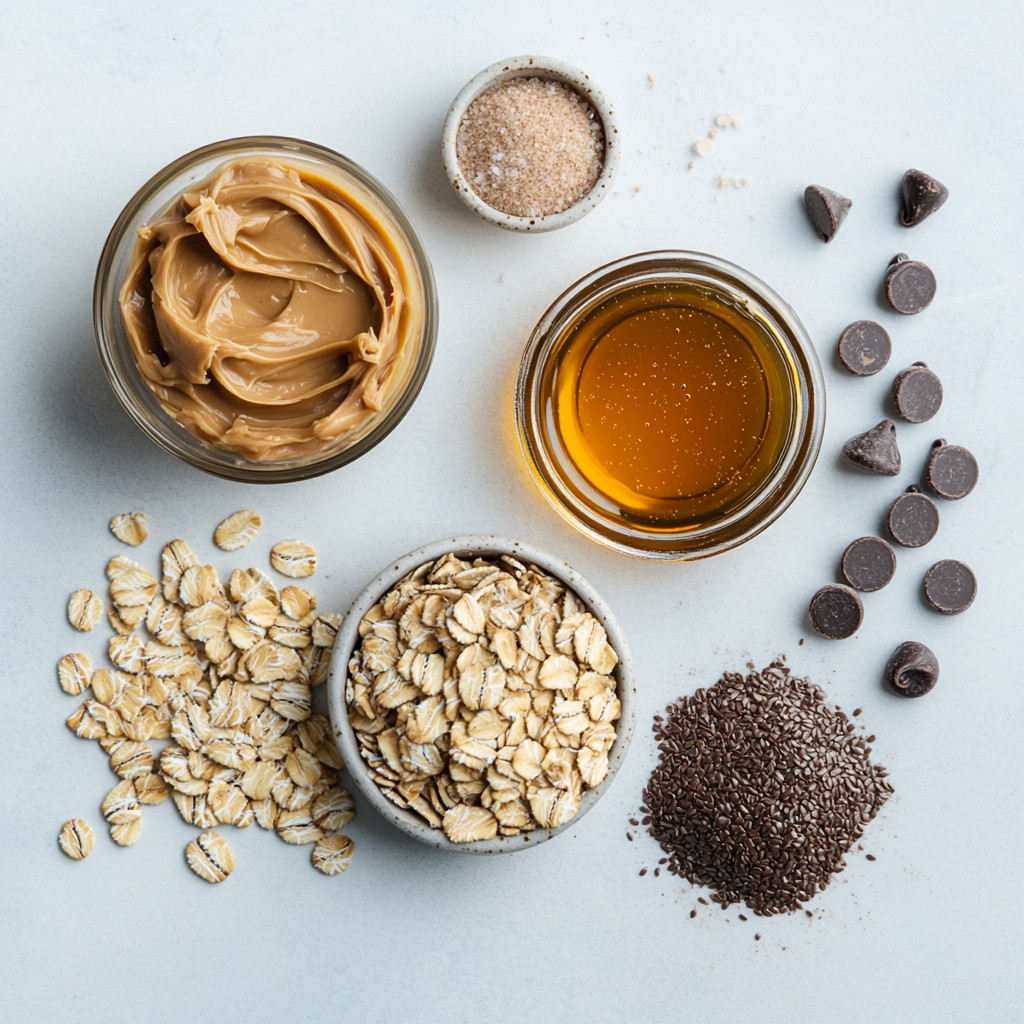
To make these no-bake peanut butter bars, you need simple and tasty items. Here is the list of ingredients:
- 1 cup natural peanut butter (choose between creamy or crunchy for texture)
- 1/2 cup honey or maple syrup (for a touch of sweetness)
- 1 1/2 cups rolled oats (the hearty base)
- 1/2 cup protein powder (optional, use any flavor you prefer)
- 1/4 cup mini chocolate chips (use dairy-free if desired for a vegan treat)
- 1/4 cup flaxseed meal (optional, for added nutrition and omega-3s)
- A pinch of salt (to enhance flavors)
Each ingredient plays a key role. The peanut butter gives creaminess and flavor. Honey or maple syrup adds sweetness and binds the mix. Rolled oats provide structure and chewiness. If you want more protein, add protein powder. Mini chocolate chips bring joy to every bite. Flaxseed meal boosts nutrition. A pinch of salt helps balance the sweetness.
Using these fresh ingredients makes each bar delicious and satisfying.
Step-by-Step Instructions
Combine Peanut Butter and Sweetener
Start by heating a medium saucepan on low. Add 1 cup of peanut butter and 1/2 cup of honey or maple syrup. Stir the mix until it is smooth and well-blended. This step makes the base creamy and sweet. Once combined, take the saucepan off the heat.
Mix Dry Ingredients
In a large bowl, mix 1 1/2 cups of rolled oats, 1/2 cup of protein powder (if using), 1/4 cup of flaxseed meal (optional), and a pinch of salt. Be sure to stir well. You want all the dry ingredients to blend nicely. This mix adds texture and nutrition.
Combine Wet and Dry Mixtures
Pour the warm peanut butter mixture over the dry ingredients in the bowl. Use a spatula to mix them together. Keep mixing until every oat is coated in the peanut butter. The mix should look even and uniform. This step is key to ensuring every bite is tasty.
Add Chocolate Chips
Now, gently fold in 1/4 cup of mini chocolate chips. Be careful not to over-mix. You want the chips to spread throughout the mixture but not melt. These little bites of chocolate add a sweet surprise to every bar.
Prepare Baking Dish
Take an 8x8 inch baking dish and line it with parchment paper. Let some paper hang over the edges. This trick helps when you lift the bars out later. It also keeps the dish clean.
Pack the Mixture
Transfer the peanut butter mixture into the lined baking dish. Use your hands or a spatula to press it down firmly. You want to pack it tight and create an even top surface. This helps the bars hold their shape.
Chill Until Firm
Place the dish in the fridge. Let it chill for at least 1-2 hours. You want the bars to set until they are firm to the touch. This step is important for cutting them easily later.
Cut and Serve
After chilling, lift the bars out using the parchment paper. Transfer them to a cutting board. Slice them into squares or rectangles, depending on how big you want each serving. Enjoy your delicious no-bake peanut butter bars!
Tips & Tricks
Best Practices for Mixing
When making no-bake peanut butter bars, mixing is key. Start with the peanut butter and sweetener in a warm pan. This helps blend them well. Stir constantly to avoid burning. Once smooth, pour it over your dry ingredients. Use a spatula to mix everything. Make sure the oats get coated well. This step is vital for a uniform taste.
How to Achieve the Perfect Texture
The right texture makes your bars delicious. To get this, pack the mixture tightly in your baking dish. Press down firmly using your hands or a spatula. This ensures the bars hold together. Letting them chill for at least one to two hours is also important. This waiting time helps them firm up nicely.
Serving Suggestions
Serving these bars can be fun! Slice them into squares or rectangles for easy sharing. For a nice touch, arrange them on a colorful plate. You can sprinkle extra chocolate chips or crushed peanuts on top. This makes them look appealing and adds flavor. Store leftovers in an airtight container in the fridge. They stay fresh for up to one week!
Pro Tips
- Choose Your Sweetener Wisely: Depending on your preference for flavor and consistency, you can use either honey for a more traditional sweetness or maple syrup for a vegan option. Each will slightly alter the taste of the bars.
- Experiment with Add-Ins: Feel free to customize your bars by adding nuts, dried fruits, or seeds. This not only enhances the flavor but also increases the nutritional value of your bars.
- Press Firmly: When packing the mixture into the baking dish, make sure to press it down firmly. This helps the bars hold together better once chilled and makes them easier to cut.
- Store Properly: Keep the bars in an airtight container in the refrigerator to maintain their freshness. They can last up to a week, making them a perfect grab-and-go snack!
Variations
Alternative Sweeteners
You can swap honey for other sweeteners. Maple syrup works well for a vegan option. Agave nectar is another choice. Each sweetener gives a unique flavor. Adjust the amount based on your taste.
Adding Flavor
Add spices like cinnamon or nutmeg for a warm taste. A splash of vanilla extract can boost the flavor too. These small changes make a big difference. Experiment with different amounts to find your favorite mix.
Different Mix-Ins
Mix in chopped nuts for crunch. Walnuts or almonds add great texture. Dried fruits like cranberries or raisins can add sweetness. Feel free to get creative with ingredients you love. Each choice will change the bars in fun ways.
Storage Information
How to Store No-Bake Peanut Butter Bars
To keep your no-bake peanut butter bars fresh, store them in an airtight container. This helps maintain their texture and flavor. Always place parchment paper between layers of bars. This will prevent them from sticking together.
Shelf Life and Best Practices
Your peanut butter bars will stay good in the fridge for up to one week. If you want them to last longer, avoid adding chocolate chips on the top. The chocolate can make the bars less firm. Always check for signs of spoilage before eating, like any off smells or changes in texture.
Freezing Instructions
You can freeze these bars for longer storage. Cut them into squares before freezing. Wrap each square in plastic wrap, then place them in a freezer bag. They will last for about three months in the freezer. When ready to eat, let them thaw in the fridge overnight. Enjoy your delicious, easy treat anytime!
FAQs
Can I use crunchy peanut butter instead of creamy?
Yes, you can use crunchy peanut butter. It adds a fun texture to the bars. The taste remains rich and delicious, just like using creamy. The choice between them is all about your personal preference.
How can I make these bars vegan?
To make these bars vegan, use maple syrup instead of honey. Make sure to choose dairy-free chocolate chips. The rest of the ingredients are already vegan-friendly. This way, everyone can enjoy this tasty treat.
What is the nutritional value of no-bake peanut butter bars?
These bars are a great source of energy. They offer healthy fats, protein, and fiber. Each bar has about 150 calories, depending on the size. The oats and peanut butter provide essential nutrients, making them a smart snack.
Can I substitute the oats with other ingredients?
Yes, you can replace oats with ground nuts or seeds. You could also use puffed rice for a different texture. Just remember that oats help bind the bars together. Choose substitutes that will keep the mixture firm.
How long do the bars need to chill?
The bars need to chill for at least 1-2 hours. This helps them set properly. If you want them firmer, you can leave them in the fridge longer. Once they are firm, they are ready to cut and serve.
This blog post covered how to make no-bake peanut butter bars with simple ingredients. You learned the steps to mix, chill, and cut the bars. We also shared tips for the best texture and storage methods.
These bars are easy and fun to make. With a few tweaks, like different sweeteners or mix-ins, you can customize them to fit your taste. Enjoy your delicious snacks!


