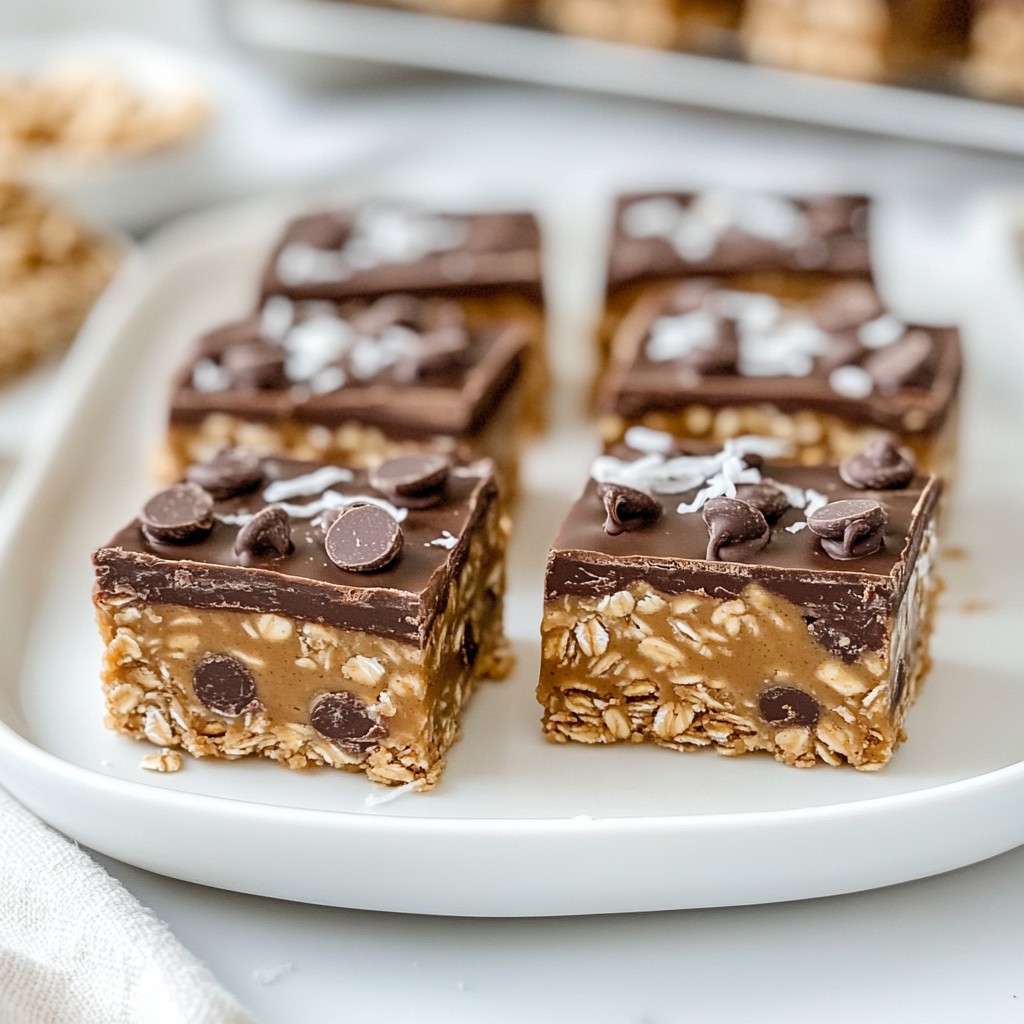
Looking for a sweet treat that’s both quick and easy? Try these No-Bake Peanut Butter Bars! With just a handful of simple ingredients, you can whip up a delicious snack that everyone will love. I’ll guide you through each step, ensuring a tasty result every time. Plus, they’re perfect for customizing with your favorite mix-ins. Let’s dive into this fun and rewarding recipe!
Why I Love This Recipe
- Easy to Make: This no-bake recipe requires minimal effort and just a few ingredients, making it perfect for a quick treat.
- Nutritious Ingredients: Packed with wholesome oats and natural sweeteners, these bars satisfy your sweet tooth without the guilt.
- Customizable: Feel free to add your favorite mix-ins like nuts or dried fruit to tailor these bars to your taste.
- Perfect for Meal Prep: These bars can be made in advance and stored in the fridge, making them a convenient snack for busy days.
Ingredients
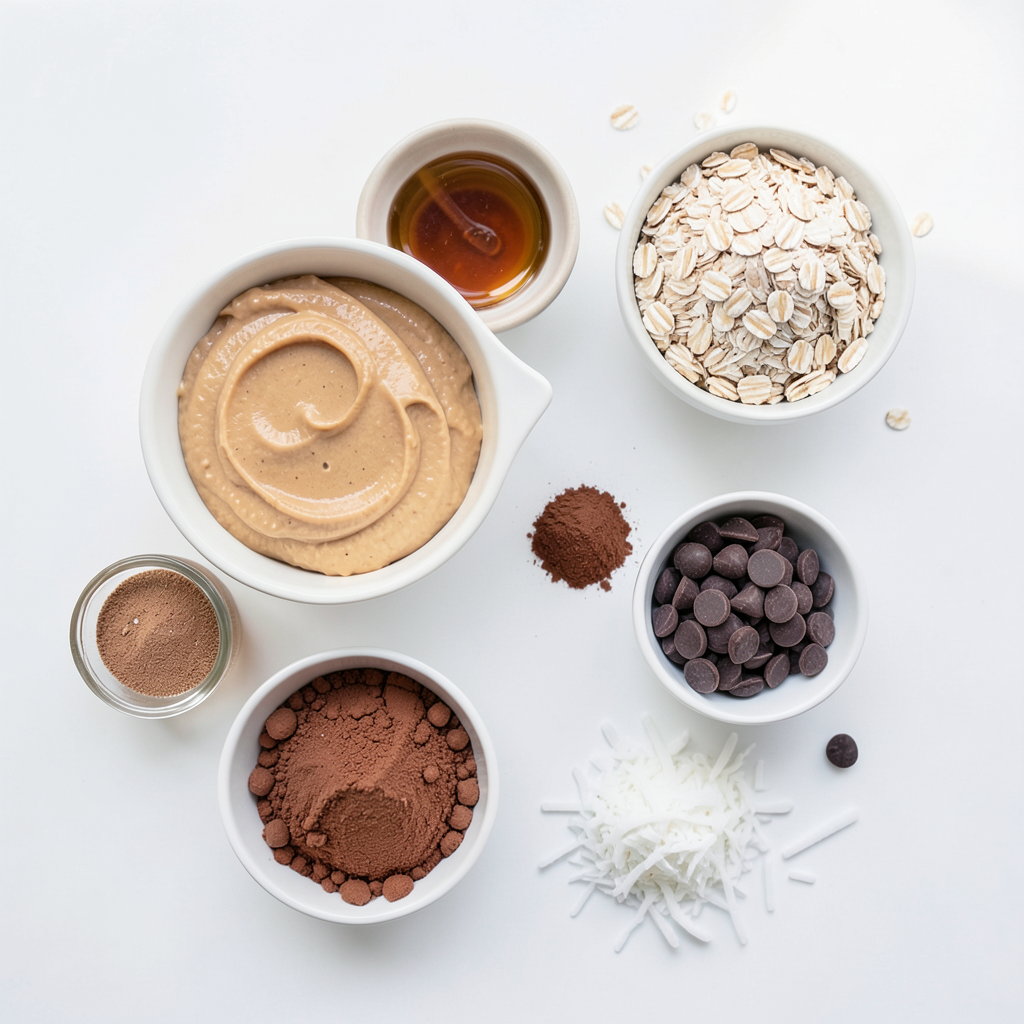
To make no-bake peanut butter bars, you need a few simple ingredients. Here’s what you’ll need:
- 1 cup creamy peanut butter
- 1/2 cup pure maple syrup
- 1 teaspoon pure vanilla extract
- 1 1/2 cups rolled oats
- 1/2 cup unsweetened cocoa powder
- 1/2 cup dark chocolate chips
- 1/4 cup shredded coconut (optional)
- Pinch of salt
Each ingredient plays a key role. The peanut butter gives a rich, creamy base. Maple syrup sweetens the mixture naturally. Vanilla extract adds a warm flavor. Rolled oats give the bars structure. Cocoa powder brings a deep chocolate taste. Dark chocolate chips add extra sweetness and texture. The coconut, if you choose to add it, provides a nice chew. A pinch of salt rounds out the flavors perfectly.
These bars are easy to make with these ingredients. You likely have most of them at home. Using quality ingredients makes a big difference in taste. Enjoy the process of making these delicious treats!
Step-by-Step Instructions
Mixing the Base
- In a medium bowl, combine 1 cup of creamy peanut butter, 1/2 cup of pure maple syrup, and 1 teaspoon of pure vanilla extract.
- Use a whisk or a spoon to blend until smooth.
Adding Oats and Cocoa
- Gradually mix in 1 1/2 cups of rolled oats and 1/2 cup of unsweetened cocoa powder.
- Stir until all ingredients are well combined into a cohesive mixture.
Incorporating Extras
- If you like, fold in 1/4 cup of shredded coconut and 1/2 cup of dark chocolate chips.
- Make sure they are evenly spread throughout the mixture.
Preparing the Pan
- Take an 8x8 inch baking pan and line it with parchment paper.
- Leave some overhang on the sides for easy removal later.
Forming the Mixture
- Transfer the mixture into the lined baking pan.
- Press down firmly to create a smooth, even surface.
Setting the Bars
- Cover the pan with plastic wrap and refrigerate for at least 2 hours.
- Before slicing, check if the bars are firm to the touch.
Tips & Tricks
Achieving the Best Texture
To get the perfect texture for your no-bake peanut butter bars, you must press the mixture down firmly. When you do this, you create a solid base that holds together well. Use a spatula or your hands to press evenly into the pan. This helps the bars stay intact when you cut them later. For refrigeration, let the bars set for at least two hours. This time allows the mixture to firm up, making it easier to cut into nice squares.
Presentation Suggestions
When it's time to serve, make your bars look nice. You can use a decorative platter to present them. For added flair, sprinkle some shredded coconut on top. A drizzle of melted dark chocolate can make them even more tempting. These small touches can impress your guests and elevate the dish.
Common Mistakes to Avoid
One common mistake is not mixing the ingredients thoroughly. If you skip this step, some bites might taste different. Make sure every ingredient is well combined. Another mistake is using the wrong type of pan. A metal or glass pan works best. Avoid using a pan that is too small, as it can make the bars too thick or uneven.
Pro Tips
- Storage Tip: For optimal freshness, store the bars in an airtight container in the refrigerator. They can last up to a week!
- Texture Tip: If you prefer a crunchier texture, try adding some chopped nuts or seeds to the mixture before pressing it into the pan.
- Substitution Tip: You can substitute almond butter or sunflower seed butter for peanut butter if you have nut allergies or prefer different flavors.
- Serving Tip: For a fun twist, serve these bars with a scoop of your favorite ice cream on the side for a delicious dessert experience!
Variations
Flavor Additions
You can switch things up by using crunchy peanut butter instead of creamy. This change adds a nice crunch to your bars. If you want to try something new, almond butter works great too. It gives the bars a different taste that some may prefer.
Dietary Adaptations
To make these bars vegan, just use maple syrup and dairy-free chocolate chips. This simple swap keeps the bars tasty without animal products. If you need a gluten-free option, use certified gluten-free oats. This way, everyone can enjoy them without worry.
Additional Mix-Ins
Feel free to add dried fruits or nuts for extra flavor and texture. Chopped dates, raisins, or walnuts work well. You can also use flavored chocolate chips, like mint or peanut butter. These small changes can really make your bars unique and fun!
Storage Info
Best Storage Methods
To keep your no-bake peanut butter bars fresh, store them properly.
- Refrigeration techniques: Place the bars in an airtight container. This keeps them moist and prevents them from absorbing odors. You can also wrap each bar in plastic wrap for extra protection.
- Freezing the bars for long-term storage: For longer storage, freeze the bars. Cut them into squares and wrap each piece in plastic wrap. Then, place them in a freezer bag. They stay fresh for about three months.
Shelf Life
Wondering how long these tasty treats last?
- How long can the bars be kept?: In the fridge, the bars last about one week. If you freeze them, they can last up to three months.
- Signs of spoilage to watch for: Check for changes in smell or texture. If the bars smell off or are very hard, it’s best to toss them. Always trust your senses when it comes to food safety.
FAQs
Can I use natural peanut butter?
Yes, you can use natural peanut butter. It has a different texture and flavor. Natural peanut butter is thicker and may not blend as easily. This can make your bars a bit crumbly. If you like a stronger peanut taste, go for it. Just know the bars might be less smooth.
How do I make these bars gluten-free?
To make these bars gluten-free, choose gluten-free oats. Many rolled oats contain gluten. Look for oats labeled gluten-free to be safe. This small change keeps the bars tasty and safe for those with gluten allergies. It won’t change the flavor much, so enjoy!
What can I substitute for maple syrup?
You can use honey or agave syrup instead of maple syrup. Honey adds a nice sweetness. Agave syrup is milder but works well too. Keep in mind that using a different sweetener can change the flavor slightly. Choose what you like best for your taste.
Can I use a different type of chocolate?
Yes, you can use other types of chocolate. Milk chocolate or white chocolate are good choices. If you prefer dairy-free options, use dairy-free chocolate. Each type will change the taste a bit. Feel free to experiment and find your favorite!
How do I know when the bars are set?
To know when the bars are set, check for firmness. Gently press on the bars after chilling for two hours. They should feel firm and not sticky. If they hold their shape well, they are ready to cut. This simple test helps ensure a perfect treat!
You learned how to make simple, tasty bars with peanut butter, oats, and chocolate. We covered the steps to mix the ingredients, form the bars, and tips for the best results. You can tweak the recipe for your taste and store the bars for later. Try different flavors and enjoy experimenting. With this guide, you can make a healthy snack anytime. Enjoy your creation and share it with others!


