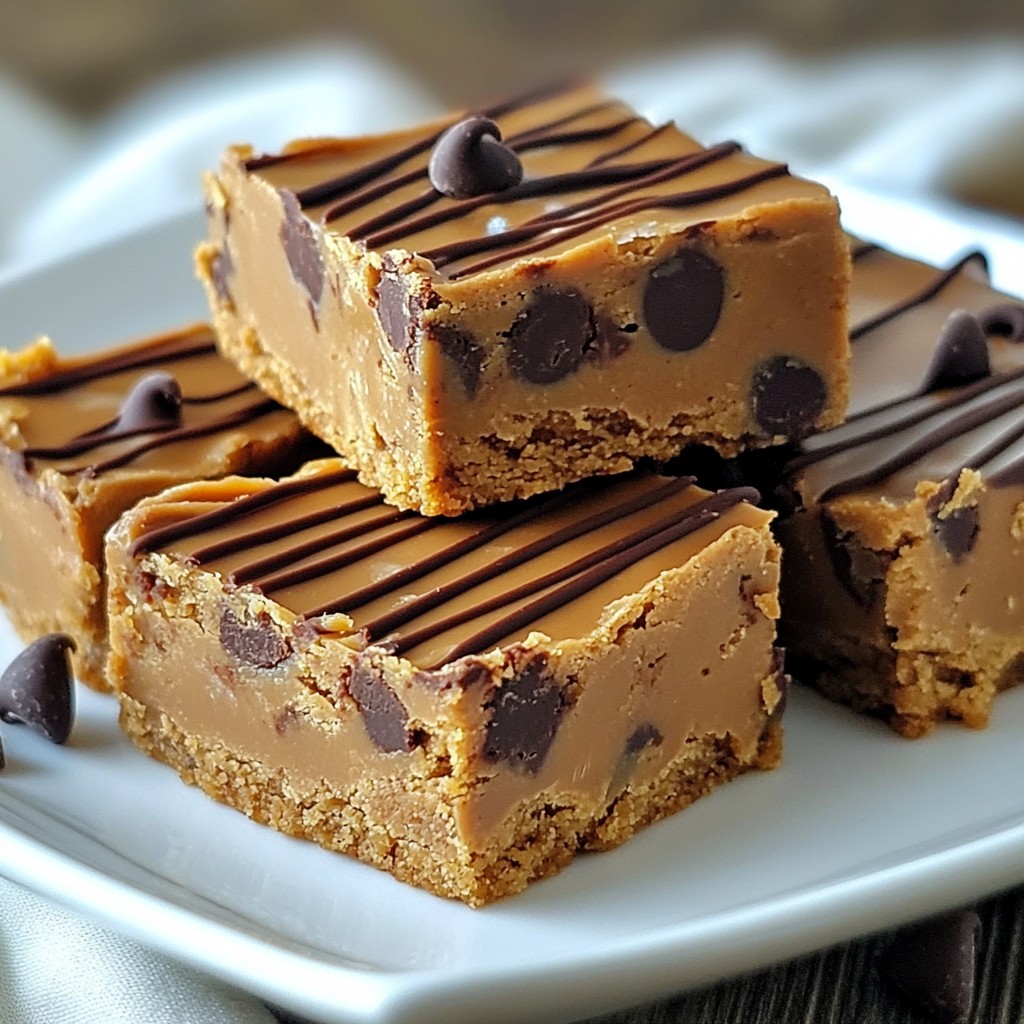
Looking for a sweet treat that's quick and easy? These No-Bake Peanut Butter Bars are just the answer! With just a few simple ingredients, you can whip up a delicious snack that’s perfect for any occasion. Whether you enjoy them as a post-workout boost or a midday pick-me-up, you’ll love how easy they are to make. Let's dive into this simple and tasty recipe that your taste buds will thank you for!
Why I Love This Recipe
- Quick and Easy: This recipe requires only 10 minutes of prep time, making it perfect for a quick snack or dessert.
- Nutritious Ingredients: Made with natural peanut butter, oats, and almond flour, these bars are packed with protein and fiber.
- Customizable: You can easily swap ingredients like using different nut butters or adding your favorite mix-ins like nuts or dried fruits.
- Deliciously Indulgent: With the addition of chocolate chips, every bite is a delightful combination of nutty and sweet flavors.
Ingredients
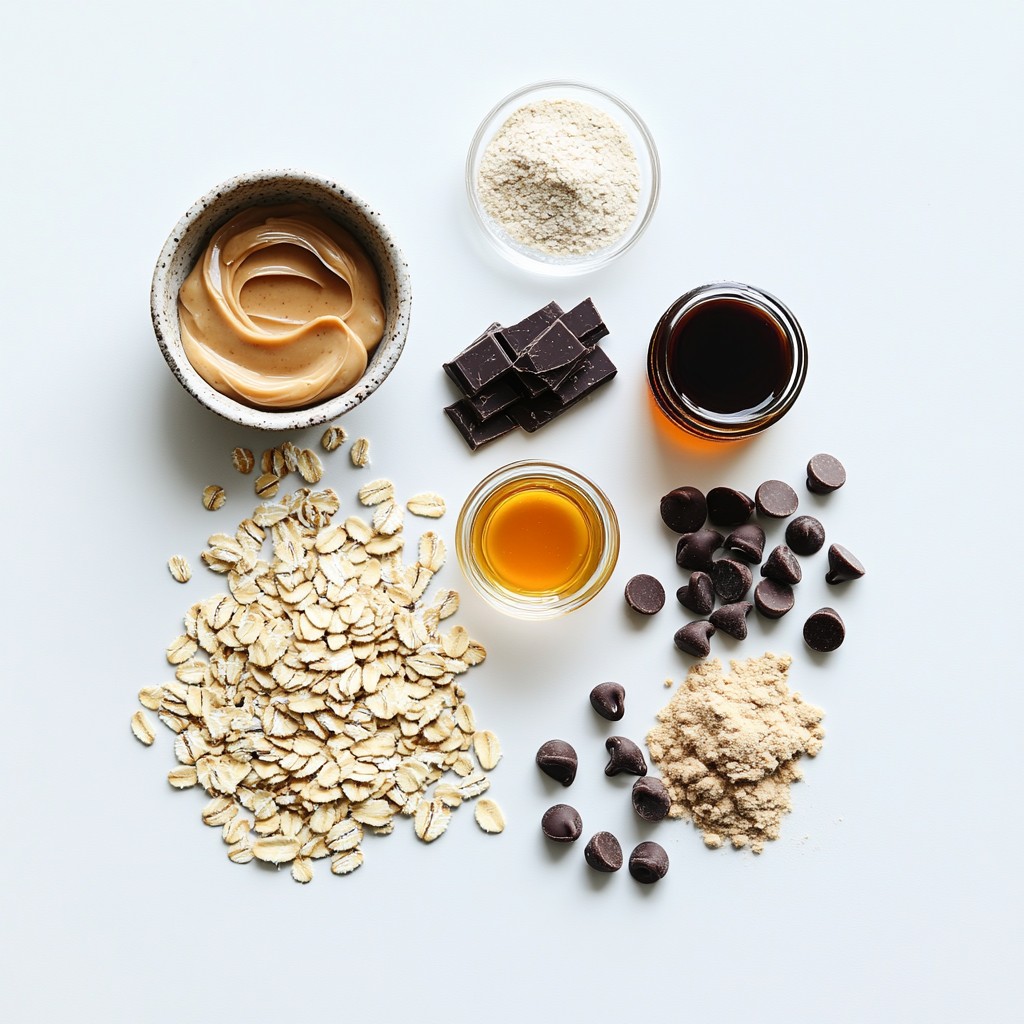
To make these no-bake peanut butter bars, you need a few simple ingredients. Here’s what you’ll need:
- 1 cup natural peanut butter
- 1 cup rolled oats
- 1/2 cup honey or maple syrup
- 1/2 cup almond flour
- 1/4 cup chocolate chips (dark or semi-sweet)
- 1/4 teaspoon sea salt
- 1/2 teaspoon pure vanilla extract
- Optional toppings like melted chocolate or chopped nuts
Each ingredient plays a key role in creating the perfect texture and flavor. Natural peanut butter gives these bars their rich taste and creamy texture. Rolled oats add a hearty bite, while honey or maple syrup acts as a natural sweetener. Almond flour provides a nice nutty flavor and helps bind everything together.
The chocolate chips bring in delightful bursts of sweetness. A pinch of sea salt enhances the flavors, and pure vanilla extract adds depth. You can add optional toppings for extra flair if you want to make them even more special!
Step-by-Step Instructions
Preparation Steps
- Mixing the Peanut Butter and Sweetener
Begin by placing 1 cup of natural peanut butter and 1/2 cup of honey or maple syrup in a large bowl. Use a spatula or whisk to mix until smooth. You want it creamy with no lumps.
- Incorporating Dry Ingredients
Now, add 1 cup of rolled oats, 1/2 cup of almond flour, 1/4 teaspoon of sea salt, and 1/2 teaspoon of pure vanilla extract to your bowl. Stir well until all the dry ingredients blend into a thick batter.
- Folding in Chocolate Chips
Gently fold in 1/4 cup of chocolate chips. Be careful not to break them. You want to spread the chocolate evenly for a delightful taste in every bite.
- Pressing Mixture into Baking Dish
Prepare an 8x8 inch square baking dish. Line it with parchment paper, leaving some paper hanging over the sides. This helps remove the bars later. Transfer your mixture into the dish, pressing it down firmly and evenly.
Setting the Bars
- Refrigerate or Freeze for Quick Setting
Cover the dish with plastic wrap or a lid. Place it in the fridge for at least 2 hours. If you’re in a hurry, freeze it for about 30 minutes. This will help the bars set faster.
- Removing and Slicing the Bars
Once set, lift the bars out of the dish using the parchment paper. Place them on a cutting board. Slice them into squares or rectangles, based on how big you want your treats. Enjoy!
Tips & Tricks
Perfecting Texture and Flavor
- Choosing the Right Peanut Butter
Use natural peanut butter for the best taste. It has a rich flavor and smooth texture. Look for brands with just peanuts and salt. This will keep your bars creamy and tasty.
- Adjusting Sweetness Levels
You can change the sweetness to fit your taste. If you like it sweeter, add more honey or maple syrup. For a less sweet bar, cut back on the sweetener. Taste the mixture before pressing it into the dish to find your perfect level.
- Ensuring Even Distribution of Ingredients
Mix your ingredients well. Stir until everything is fully combined. This will help ensure every bite has the same great flavor. When you fold in the chocolate chips, do it gently. This keeps them whole and adds nice chocolate bursts.
Presentation Tips
- Decorative Serving Options
Serve your bars on a pretty plate. You can stack them for a nice look. A sprinkle of sea salt on top adds a touch of flair. It makes them look fancy and adds a nice crunch.
- Drizzling Melted Chocolate
Melt some chocolate chips in the microwave for a minute. Drizzle it over the bars after slicing. This adds sweetness and makes your bars more eye-catching. It’s a simple step that really elevates your treat!
Pro Tips
- Use Creamy Peanut Butter: For the best texture, opt for creamy natural peanut butter. It will blend smoothly with the other ingredients, creating a cohesive batter.
- Chill for Better Cutting: Allowing the bars to chill in the refrigerator or freezer makes them firmer and easier to cut into neat squares.
- Variations on Sweeteners: Feel free to experiment with different sweeteners, such as agave syrup or coconut nectar, to suit your taste preferences or dietary needs.
- Customize with Mix-ins: Get creative by adding other mix-ins like chopped nuts, dried fruit, or seeds for additional flavor and texture.
Variations
Flavor Variations
You can easily switch up the flavors in these bars. Here are some fun ideas:
- Adding Different Nut Butters: Swap peanut butter for almond or cashew butter. Each nut butter brings its own taste and texture. You can create a unique flavor with every batch.
- Incorporating Dried Fruits or Nuts: Add dried fruits like cranberries or raisins. Chopped nuts like walnuts or pecans also add a nice crunch. These ingredients give extra taste and nutrition.
- Using Different Types of Sweeteners: Try using agave syrup or coconut sugar instead of honey. Each sweetener affects the taste and texture. Experiment to find your favorite mix.
Dietary Modifications
You can adjust these bars to fit various diets. Here’s how:
- Gluten-Free Options: Use certified gluten-free oats and almond flour. This makes the bars safe for those with gluten allergies. Always check labels to ensure they meet your needs.
- Paleo-Friendly Alterations: For a paleo version, skip the oats and use coconut flour. This keeps the bars grain-free while still being tasty. You can also use maple syrup as a sweetener.
These variations let you enjoy these no-bake peanut butter bars in many ways. Get creative and make them your own!
Storage Info
Best Storage Practices
- Refrigeration Tips
To keep your no-bake peanut butter bars fresh, store them in the fridge. Wrap them tightly in plastic wrap or keep them in an airtight container. This helps keep the bars moist and tasty. Use parchment paper between layers if stacking them. This way, they won’t stick together.
- Freezing for Long-Term Storage
You can also freeze these bars if you want to save some for later. Cut them into squares and place them in a freezer-safe bag. Remove as much air as possible before sealing. They stay fresh in the freezer for up to three months. Just let them thaw in the fridge before eating.
Shelf Life
- How Long They Last in the Fridge
In the fridge, these bars last about a week. Check them each time you grab one. If they look or smell off, it’s best to toss them.
- Signs of Spoilage
Watch for changes in texture or color. If you see any mold or a strange smell, that means they have spoiled. It’s always good to check before enjoying your treat!
FAQs
Common Questions
Can I make these bars vegan? Yes, you can make these bars vegan! Simply swap honey for maple syrup. Both work well and keep the taste great.
What can I use instead of almond flour? You can use oat flour or ground sunflower seeds. Both options blend nicely and keep the bars tasty.
How do I know when the bars are set? The bars should feel firm and hold their shape. If you press gently, they should not stick to your fingers.
Can I add protein powder to the recipe? Yes, you can add protein powder! Just mix in a scoop with the dry ingredients for an extra boost.
How should I cut and serve the bars? Lift the bars out using the parchment paper. Use a sharp knife to cut them into squares or rectangles. Serve them on a nice plate for a fun treat!
You learned how to make tasty bars using simple ingredients like peanut butter and oats. We covered easy steps for preparation and setting, plus tips for texture and flavor. Remember to explore variations and storage methods for the best results. These bars are fun to make and can fit many diets. Get creative with flavors and toppings. Enjoy making them your own!


