Are you ready to impress your friends and family this fall? My No-Bake Pumpkin Cheesecake is the perfect dessert for any gathering. It’s creamy, delicious, and requires no oven time! In this blog, I’ll guide you through each easy step, share handy tips, and explore fun variations. Let’s dive into the world of delightful flavors that will sweeten your autumn days!
Ingredients
List of Ingredients
– 1 ½ cups graham cracker crumbs
– ½ cup unsalted butter, melted
– 2 cups cream cheese, softened to room temperature
– 1 cup canned pumpkin puree
– 1 cup powdered sugar
– 1 teaspoon pure vanilla extract
– 1 teaspoon pumpkin pie spice
– 1 cup heavy whipping cream
– Optional: whipped cream and ground cinnamon for garnishing
Measurement Guide
Measuring ingredients accurately is key. Use dry measuring cups for solids like graham crackers. For sticky items like honey, use liquid measuring cups. Level off each cup with a knife for precision. This ensures your cheesecake sets well.
Possible Ingredient Substitutions
You can swap some ingredients if needed. Use gluten-free graham crackers for a gluten-free version. Cream cheese can be replaced with mascarpone cheese for a richer taste. If you want a lighter option, use Greek yogurt instead of cream cheese. For a dairy-free option, use coconut cream in place of heavy cream. These swaps may change the flavor but can still yield a tasty dessert.
Step-by-Step Instructions
Detailed Preparation Steps
Start by making the crust. In a medium bowl, mix graham cracker crumbs with melted butter. Stir until it feels like damp sand. Press this mixture firmly into a 9-inch springform pan. Use a measuring cup to press it down evenly. Chill the crust in the fridge while you prepare the filling.
Next, beat the softened cream cheese in a large bowl with an electric mixer. Mix on medium speed for about 2-3 minutes. It should be smooth and creamy. Then add pumpkin puree, powdered sugar, vanilla extract, and pumpkin pie spice. Mix until everything is well blended.
In another bowl, whip the heavy cream with a hand mixer until stiff peaks form. This takes about 3-4 minutes. Carefully fold this whipped cream into the pumpkin mixture. Use a spatula and be gentle to keep it fluffy.
Now, spoon the filling over the chilled crust. Spread it evenly with a spatula. Cover the cheesecake with plastic wrap and put it in the fridge. Chill for at least 4-6 hours or overnight for best results.
Tips for Mixing and Folding
When mixing, make sure all ingredients are at room temperature. This helps them blend better. As you fold in the whipped cream, do it slowly. This keeps the mixture airy and light. Always scrape the bottom and sides of the bowl to ensure even mixing.
Chilling and Setting the Cheesecake
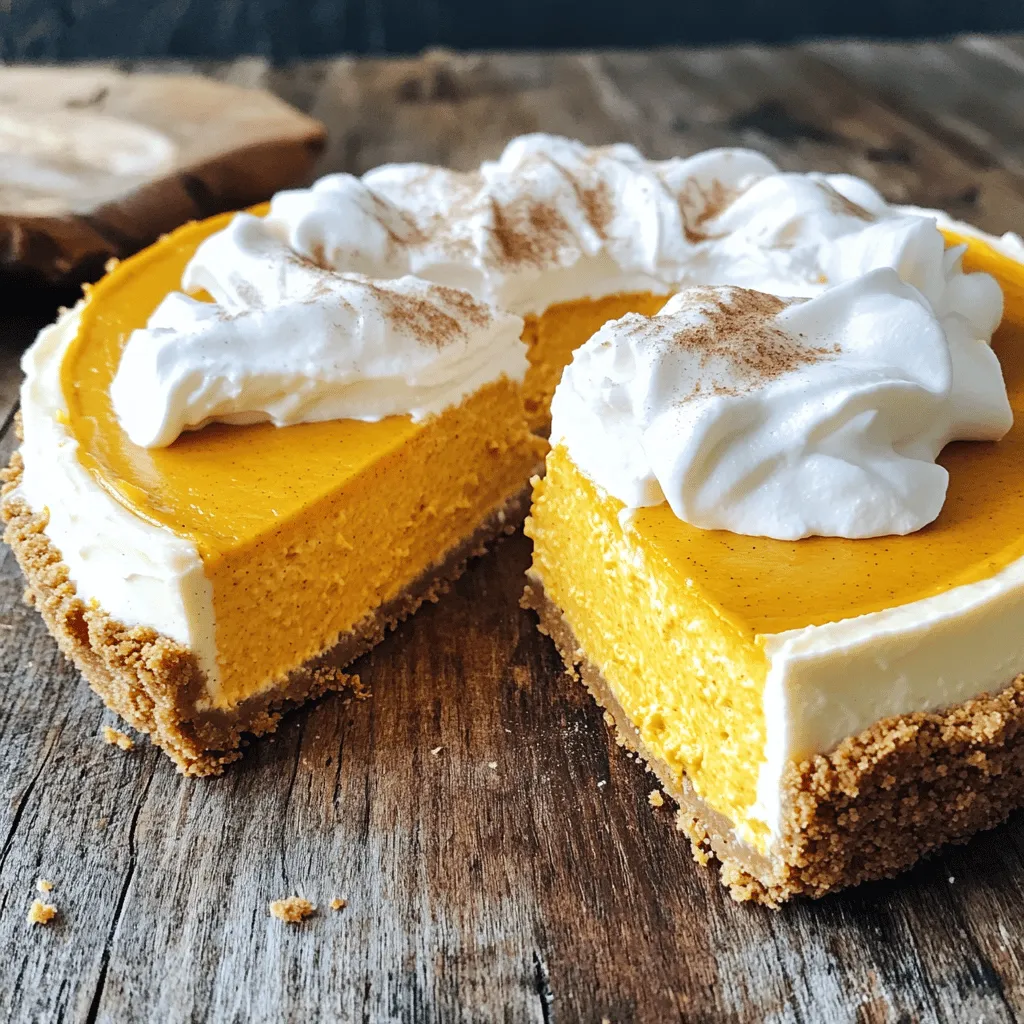
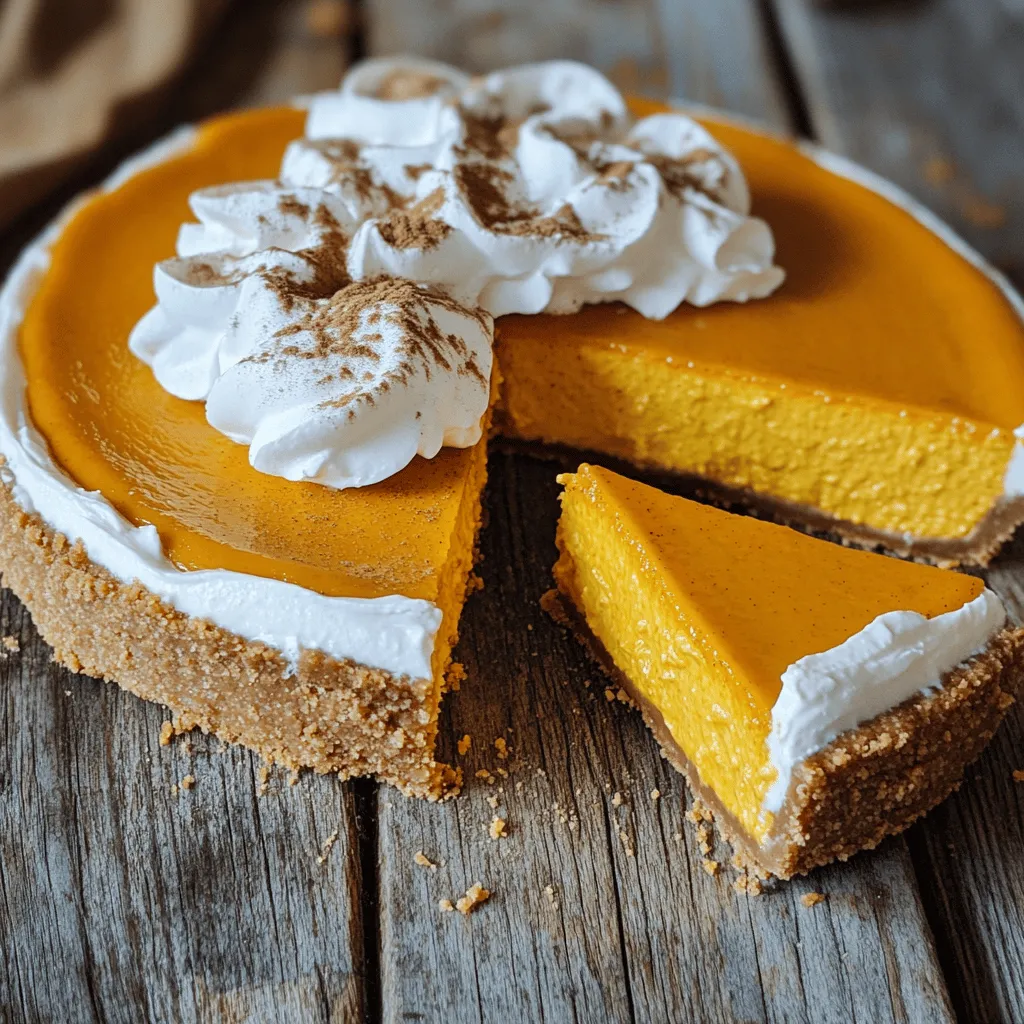
Chilling is crucial for this cheesecake. It helps it firm up and develop flavors. The longer it sits, the better it tastes. After chilling, remove it from the springform pan carefully. Serve each slice with whipped cream and a sprinkle of cinnamon. This makes it extra special!
Tips & Tricks
Troubleshooting Common Issues
If your cheesecake is too soft, check the heavy cream. It needs stiff peaks. If it’s too runny, you might not have whipped it enough. If the crust crumbles when you slice, press it down more firmly next time. Try using a measuring cup to compact it.
Enhancing Flavor and Texture
Add a pinch of salt to balance the sweetness. It makes a big difference! For extra flavor, mix in more pumpkin pie spice or a splash of maple syrup. You can also use flavored cream cheese, like cinnamon or vanilla, for a fun twist.
Presentation Tips for Serving
Slice the cheesecake into neat wedges for a clean look. Place each slice on a pretty plate. Add a dollop of whipped cream on top and sprinkle with cinnamon. A mint sprig adds a nice touch. For a festive vibe, you can even use cute fall-themed plates.
Variations
Flavor Variations of No-Bake Pumpkin Cheesecake
You can change the flavor of your no-bake pumpkin cheesecake easily. Try adding different spices like nutmeg or ginger for a spicy kick. You could also mix in some chocolate chips for a sweet twist. If you want something more citrusy, add a bit of orange zest to brighten the flavor. For a richer taste, consider using maple syrup instead of powdered sugar.
Different Crust Options
The crust can change the whole vibe of your cheesecake. You can stick with the classic graham cracker crust. However, a ginger snap crust gives a fun spice. If you want a nutty flavor, try a crust made from crushed pecans or almonds. For a gluten-free option, use gluten-free cookies or oats. Each crust choice adds its own special touch to your dessert.
Seasonal or Holiday Adaptations
This cheesecake is great for any season. For autumn, you can add some apple or pear slices on top. At Thanksgiving, consider using a layer of cranberry sauce for a pop of color. For Christmas, sprinkle some crushed candy canes on top for a festive look. You can even switch it up for spring by adding fresh berries. Each season offers a chance to make this cheesecake unique!Enjoy your creative journey with this delightful fall dessert!
Storage Info
Best Practices for Storing Leftovers
To keep your cheesecake fresh, store it in the fridge. Use an airtight container or cover it tightly with plastic wrap. This prevents it from absorbing strong smells from other foods. Always make sure the cheesecake is fully chilled before covering. This helps maintain its creamy texture.
Freezing Instructions
Yes, you can freeze this no-bake pumpkin cheesecake! First, let it cool completely in the fridge. Then, wrap it well in plastic wrap and aluminum foil. This protects it from freezer burn. When you want to eat it, thaw it overnight in the fridge. Never refreeze once thawed.
How Long It Lasts in the Fridge
Your cheesecake will last about 3 to 5 days in the fridge. After that, the quality may drop. Always check for any changes in smell or texture before enjoying. For best taste, eat it within the first few days.
FAQs
How do I make a no-bake cheesecake firmer?
To make a no-bake cheesecake firmer, use less heavy cream. You can also add more cream cheese. Another option is to include gelatin. Gelatin helps the cheesecake hold its shape better. Simply dissolve it in warm water and mix it in before chilling.
Can I use fresh pumpkin instead of canned?
Yes, you can use fresh pumpkin. First, cook the pumpkin until soft, then mash it. Strain it to remove excess water. This helps keep your cheesecake from getting too watery. Canned pumpkin is usually thicker and easier to work with, but fresh adds great flavor.
What can I substitute for heavy cream?
You can use coconut cream or full-fat Greek yogurt. Both options will give a rich texture. If you want a lighter option, try using whipped topping. Each substitute changes the taste slightly, so choose one that fits your flavor goals.
How long does the cheesecake take to set?
The cheesecake needs at least 4 to 6 hours to set. For best results, chill it overnight. This helps all the flavors blend well. A longer chill time makes for a creamier and tastier dessert.
Can I make this cheesecake ahead of time?
Absolutely! You can make this cheesecake up to two days in advance. Just store it covered in the fridge. This gives you more time to enjoy your guests and less time in the kitchen. For the freshest taste, add toppings just before serving.
This blog post covered the key elements of making a no-bake pumpkin cheesecake. We explored the ingredients needed, how to prepare them, and tips for mixing. I shared ways to enhance flavor and texture, along with storage tips. You also learned about variations for different seasons. Remember, experimenting makes this recipe truly yours. With these steps, you can create a delicious cheesecake that wows every guest. Enjoy your baking journey!


