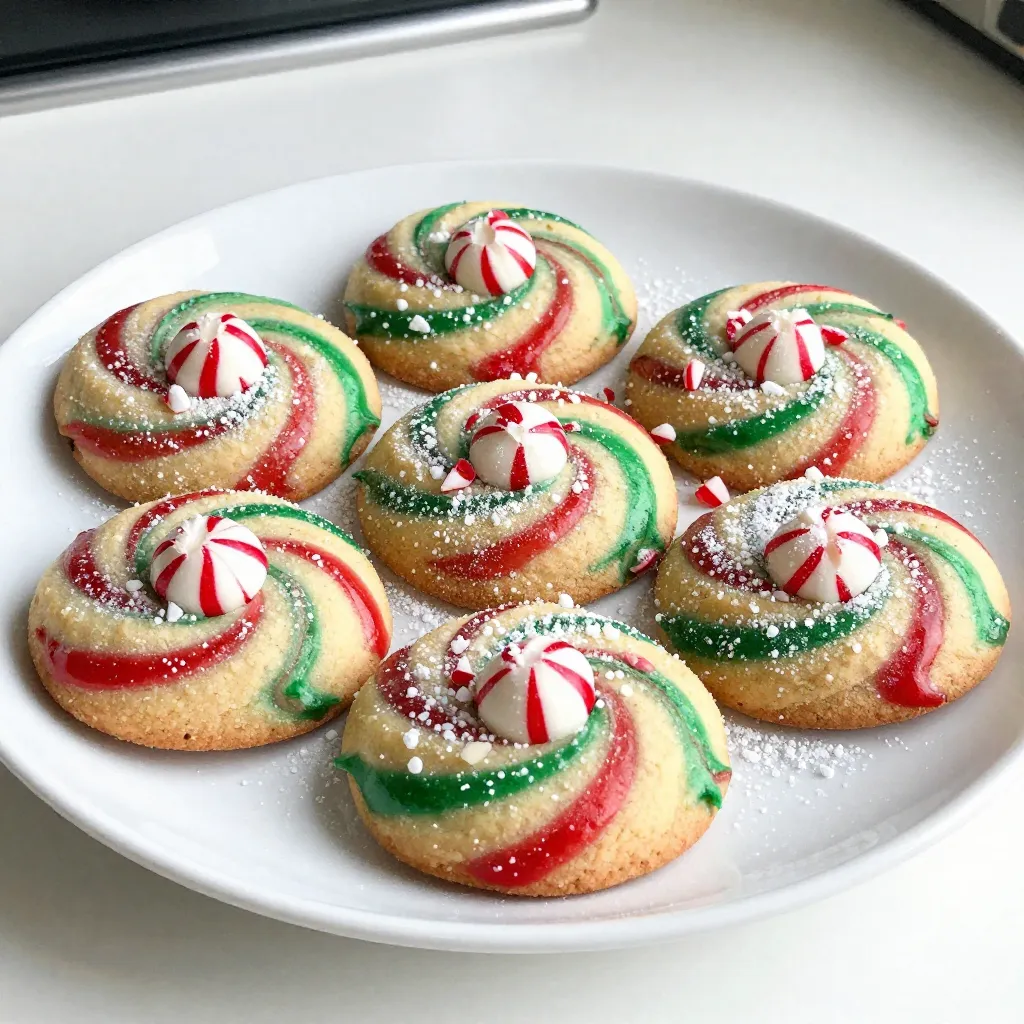
Get ready to spark joy with my Peppermint Swirl Cookies! These festive treats blend creamy butter, sweet sugar, and refreshing peppermint for a delightful holiday snack. I’ll guide you through every step, from mixing the dough to swirly decorating. Whether you’re baking with kids or for a party, these cookies are fun, tasty, and sure to impress. Let’s dive in and create some holiday magic together!
Why I Love This Recipe
- Festive Flavor: The combination of peppermint and vanilla creates a delightful holiday taste that brings joy to every bite.
- Visual Appeal: The red and green swirls add a vibrant touch, making these cookies perfect for holiday gatherings and celebrations.
- Easy to Make: This recipe is straightforward, requiring minimal ingredients and simple steps, making it accessible for bakers of all skill levels.
- Customizable: You can easily adjust the sweetness or add different toppings, allowing for a personal touch to each batch.
Ingredients
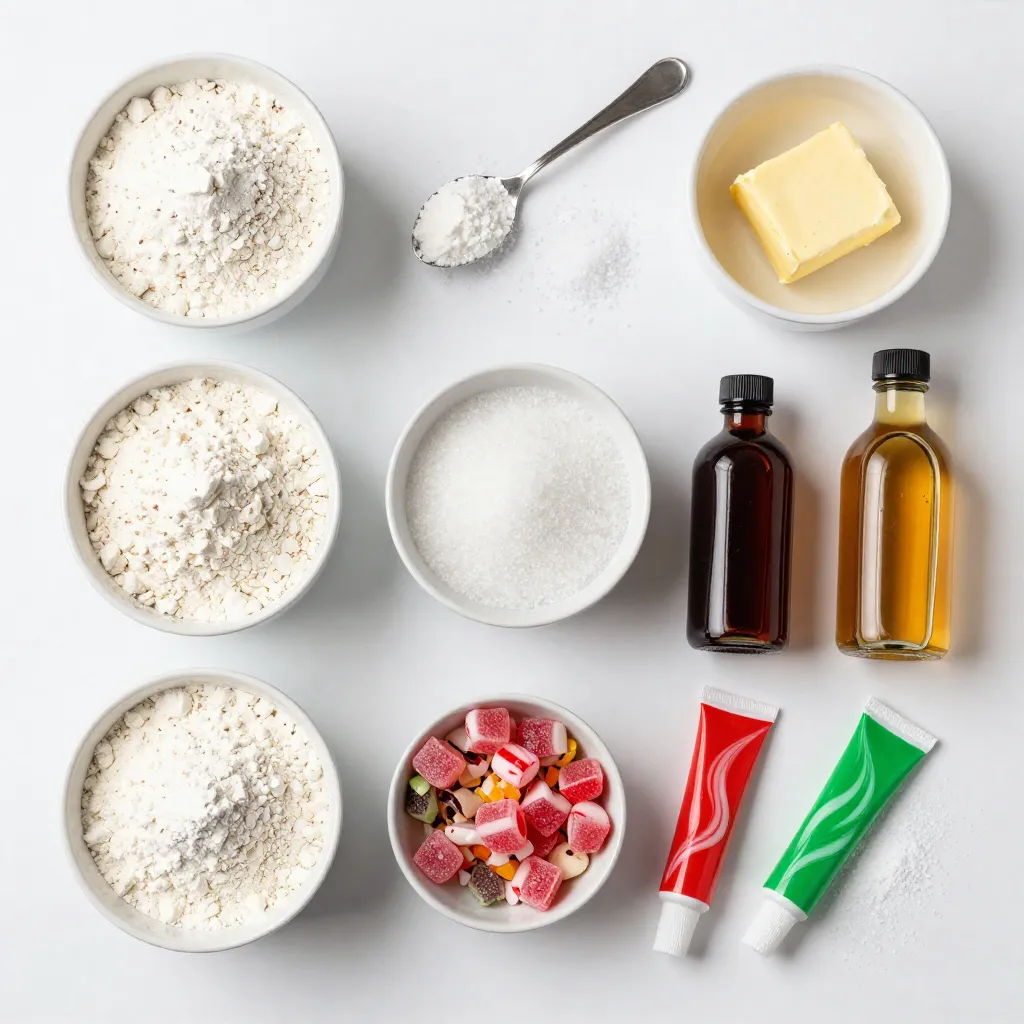
To make delightful peppermint swirl cookies, gather these ingredients:
– 2 cups all-purpose flour
– 1 teaspoon baking powder
– 1/2 teaspoon salt
– 1/2 cup unsalted butter, softened
– 1 cup granulated sugar
– 1 large egg
– 1 teaspoon pure vanilla extract
– 1 teaspoon pure peppermint extract
– 1/4 cup crushed peppermint candies or candy canes
– Red and green gel food coloring
– Optional: powdered sugar for dusting
These ingredients blend together to create a festive treat. The butter adds richness, while peppermint brings a fresh taste. The colors from the food dye make the cookies pop. The crushed candies give them a fun crunch. This combination makes baking these cookies a joy.
Step-by-Step Instructions
Preparation and Preheating
– Preheat oven to 350°F (175°C).
– Line baking sheet with parchment paper.
Mixing the Dough
To start, whisk together the flour, baking powder, and salt in a medium bowl. This step helps mix the dry ingredients evenly. In a separate large bowl, cream the softened butter and sugar until fluffy. This should take about 3-5 minutes. Next, add the egg, vanilla, and peppermint extracts. Mix until smooth and well combined.
Forming the Cookie Dough
Now, gradually combine the dry ingredients with the wet mixture. Mix on low speed until you see a cohesive dough form. Divide the dough into two equal parts. Fold in the crushed peppermint candies into one half. For the other half, add a few drops of red gel food coloring. Mix until it turns a bright red. Optionally, you can add green coloring for extra fun.
Shaping and Baking the Cookies
Scoop about 1 tablespoon of each colored dough. Roll them into small balls. Press the red dough ball against the peppermint dough ball. Roll them together to create a beautiful swirl shape. Place the swirled dough balls onto the baking sheet. Leave about 2 inches of space between each ball. Bake for 10-12 minutes. The edges should be lightly golden. Let them cool for 5 minutes on the baking sheet before transferring them to a wire rack to cool completely.
Tips & Tricks
Baking Tips
– Make sure your butter is soft. This helps create a fluffy texture.
– Don’t overmix once you add the flour. This keeps cookies tender and light.
Decoration Tips
– Dust cookies with powdered sugar for a pretty touch. It looks like snow!
– Adjust the amount of crushed peppermint based on your taste. More candy means more flavor!
Timing Tips
– Keep an eye on your cookies. Overbaking can make them hard.
– Let cookies cool completely for the best texture. Warm cookies can be too soft.
Pro Tips
- Chill the Dough: For better shaping and less spreading, chill the dough for 30 minutes before forming the cookies.
- Use Fresh Peppermint Extract: Ensure your peppermint extract is fresh for the best flavor; older extracts can lose their potency.
- Uniform Size: Use a cookie scoop to ensure all cookies are the same size for even baking.
- Decorative Touch: For an extra festive look, drizzle melted white chocolate over the cooled cookies before serving.
Variations
Flavor Variations
You can change the taste of your cookies easily. Try using almond extract instead of peppermint. This will give a nice twist. You can also mix in chocolate chips or white chocolate. These add richness and sweetness to each bite. Experiment with different flavors to find your favorite.
Aesthetic Variations
The look of your cookies can be fun too. Use food coloring to create bright swirls. Try using red, green, or even blue for a unique touch. You can also use different cookie cutters to create shapes. Stars, hearts, or holiday-themed shapes make your cookies stand out.
Dietary Adjustments
If you need a gluten-free option, swap regular flour for gluten-free flour. This keeps the cookie soft and tasty. For lower sugar cookies, you can use sugar substitutes. These options allow more people to enjoy your festive treats.
Storage Info
Storing Cookies
To keep your cookies fresh, store them in an airtight container at room temperature. This will help maintain their soft texture. If you stack the cookies, place parchment paper between the layers. This prevents them from sticking together.
Freezing Cookies
You can freeze uncooked dough if you want to bake later. Just wrap it tightly in plastic wrap and place it in a freezer bag. You can also freeze baked cookies for up to three months. This is great for saving some for later.
Shelf Life
These cookies last about 5 to 7 days at room temperature. Check for signs of staleness or loss of flavor. If they become hard or lose their peppermint taste, it’s time to toss them. Enjoy your festive treats while they are fresh!
FAQs
How do I make Peppermint Swirl Cookies vegan?
To make these cookies vegan, swap butter for a vegan alternative. Use a flax egg instead of a regular egg. This keeps the taste and texture similar while making it plant-based.
Can I use regular sugar instead of granulated sugar?
Yes, you can use regular sugar. However, it may change the cookie’s texture slightly. Granulated sugar helps achieve the right balance of sweetness and crunch.
What’s the best way to crush peppermint candies?
The best way to crush peppermint candies is simple. Use a zip-top bag and a rolling pin. This method keeps the mess down and gives you nice, even pieces.
How can I make these cookies more festive?
You can easily make these cookies more festive. Add colorful sprinkles or drizzle melted chocolate on top. These small touches can make your cookies pop!
What if my dough is too sticky?
If your dough is too sticky, don’t worry. Just add additional flour in small increments. Keep mixing until the dough becomes workable and easy to handle.
These peppermint swirl cookies are fun and easy to make. You now know the ingredients and steps needed. We explored helpful tips for baking and decorating, plus variations to try. If you store them right, they last several days or freeze well. Don’t hesitate to adjust the recipe to fit your taste. Now, gather your ingredients and enjoy baking these festive cookie


