Are you ready to transform your sugar cookies into edible art? I’ve got a simple icing recipe that hardens fast and easy! With just a few basic ingredients, you can create a smooth, decorative layer that stays beautiful and firm. In this guide, I’ll walk you through each step, share tips, and reveal fun variations. Let’s get started on making your cookies shine!
Ingredients
List of Required Ingredients
– 2 cups powdered sugar
– 2 tablespoons meringue powder
– 4 tablespoons warm water
– 1 teaspoon vanilla extract
– Food coloring (optional)
– Parchment paper for easy cleanup
Making icing that hardens fast can be simple with the right ingredients. I use powdered sugar as a base. It gives the icing a sweet taste. Meringue powder helps the icing set and hold its shape. Warm water makes it easy to mix. Vanilla extract adds a nice flavor. You can use food coloring to make your icing fun.
For easy cleanup, I recommend using parchment paper. Lay it down before you start. It catches drips and keeps your workspace clean. This makes decorating your cookies a joy. You’ll find that these ingredients work well together. They help you create a beautiful finish on your cookies.It guides you through each step to make perfect icing.
Step-by-Step Instructions
Combining the Dry Ingredients
First, grab a large mixing bowl. Sift together 2 cups of powdered sugar and 2 tablespoons of meringue powder. Sifting helps remove lumps and creates a smooth base for your icing. This step is key for a perfect finish on your cookies.
Achieving the Right Consistency
Next, gradually add 4 tablespoons of warm water to the dry mix. Stir with a spatula or whisk. Keep mixing until the icing is thick yet pourable. This texture will help you create nice, even coats on your cookies.
Adding Flavor and Color
Now it’s time to add some flavor. Mix in 1 teaspoon of vanilla extract. This will enhance the taste of your icing. If you want colorful designs, divide the icing into small bowls. Add food coloring one drop at a time. Stir well until you reach your desired color.
Decorating Techniques
To decorate, use a piping bag fitted with a round tip. Start by outlining the edges of your cookies. This creates a barrier. Let the outline set for a few minutes until it firms up. Then, fill in the center with icing. This gives your cookies a professional look.
Drying Time Specifications
After decorating, let the cookies sit at room temperature for 6-8 hours. This time allows the icing to harden fully. A complete hardening creates a nice glaze. Make sure to keep them in a cool spot for the best results.
Tips & Tricks
Perfecting Your Icing
To fix runny icing, add more powdered sugar. Start with a tablespoon at a time until you achieve the right thickness. If your icing is too thick, add a few drops of water to thin it out. This helps you create different designs easily.
Adjust the thickness based on your design. For outlines, aim for a thicker icing. For filling in, a thinner icing works best. Test your icing on a plate first. This way, you can see how it flows before decorating your cookies.
Storage Suggestions
After decorating, keep your cookies fresh. Store them in an airtight container. This protects them from air and moisture. Use wax paper between layers to avoid sticking.
Choose a container that seals tightly. Glass or plastic containers work great. This keeps your cookies tasty for longer.
Presentation Ideas
When serving, think about creative arrangements. Use a decorative platter for an eye-catching display. You can even add a ribbon around the platter for flair.
For extra fun, sprinkle edible glitter on top of the icing. This gives your cookies a festive look. You can also use colored sprinkles for added texture and color. These little touches make your cookies stand out!

Variations
Flavor Variations
You can easily change the flavor of your icing by using different extracts. Here are some ideas:
– Almond extract adds a sweet, nutty taste.
– Lemon extract gives a fresh, zesty kick.
– Peppermint extract brings a cool, minty flavor.
You can also mix flavors for a unique icing. Try combining vanilla and almond for a rich taste. Or mix lemon and vanilla for a bright, sweet blend.
Color Techniques
Want to make your cookies stand out? Here are some fun color techniques:
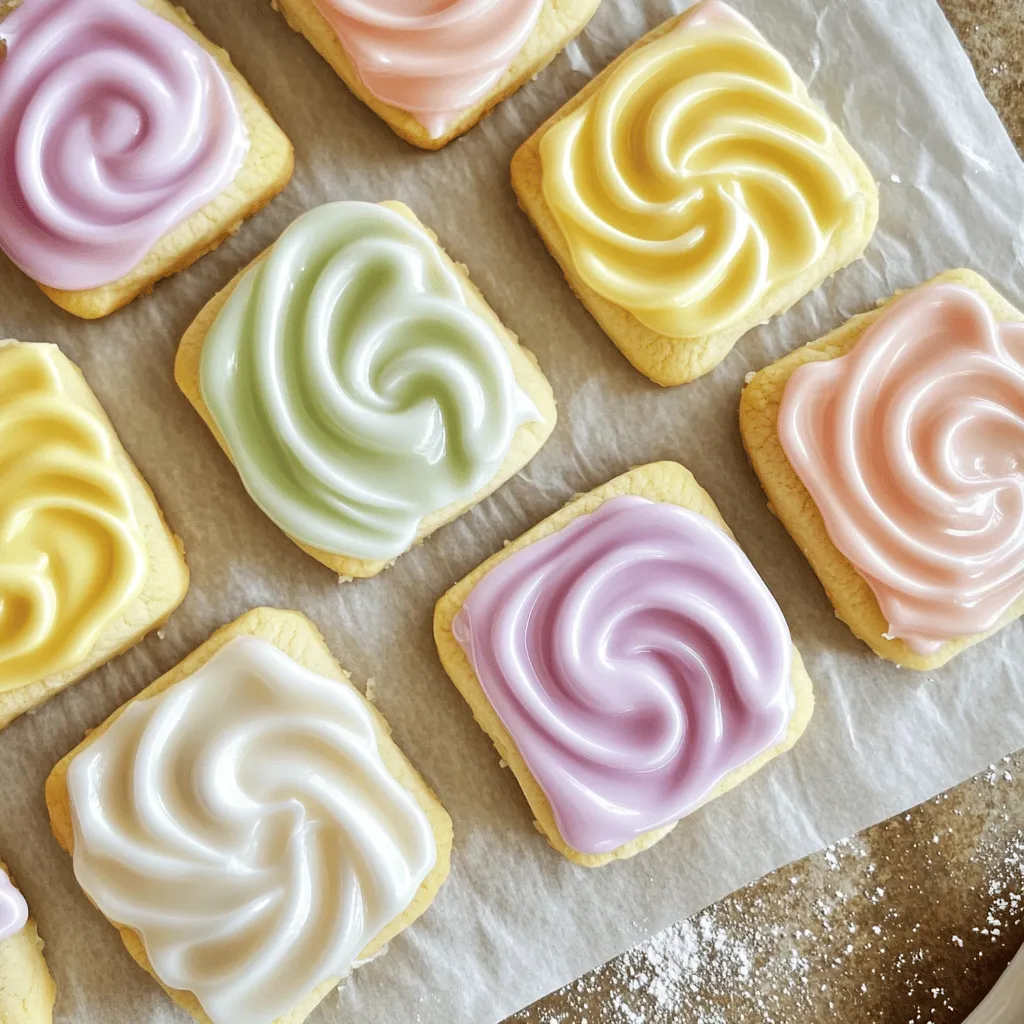
– Marbling Icing: To create a marbled effect, use two colors. Pour one color onto the cookie, then add drops of the second color. Use a toothpick to swirl them together gently. This makes beautiful patterns!
– Rub-On Designs: You can use rub-on designs for added flair. These are easy to apply. Just place the design on the icing and rub gently. It transfers the design onto your cookie, giving it a professional look.
Alternative Ingredients
If you want to change up the recipe, here are some alternative ingredients:
– Substituting Meringue Powder: If you don’t have meringue powder, you can use egg whites. Just ensure they are pasteurized for safety. Use about 2 tablespoons of egg whites instead of 2 tablespoons of meringue powder.
– Vegan Options: If you prefer a vegan icing, replace meringue powder with aquafaba. This is the liquid from canned chickpeas. It works well and gives you a nice, sturdy icing.
Using these variations can make your sugar cookie icing even more exciting and fun!
FAQ
What is meringue powder and why is it used?
Meringue powder is made from dried egg whites. It helps create a strong icing. It adds stability, which keeps the icing from getting too soft. This means your cookies stay pretty and neat. Using meringue powder makes your icing shine and harden well.
How long does it take for sugar cookie icing to dry?
Typically, sugar cookie icing takes about 6 to 8 hours to dry. This time can change based on air flow and humidity. If it’s humid, the icing might take longer. A good tip is to let them dry at room temperature. Avoid moving them until they are fully set.
Can I make this icing ahead of time?
Yes, you can make icing ahead of time. Store it in an airtight container. Keep it in the fridge for up to a week. Before using, stir it well to get the right consistency again.
Will the icing stay hard in humid conditions?
Humidity can affect icing. It may take longer to harden or even stay soft. To help with this, use a dehumidifier in the room. You can also wait for a dry day to decorate your cookies. This keeps your icing firm and looking great.
How can I fix icing that is too thick?
If your icing is too thick, simply add a few drops of warm water. Mix well until it reaches the right consistency. You want it to be smooth and pourable. If it’s still thick, add more water bit by bit. This keeps your icing easy to work with.First, mix two cups of powdered sugar with two tablespoons of meringue powder in a bowl. Sift them together to remove lumps. Next, add four tablespoons of warm water while stirring. This helps create a thick yet pourable icing. Then, stir in one teaspoon of vanilla extract for flavor. If you want color, divide the icing into bowls and add food coloring. Use a piping bag to outline your cookies, allowing them to set for a few minutes. After that, fill in the centers. Let the cookies dry at room temperature for 6 to 8 hours, and enjoy the beautiful finish!
Summary of Preparation Time and Servings
– Prep Time: 15 minutes
– Total Time: 8 hours
– Servings: 24 cookies
In this post, we explored how to make perfect sugar cookie icing. We discussed key ingredients like powdered sugar and meringue powder. Next, we covered step-by-step instructions to blend dry ingredients and achieve the right consistency. You learned useful decorating techniques and drying times.
Remember to experiment with flavors and colors for a unique touch. Keep cookies fresh by storing them properly. Now, you can create beautiful and tasty cookies to impress everyone. Enjoy your baking adventure!