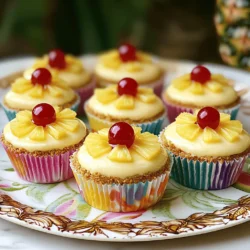
Craving a delicious dessert that’s both fun and easy to make? Mini Pineapple Upside-Down Cheesecakes are the perfect treat! These bite-sized delights combine rich cream cheese and sweet pineapple for a tropical twist. In this post, I’ll guide you through simple steps, smart tips, and creative variations. Whether you’re a baking novice or a kitchen pro, you’ll find everything you need to make these tasty treats a hit! Let’s dive in!
Ingredients
List of Ingredients
– 1 cup crushed graham crackers
– 1/4 cup unsalted butter, melted
– 2 tablespoons brown sugar
– 1 (8 oz) package cream cheese, softened
– 1/2 cup granulated sugar
– 1 teaspoon vanilla extract
– 1/2 cup sour cream
– 1 large egg
– 1 cup crushed pineapple, well-drained
– Maraschino cherries for garnish
To create these mini pineapple upside-down cheesecakes, you need simple ingredients. The base comes from crushed graham crackers mixed with melted butter and brown sugar. This forms a tasty crust.
The filling is where the magic happens. Cream cheese gives it a rich texture. Granulated sugar adds sweetness, while sour cream makes it smooth. The egg helps bind everything together.
Crushed pineapple gives each bite a fresh burst of flavor. I suggest using well-drained pineapple to keep the filling from being too watery. Maraschino cherries on top make a fun and festive finish.
Ingredient Substitutions
– For cream cheese, you can use Greek yogurt or silken tofu for a lighter option.
– If you need a gluten-free version, use gluten-free graham crackers or almond flour.
– For sweeteners, consider honey or maple syrup instead of granulated sugar.
These substitutions keep the recipe flexible. You can still enjoy the flavors you love, even with dietary needs. If you want to make these mini cheesecakes your own, feel free to change things up! You can find the full recipe [here](#).
Step-by-Step Instructions
Prepping Your Ingredients
1. First, preheat your oven to 325°F (160°C). This step is key for baking.
2. Next, line a standard muffin tin with cupcake liners. Make sure they fit snugly.
3. In a medium bowl, mix the crushed graham crackers, melted butter, and brown sugar. Stir until the crumbs are coated with butter.
4. Take about 1 tablespoon of this mixture and press it into the bottom of each liner. This makes a tasty crust.
5. Bake the crusts for 5-7 minutes, just until they turn a light golden brown. Then, let them cool for a bit.
Making the Cheesecake Mixture
1. In a large bowl, beat the softened cream cheese and granulated sugar with an electric mixer. Aim for a smooth blend.
2. Add the vanilla extract and sour cream. Mix these in until everything is creamy.
3. Crack the egg into the bowl and gently blend until combined. Be careful not to overmix.
4. Fold in the drained crushed pineapple. Use a spatula to make sure it’s evenly mixed in.
Baking Instructions
1. Spoon the cheesecake batter into each cupcake liner, filling them about two-thirds full. This gives them room to rise.
2. Bake the mini cheesecakes for 18-20 minutes. They should be set around the edges and puffed in the center.
3. After baking, take them out and let them cool completely at room temperature.
4. Finally, refrigerate the cheesecakes for at least 2 hours. This helps them set and taste even better.
For the full recipe, click [here](#).
Tips & Tricks
Achieving the Perfect Texture
To get a smooth and creamy cheesecake, use room temperature ingredients. Cold cream cheese can make lumps. Let it sit out for about 30 minutes. This will help blend better.
To avoid cracks in your cheesecakes, don’t overmix. When you add the egg, mix just until combined. Overmixing adds too much air, causing cracks when they cool.
Enhancing Flavor
Adding spices can boost the flavor. A pinch of cinnamon or nutmeg can make a big difference. They add warmth and depth to each bite.
Using fresh pineapple can elevate the taste. Fresh fruit is juicy and sweet. Canned pineapple works well, but drain it well. This helps keep your filling from being too watery.
Presentation Tips
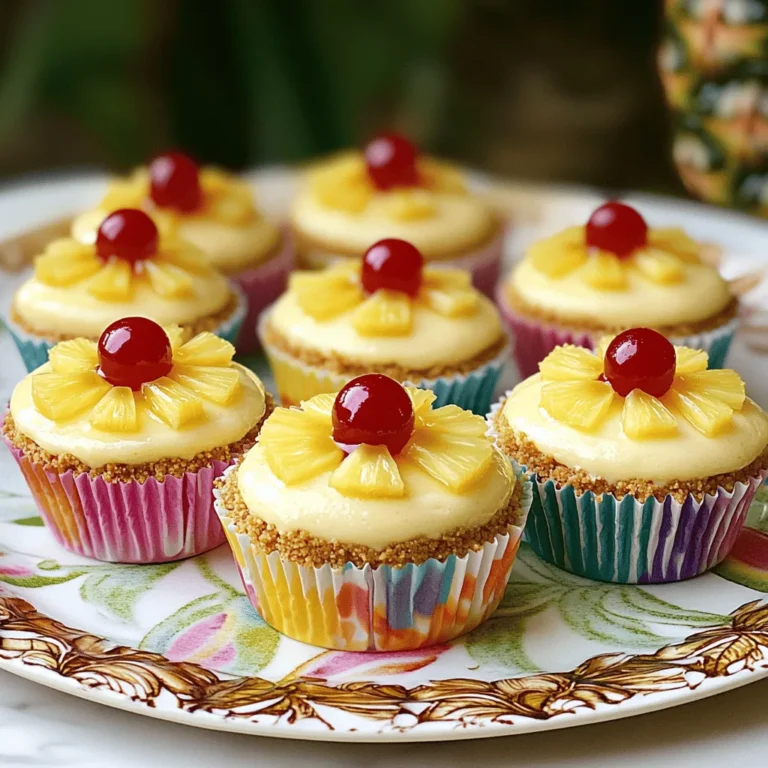
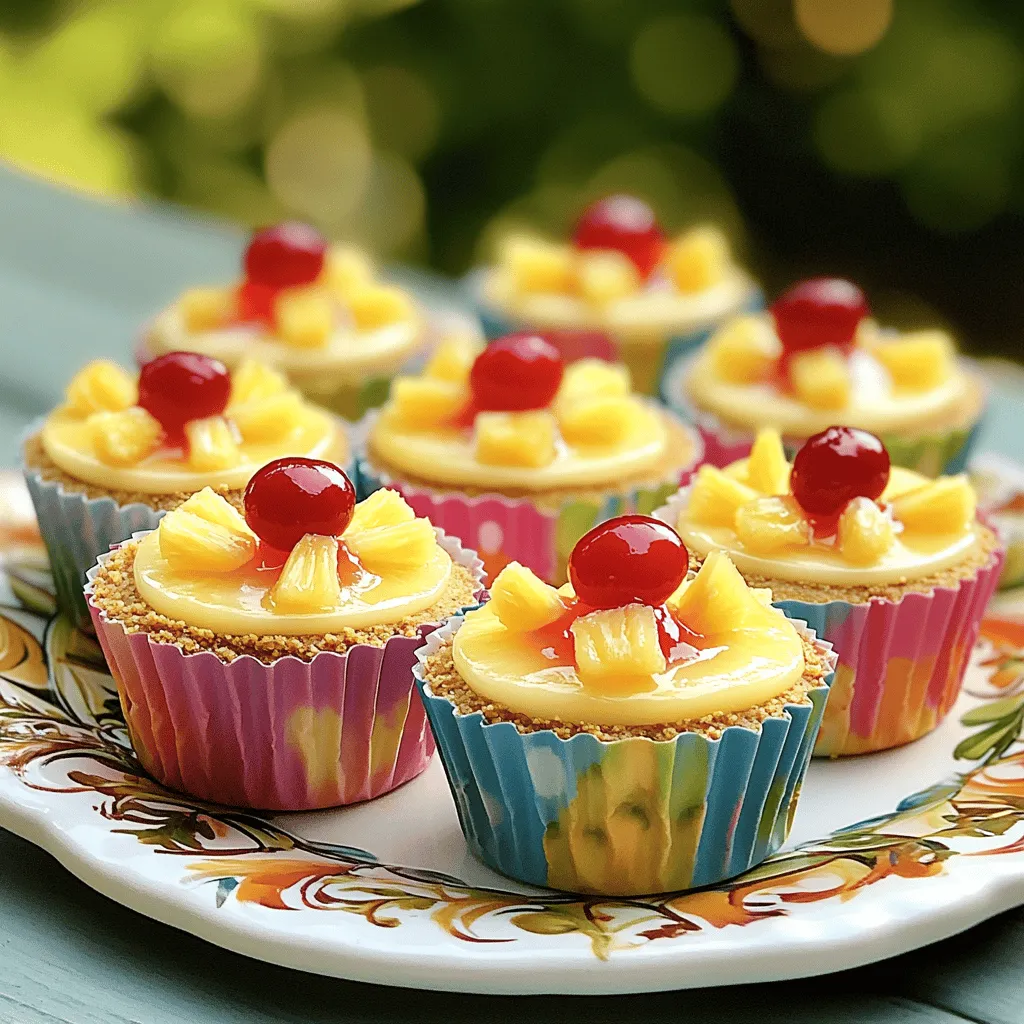
For a lovely look, think about garnishing. Place a maraschino cherry on top of each cheesecake. Add a small spoonful of crushed pineapple for extra color.
When serving, arrange the mini cheesecakes on a nice platter. Drizzle a bit of crushed pineapple around the edges. This adds visual appeal. It makes your treat look just as good as it tastes!
Remember, you can find the full recipe for these delightful mini pineapple upside-down cheesecakes within this article.
Variations
Flavor Combinations
You can play with flavors to make these mini cheesecakes unique. One tasty option is the coconut cream pineapple cheesecake. For this, just mix in half a cup of coconut cream with the cheesecake batter. The creamy coconut pairs perfectly with the pineapple.
Another fun twist is chocolate-covered mini cheesecakes. Simply melt some chocolate and drizzle it on top after baking. This adds a rich layer that contrasts beautifully with the tropical flavors.
Dietary Variants
If you want a vegan version, swap the cream cheese for a plant-based alternative. You can use cashew cream or tofu blended with coconut milk. This keeps the cheesecake creamy and delicious without dairy.
For a low-carb alternative, use almond flour instead of graham crackers for the crust. Replace the sugar with a low-carb sweetener like erythritol. This way, you can enjoy the treat without the carbs.
Seasonally Inspired Versions
You can also change the toppings based on the season. In spring, try adding fresh berries like strawberries or blueberries on top. They add a bright color and fresh taste.
In the fall, sprinkle some cinnamon or nutmeg into the batter. You might even add a hint of pumpkin puree. These spices bring warmth and comfort to your mini cheesecakes.
Explore these variations to enjoy different tastes and make each batch special. For the full recipe, check out Mini Pineapple Upside-Down Cheesecakes.
Storage Info
How to Store
To keep your mini pineapple upside-down cheesecakes fresh, you need to refrigerate them. Place them in an airtight container. This helps keep them moist and tasty. They will stay fresh in the fridge for up to 5 days.
If you want to save them for a longer time, you can freeze them. Wrap each cheesecake tightly in plastic wrap. Then, put them in a freezer-safe bag. They can last in the freezer for up to 2 months. When you’re ready to enjoy them, thaw them in the fridge overnight before serving.
Shelf Life
The shelf life of your cheesecakes depends on how you store them. In the fridge, they last about 5 days. In the freezer, they can last for 2 months.
To check if they have gone bad, look for these signs:
– A sour smell or off odor.
– A change in texture, like a grainy feel.
– Any signs of mold on the surface.
If you notice any of these signs, it’s best to throw them away. Keeping an eye on your cheesecakes will help you enjoy them at their best!
FAQs
Common Questions About Mini Pineapple Upside-Down Cheesecakes
Can I make these ahead of time?
Yes, you can make these mini cheesecakes a day in advance. Just store them in the fridge. They taste great cold!
How do I know when they are done baking?
The edges should be set, while the center is slightly puffy. A toothpick inserted in the center should come out clean.
What is the best way to reheat leftover cheesecakes?
To reheat, place them in the microwave for about 10-15 seconds. This keeps them soft without drying out.
Ingredient-Specific Questions
Can I use low-fat cream cheese?
Yes, low-fat cream cheese works well. It will still give you a nice creamy texture.
What can I substitute for the sour cream?
You can use Greek yogurt or plain yogurt as a substitute. They add a similar tangy taste.
Serving and Pairing Questions
What drinks pair well with these cheesecakes?
Pineapple juice, coconut water, or a light sparkling wine pair nicely. They enhance the tropical flavors.
Can these be served at room temperature?
Yes, serving them at room temperature is fine. They will still taste delicious, just like the Full Recipe suggests!
Making mini pineapple upside-down cheesecakes is simple and fun. We covered the key ingredients, like graham crackers and cream cheese, plus plenty of ways to mix things up. You learned some tips for perfect texture and flavor, as well as creative presentation ideas.
You can enjoy these treats any time of year. Whether you’re sharing them at a party or savoring them at home, these cheesecakes are sure to impress. Get cooking and enjoy every bite!